Bulbs
Flower Basics
Flower Beds & Specialty Gardens
Flower Garden
Garden Furniture
Garden Gnomes
Garden Seeds
Garden Sheds
Garden Statues
Garden Tools & Supplies
Gardening Basics
Green & Organic
Groundcovers & Vines
Growing Annuals
Growing Basil
Growing Beans
Growing Berries
Growing Blueberries
Growing Cactus
Growing Corn
Growing Cotton
Growing Edibles
Growing Flowers
Growing Garlic
Growing Grapes
Growing Grass
Growing Herbs
Growing Jasmine
Growing Mint
Growing Mushrooms
Orchids
Growing Peanuts
Growing Perennials
Growing Plants
Growing Rosemary
Growing Roses
Growing Strawberries
Growing Sunflowers
Growing Thyme
Growing Tomatoes
Growing Tulips
Growing Vegetables
Herb Basics
Herb Garden
Indoor Growing
Landscaping Basics
Landscaping Patios
Landscaping Plants
Landscaping Shrubs
Landscaping Trees
Landscaping Walks & Pathways
Lawn Basics
Lawn Maintenance
Lawn Mowers
Lawn Ornaments
Lawn Planting
Lawn Tools
Outdoor Growing
Overall Landscape Planning
Pests, Weeds & Problems
Plant Basics
Rock Garden
Rose Garden
Shrubs
Soil
Specialty Gardens
Trees
Vegetable Garden
Yard Maintenance
How to Make an Oak Barrel Water Feature
How to Make an Oak Barrel Water Feature. It can be easy to transform an oak barrel into water feature, especially if you start with the right kind of barrel. Many garden stores and home centers offer half-barrels from vineyards and distilleries. The chief advantage to these barrels is that they are built to hold liquids, which gives you a head...
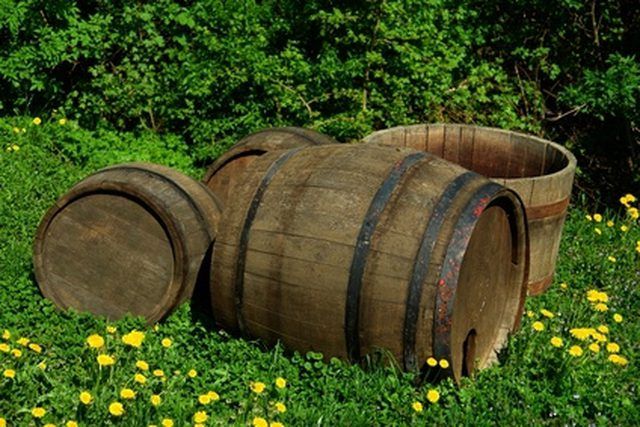
It can be easy to transform an oak barrel into water feature, especially if you start with the right kind of barrel. Many garden stores and home centers offer half-barrels from vineyards and distilleries. The chief advantage to these barrels is that they are built to hold liquids, which gives you a head start. From there, creating a water feature is a simple matter of assembling the parts correctly.
Things You'll Need
Half an oak barrel
Brick or concrete paver
Submersible pump
Fountain head
River rock
Working outside, fill the barrel with hot water and let it sit. The staves may have shrunk while the barrel was stored, but the hot water will swell the wood so the barrel is watertight again. Remove the water after four or five hours.
Center the brick or paver stone in the bottom of the barrel. Set the submersible pump on top of the brick or stone. Route the cord up the side of the barrel and out. On the outside of the barrel, mark the approximate height of the top of the pump.
Attach the clear plastic discharge tube to outlet valve on the submersible pump.
Add water to the barrel until the water level is several inches higher than the top of the pump.
Fill the barrel with river rock, being careful not to knock over the pump. Place large rocks at the bottom and leave plenty of room between the rocks. The pump needs constant access to water. It will flow down to the pump if you leave gaps between rocks. Make sure the top of the discharge tube is still visible after the rocks are in place.
Attach the fountain head to the discharge tube. Most of these heads simply fit down into the tube.
Plug in the pump to an outlet protected by a Ground Fault Circuit Interrupter. The water will spill out of the fountain head and down into the barrel, where it can be recycled by the pump. Check the water level every two days or every day in extremely hot weather.
Tips & Warnings
Buying a pump with an automatic shutoff prevents problems if the water level runs too low. It may be slightly more expensive, but can save you money in the long run.


