Bulbs
Flower Basics
Flower Beds & Specialty Gardens
Flower Garden
Garden Furniture
Garden Gnomes
Garden Seeds
Garden Sheds
Garden Statues
Garden Tools & Supplies
Gardening Basics
Green & Organic
Groundcovers & Vines
Growing Annuals
Growing Basil
Growing Beans
Growing Berries
Growing Blueberries
Growing Cactus
Growing Corn
Growing Cotton
Growing Edibles
Growing Flowers
Growing Garlic
Growing Grapes
Growing Grass
Growing Herbs
Growing Jasmine
Growing Mint
Growing Mushrooms
Orchids
Growing Peanuts
Growing Perennials
Growing Plants
Growing Rosemary
Growing Roses
Growing Strawberries
Growing Sunflowers
Growing Thyme
Growing Tomatoes
Growing Tulips
Growing Vegetables
Herb Basics
Herb Garden
Indoor Growing
Landscaping Basics
Landscaping Patios
Landscaping Plants
Landscaping Shrubs
Landscaping Trees
Landscaping Walks & Pathways
Lawn Basics
Lawn Maintenance
Lawn Mowers
Lawn Ornaments
Lawn Planting
Lawn Tools
Outdoor Growing
Overall Landscape Planning
Pests, Weeds & Problems
Plant Basics
Rock Garden
Rose Garden
Shrubs
Soil
Specialty Gardens
Trees
Vegetable Garden
Yard Maintenance
How to Repair Terra-Cotta Pots
How to Repair Terra-Cotta Pots. Terra cotta, Italian for baked earth, is a ceramic made of mostly earthy clay and left unglazed when baked. A common use for terra cotta is for making planters and plant pots. You can find terra cotta pots in almost any size and when placed in the natural setting of a garden, they look right at home. You can also use...
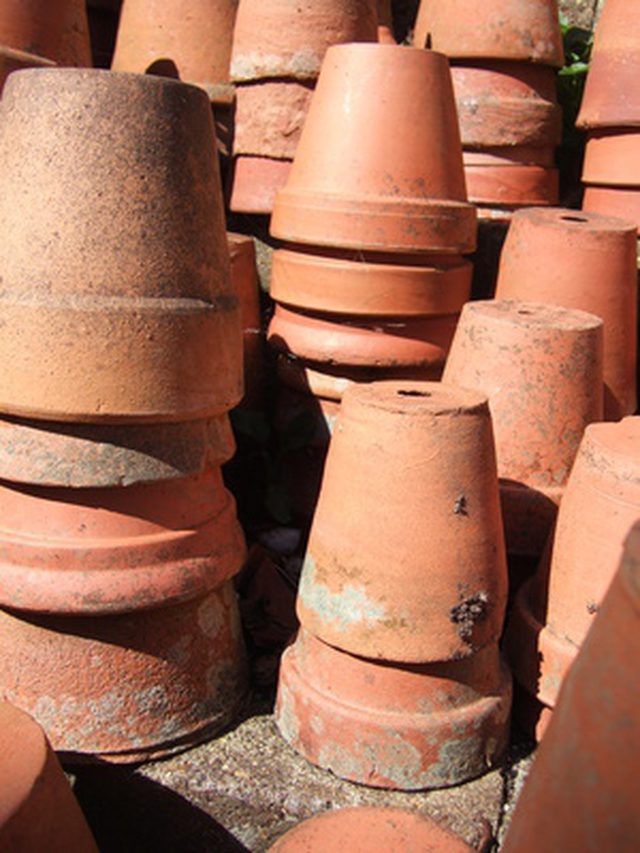
Terra cotta, Italian for baked earth, is a ceramic made of mostly earthy clay and left unglazed when baked. A common use for terra cotta is for making planters and plant pots. You can find terra cotta pots in almost any size and when placed in the natural setting of a garden, they look right at home. You can also use them indoors to bring some of the wonders of nature inside your home. Should your terra cotta ever suffer a crack or breakage you can easily repair it yourself.
Things You'll Need
Waterproof silicone caulk
String
Scraper
Clean all the dirt away from the crack or broken area on the pot. Leave the pot to dry completely after cleaning.
Apply silicone caulk into the crack or damaged area. If you have broken pieces, apply caulk along the edges of the shard.
Press the cracked or broken area together so the caulk bonds, and bind the pot with string to hold it in shape.
Leave the pot to dry upside down for several hours or overnight. If your caulk recommends waiting longer, then do so.
Remove the string from around the pot once the caulk has dried completely.
Scrape away any caulk that leaked onto the inside or outside of the pot with a scraper.
Tips & Warnings
Bring terra-cotta pots out of the cold when the temperatures reach freezing to avoid getting cracks from the weather.
Do not try to repair your pot while it has anything inside of it or the terra cotta will not bond properly.


