Bulbs
Flower Basics
Flower Beds & Specialty Gardens
Flower Garden
Garden Furniture
Garden Gnomes
Garden Seeds
Garden Sheds
Garden Statues
Garden Tools & Supplies
Gardening Basics
Green & Organic
Groundcovers & Vines
Growing Annuals
Growing Basil
Growing Beans
Growing Berries
Growing Blueberries
Growing Cactus
Growing Corn
Growing Cotton
Growing Edibles
Growing Flowers
Growing Garlic
Growing Grapes
Growing Grass
Growing Herbs
Growing Jasmine
Growing Mint
Growing Mushrooms
Orchids
Growing Peanuts
Growing Perennials
Growing Plants
Growing Rosemary
Growing Roses
Growing Strawberries
Growing Sunflowers
Growing Thyme
Growing Tomatoes
Growing Tulips
Growing Vegetables
Herb Basics
Herb Garden
Indoor Growing
Landscaping Basics
Landscaping Patios
Landscaping Plants
Landscaping Shrubs
Landscaping Trees
Landscaping Walks & Pathways
Lawn Basics
Lawn Maintenance
Lawn Mowers
Lawn Ornaments
Lawn Planting
Lawn Tools
Outdoor Growing
Overall Landscape Planning
Pests, Weeds & Problems
Plant Basics
Rock Garden
Rose Garden
Shrubs
Soil
Specialty Gardens
Trees
Vegetable Garden
Yard Maintenance
How to Make Osage Orange Bows
How to Make Osage Orange Bows. The osage orange tree is not really a citrus tree. The fruit are actually inedible, lumpy seed balls. The osage tree is prized by bow hunters for its hard wood. According to the Ohio Department of Natural Resources, the the wood is disease free, pest free and rot-resistant. Hunters like to use this wood for their...
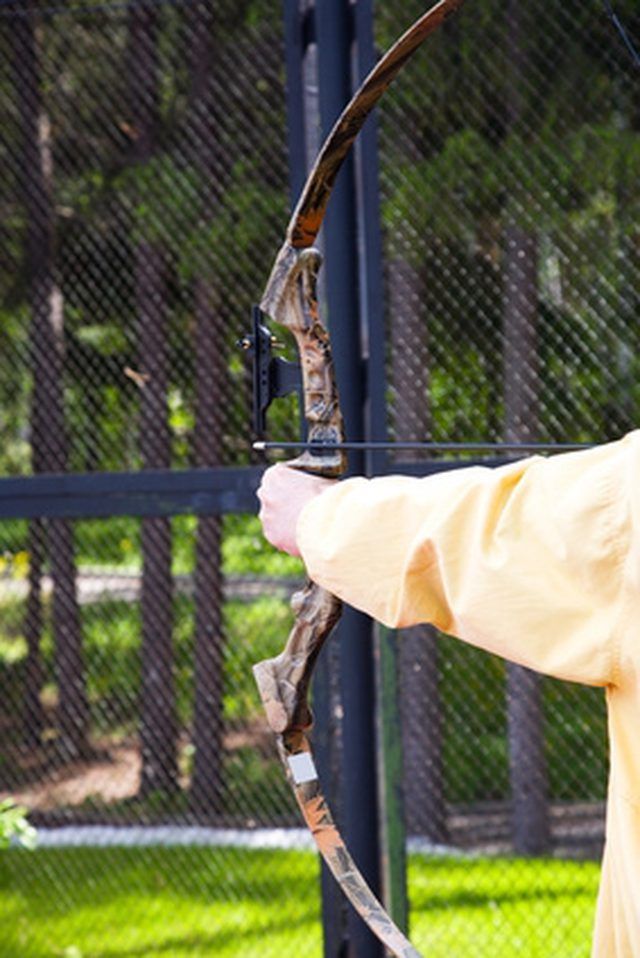
The osage orange tree is not really a citrus tree. The fruit are actually inedible, lumpy seed balls. The osage tree is prized by bow hunters for its hard wood. According to the Ohio Department of Natural Resources, the the wood is disease free, pest free and rot-resistant. Hunters like to use this wood for their hunting bows. To make an osage orange bow, you need dried, quartered staves that have been cut from an osage tree trunk. You need to shape each stave with a two handled knife, and bend it with steam into the shape of a bow. Then, file the notches for your bow tips, and string your bow.
Things You'll Need
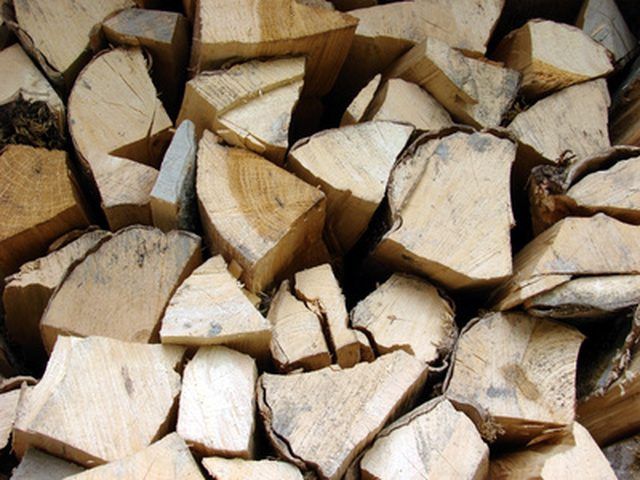
Osage wooden stave (quartered trunk dried for at least one year)
Vice
Two handled draw knife
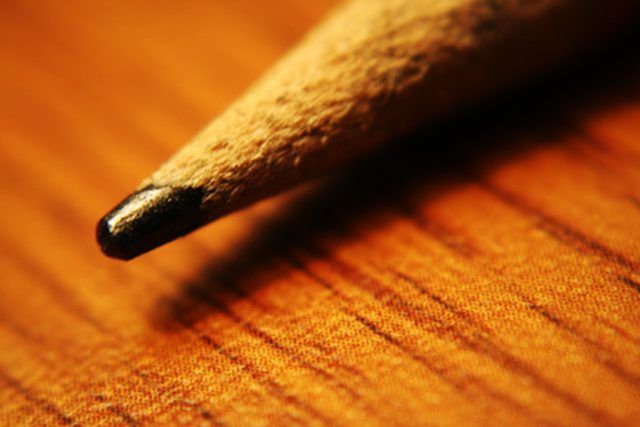
Pencil
Measuring tape
Band saw
Stove
Pot
Bow form
Sandpaper
File
Bow string
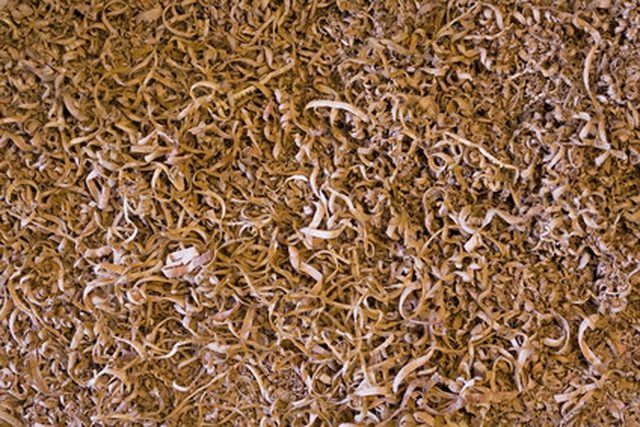
Split logs from an osage tree into quarters. Spray the ends of the quartered logs with polyurethane, which will cause a loss of moisture on the split sides and help the stave to dry faster. Place the split staves into a shed to dry for 12 months.

Clamp the dried osage stave onto your table vice, and shave off all of the rough bark from the back of the stave, using a two-handled draw knife. Shave the stave down to the hard, dark yellow wood. Shave it down to one growth ring. This part of the stave will become the side of the bow, facing away from you.
Draw a center line down the stave, carefully following the center line of the wood grain. Measure and draw a center point on your center line, this is where you will place the handle of your bow.
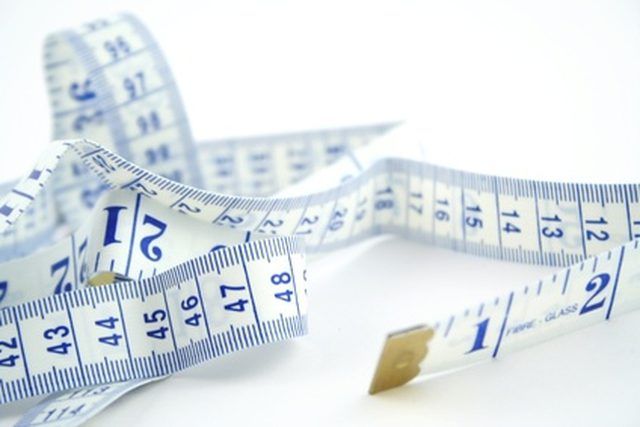
Find the length that you should make your bow, by doubling the center point you measured on your center line and adding 10 inches. For example, if your center point was 24 inches, 58 inches would be the length of the bow (24 inches x 2 inches + 10 inches = 58 inches). Add 2 more inches (58 inches + 2 inches) when cutting the stave, to allow for the string nooks.

Draw a four and one-half inch long handle section, at the center of the bow, with a width of one and one-fourth inches. Widen the handle to one and three-fourths inches, for half of the length of each side of the bow. Taper the handle down evenly, to five-eighths of an inch, at the tips of the bow. Shave the center section of the bow (the four and one-half inch section) down to one-fourth inch using your two-handled draw knife. Shave the next half length on each side of the bow down to three-fourths inch width then taper the bow down to the tips, to five-eights inch.
Saw the bow down to three-fourths inches thick at the handle and one-half inches thick at the bow tips, using your band saw.
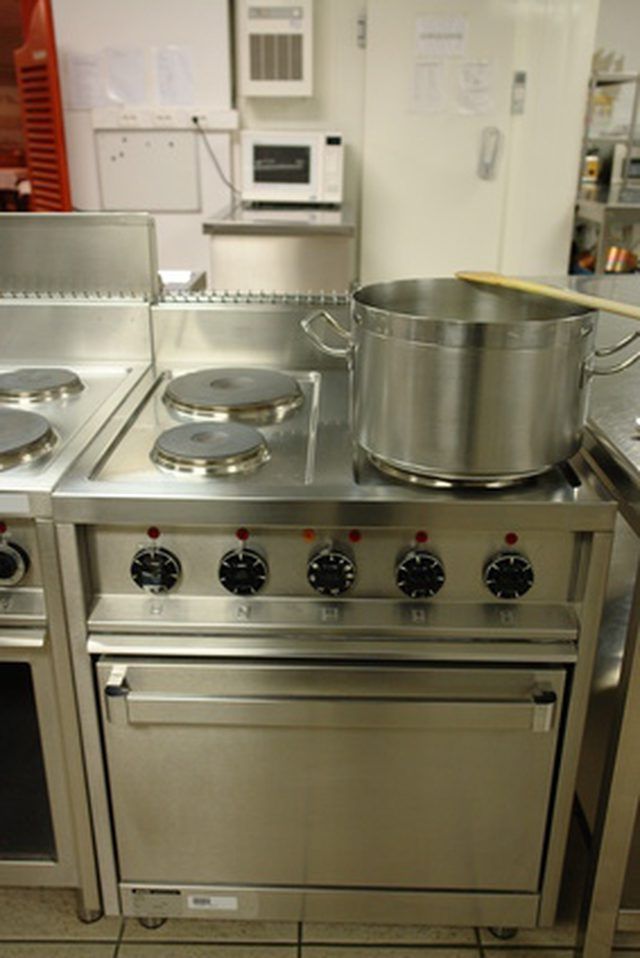
Place the the tip of the bow over a boiling pot of water and cover it with aluminum foil for 20 minutes; then, place the bow onto the bow form and clamp the tip with C-clamps. Slowly and gently, bend the bow into the form, until it bends 25 percent more than the end result.
Sand your bow smooth using sandpaper. Cut in the nooks for the bowstring with your file.

Stringing the Bow
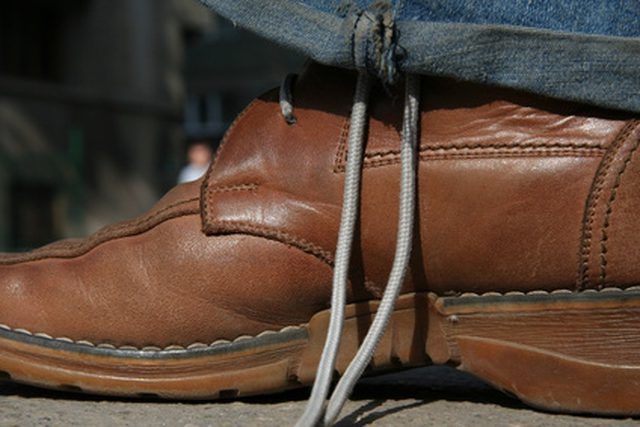
Slide the small loop into the notch at the bottom of the bow. Place the bottom of the bow on the floor beneath the instep of your foot, and hold it steady with your foot.
Place the center of the bow in your left hand, with the rounded side of the bow facing away from you. Hold the bowstring in the palm of your right hand, keeping the bowstring four inches below the top loop. Pinch the string one inch below the top loop with your thumb and first finger. Raise your other three fingers up, so that they are not trapped under the string.
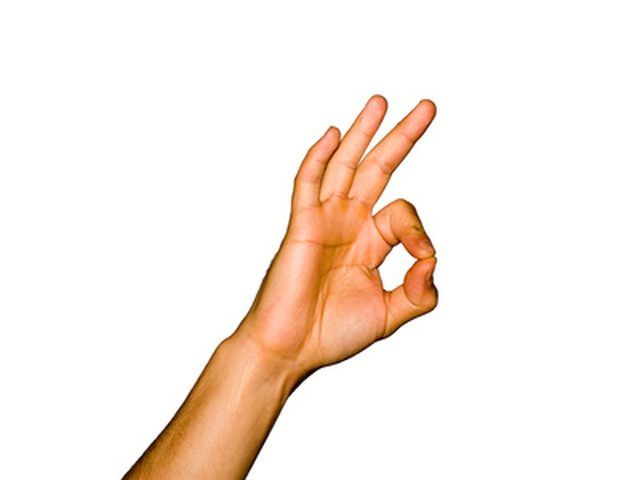
Pull the bow in your left hand down against your left hip, bending the tip down with the closed palm of your right hand. Slip the large loop of the bowstring, pinched between your thumb and finger, into the notch at the tip of the bow. Practice with your bow by shooting at a target.
Tips & Warnings
An osage orange bow needs no lamination or backing to give it strength.
You may want to ask an expert bowyer to help you find the correct length and weight for your bow, before you cut your wood.


