Bulbs
Flower Basics
Flower Beds & Specialty Gardens
Flower Garden
Garden Furniture
Garden Gnomes
Garden Seeds
Garden Sheds
Garden Statues
Garden Tools & Supplies
Gardening Basics
Green & Organic
Groundcovers & Vines
Growing Annuals
Growing Basil
Growing Beans
Growing Berries
Growing Blueberries
Growing Cactus
Growing Corn
Growing Cotton
Growing Edibles
Growing Flowers
Growing Garlic
Growing Grapes
Growing Grass
Growing Herbs
Growing Jasmine
Growing Mint
Growing Mushrooms
Orchids
Growing Peanuts
Growing Perennials
Growing Plants
Growing Rosemary
Growing Roses
Growing Strawberries
Growing Sunflowers
Growing Thyme
Growing Tomatoes
Growing Tulips
Growing Vegetables
Herb Basics
Herb Garden
Indoor Growing
Landscaping Basics
Landscaping Patios
Landscaping Plants
Landscaping Shrubs
Landscaping Trees
Landscaping Walks & Pathways
Lawn Basics
Lawn Maintenance
Lawn Mowers
Lawn Ornaments
Lawn Planting
Lawn Tools
Outdoor Growing
Overall Landscape Planning
Pests, Weeds & Problems
Plant Basics
Rock Garden
Rose Garden
Shrubs
Soil
Specialty Gardens
Trees
Vegetable Garden
Yard Maintenance
How to Refill Trimmer Line
How to Refill Trimmer Line. Lawn trimmers are popular pieces of landscaping equipment in use by many amateur and professional operators. Most trimmers are designed for easy replacement and refill of the line. Refills take approximately ten minutes on average and are easy for one person to complete. Replacement line is available from any hardware or...
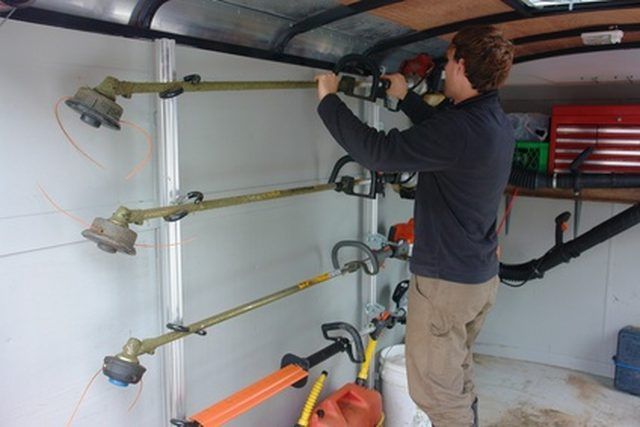
Lawn trimmers are popular pieces of landscaping equipment in use by many amateur and professional operators. Most trimmers are designed for easy replacement and refill of the line. Refills take approximately ten minutes on average and are easy for one person to complete. Replacement line is available from any hardware or home improvement store, and comes in various materials and sizes depending on the manufacturer of the trimmer. New line is affordable and even color-coded based on line size.
Things You'll Need
Putty knife
Sponge
Trimmer line
Pliers
Remove the spool by turning it to the left and pulling on it slightly. It should come out easily but some require just a bit of force to fully remove.
Clean any debris from the spool ring, the spool housing and any other areas that should be cleaned at this time. For caked on matter use a putty knife to scrape it free. For loose material or dirt, use a damp sponge to clean the spool and make sure the system works well.
Unroll a sufficient amount of replacement line and cut it with clippers or a utility knife. Feed one end of the new line through the retaining hole in the spool ring and crimp the line with pliers at a 1/2-inch length. These holes are usually marked clearly.
Wrap the line around the spool in the direction indicated on the spool itself. This is usually shown by an arrow or other marking. Try to wrap the line smoothly so that it doesn't bind between the wrapped rows. Insert the end of the line through the feed hole in the side of the spool ring.
Run the leading line into the spool housing and out the hole cut into the housing. Press the spool into the spool housing and twist it slightly to the right until it locks into place. Pull gently on the end of the line to get it taught.
Tips & Warnings
Be sure to use the right size and type of line for the particular trimmer model.
To protect against accidental starts and injury, make sure the trimmer is unplugged if electrical, or has the spark plug removed if it is a gas style.


