Bulbs
Flower Basics
Flower Beds & Specialty Gardens
Flower Garden
Garden Furniture
Garden Gnomes
Garden Seeds
Garden Sheds
Garden Statues
Garden Tools & Supplies
Gardening Basics
Green & Organic
Groundcovers & Vines
Growing Annuals
Growing Basil
Growing Beans
Growing Berries
Growing Blueberries
Growing Cactus
Growing Corn
Growing Cotton
Growing Edibles
Growing Flowers
Growing Garlic
Growing Grapes
Growing Grass
Growing Herbs
Growing Jasmine
Growing Mint
Growing Mushrooms
Orchids
Growing Peanuts
Growing Perennials
Growing Plants
Growing Rosemary
Growing Roses
Growing Strawberries
Growing Sunflowers
Growing Thyme
Growing Tomatoes
Growing Tulips
Growing Vegetables
Herb Basics
Herb Garden
Indoor Growing
Landscaping Basics
Landscaping Patios
Landscaping Plants
Landscaping Shrubs
Landscaping Trees
Landscaping Walks & Pathways
Lawn Basics
Lawn Maintenance
Lawn Mowers
Lawn Ornaments
Lawn Planting
Lawn Tools
Outdoor Growing
Overall Landscape Planning
Pests, Weeds & Problems
Plant Basics
Rock Garden
Rose Garden
Shrubs
Soil
Specialty Gardens
Trees
Vegetable Garden
Yard Maintenance
How to Plant Onion Bulbs in the Spring
How to Plant Onion Bulbs in the Spring. Onions propagate through seeds, transplants and sets (bulbs). Purchase onion bulb sets from garden centers and nurseries in the spring, which is the best time to plant onions. Planting onion bulbs early in the spring gives you the option of harvesting early for green onions or later in the summer for mature...

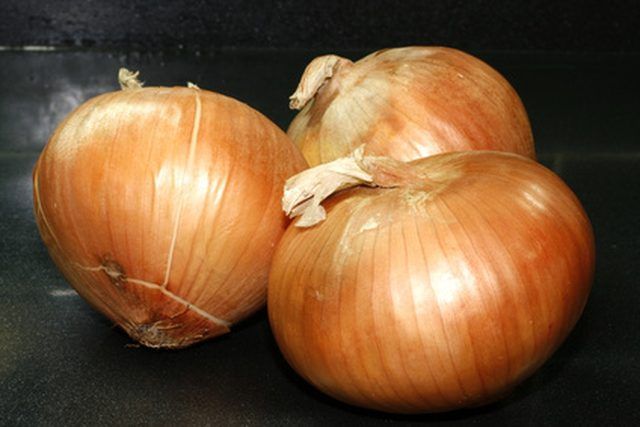
Onions propagate through seeds, transplants and sets (bulbs). Purchase onion bulb sets from garden centers and nurseries in the spring, which is the best time to plant onions. Planting onion bulbs early in the spring gives you the option of harvesting early for green onions or later in the summer for mature onions. Plant onion bulbs in your spring garden as soon as the threat of winter frost is over.
Things You'll Need
Onion bulbs
Soil pH test
Pitchfork
Lime or peat moss
Mulch
Soaker hose
Fertilizer
Sort the onion bulbs by size. Pick out all of the bulbs that are about the size of a dime and plan to plant these in the same area. The small bulbs will produce large bulbs (onions). Group all of the bulbs together that are larger than a dime and plan to plant these for an early harvest of onion greens. Large bulbs will not produce mature onions.
Prepare the soil for planting. Onions prefer a 5.5 to 6.5 soil pH. Test the soil using a soil testing kit from a garden center or nursery.
Break up the soil with a pitchfork and add the required amendment. If the soil test reveals a pH below 5.5, amend with lime. If the pH measures above 6.5, add peat moss to the soil. Add either amendment according to manufacturer's instructions.
Dig holes for the dime-sized onion bulbs 2 inches deep, 1 inch apart. Dig holes for the larger onion bulbs ? inch deep, with 4 inches between holes. Place the bulbs in the holes, neck up. Backfill the holes with the necks barely showing above the soil line.
Apply a 3-inch layer of mulch around the onions to help with water retention. Mulching also reduces weed growth. Use straw or bark chips for mulch.
Water the onions immediately after planting with a soaker hose. The soaker hose will force the water down into the soil for deep watering. Keep the soil damp to a depth of 18 inches. Apply a 21-0-0 fertilizer after the first watering. Apply the fertilizer according to package instructions.
Tips & Warnings
Harvest the onion greens when their tops are at least 6 inches tall. Harvest the mature onions in the morning once their tops fall over onto the soil. Lay the mature onions on the soil and allow them to dry out in the afternoon sun. Hang the mature onions in a dry storage room or basement. Braid the greens and hang them together on a hook or nail to dry out.
Do not over-water onions. Standing water will kill the onions. If the soil feels moist, skip the watering and check the soil again in a few days.