Bulbs
Flower Basics
Flower Beds & Specialty Gardens
Flower Garden
Garden Furniture
Garden Gnomes
Garden Seeds
Garden Sheds
Garden Statues
Garden Tools & Supplies
Gardening Basics
Green & Organic
Groundcovers & Vines
Growing Annuals
Growing Basil
Growing Beans
Growing Berries
Growing Blueberries
Growing Cactus
Growing Corn
Growing Cotton
Growing Edibles
Growing Flowers
Growing Garlic
Growing Grapes
Growing Grass
Growing Herbs
Growing Jasmine
Growing Mint
Growing Mushrooms
Orchids
Growing Peanuts
Growing Perennials
Growing Plants
Growing Rosemary
Growing Roses
Growing Strawberries
Growing Sunflowers
Growing Thyme
Growing Tomatoes
Growing Tulips
Growing Vegetables
Herb Basics
Herb Garden
Indoor Growing
Landscaping Basics
Landscaping Patios
Landscaping Plants
Landscaping Shrubs
Landscaping Trees
Landscaping Walks & Pathways
Lawn Basics
Lawn Maintenance
Lawn Mowers
Lawn Ornaments
Lawn Planting
Lawn Tools
Outdoor Growing
Overall Landscape Planning
Pests, Weeds & Problems
Plant Basics
Rock Garden
Rose Garden
Shrubs
Soil
Specialty Gardens
Trees
Vegetable Garden
Yard Maintenance
How to Build a Wrought-Iron Gate
How to Build a Wrought-Iron Gate. Wrought-iron gates stand the test of time not only in durability but also in style. Wrought iron can leave a lasting impression and makes a statement of class and elegance. Only your imagination limits the design of a wrought-iron gate. It can be elegant, ornate, or simple and modern. Wrought-iron gates can reflect...
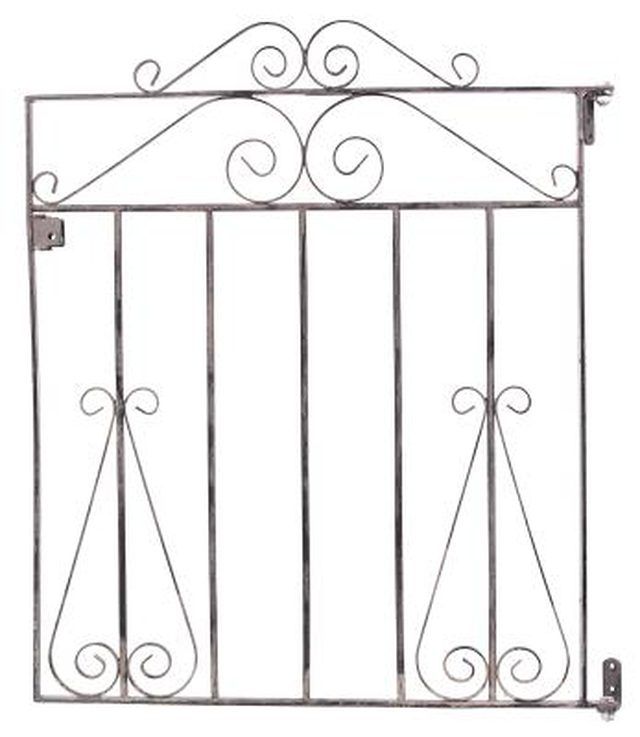
Wrought-iron gates stand the test of time not only in durability but also in style. Wrought iron can leave a lasting impression and makes a statement of class and elegance. Only your imagination limits the design of a wrought-iron gate. It can be elegant, ornate, or simple and modern. Wrought-iron gates can reflect the past, present or future. Making your own wrought-iron gate may be a bit of a challenge, but the rewards will be well worth the effort.
Things You'll Need
Filler rod and flux
Mig welder
Tig welder
Measuring tape
3-foot ruler
Pencils
Paper
Large and small carpenter�s square
Hand grinder
Portable band saw
Jigsaw
C clamps or vise clamps
Ball-peen hammer
Welder�s helmet
Gloves
Propane, torch
Measure the opening where you'll install your gate. Keep your design in scale, allowing for the posts, hinges and closing device (this could be the type that slides or the lever type, and can either be purchased or made).
Create your design using your own imagination or get inspiration by looking at designs on the Internet or in books at the library. You may already have one in mind, or go online or to the library for ideas. If this is your first attempt, you may want to take into consideration the complexity of your design. But any look is possible with patience.
Purchase or order your materials. Some components already may be made for you, such as pickets or posts. The supplier can help with this process.
Build your gate according to your design. If your design has bends and curves, you'll need a torch, anvil and hammer, or a rented bending device. Once you have formed your design to your satisfaction, check that it is plumb, using carpenter squares. You may want to cut 45-degree angles for a neater appearance at the corners.
Secure everything into place using clamps.. Now the welding process begins. Tack everything into place using small welds and argon gas before performing the stronger permanent welds. After you have completed the welding process, go back over the welds and clean them up, using a hand grinder to smooth and sand.
Inspect the welds. Check that everything is secure and cleaned and smoothed to your satisfaction. Paint the gate or have it powder-coated. Install your gate, using a level and or a carpenter square to ensure it is straight and will operate properly.
Tips & Warnings
If you intend to take this up as a hobby or a business, consider renting welding and bending equipment.
You may want to practice welds on scrap materials before beginning your gate.
When welding, always wear protective equipment to ensure safety. Your eyes must be shielded to prevent loss of eyesight; welding helmets are specifically made for this. Gloves are also recommended.


