Bulbs
Flower Basics
Flower Beds & Specialty Gardens
Flower Garden
Garden Furniture
Garden Gnomes
Garden Seeds
Garden Sheds
Garden Statues
Garden Tools & Supplies
Gardening Basics
Green & Organic
Groundcovers & Vines
Growing Annuals
Growing Basil
Growing Beans
Growing Berries
Growing Blueberries
Growing Cactus
Growing Corn
Growing Cotton
Growing Edibles
Growing Flowers
Growing Garlic
Growing Grapes
Growing Grass
Growing Herbs
Growing Jasmine
Growing Mint
Growing Mushrooms
Orchids
Growing Peanuts
Growing Perennials
Growing Plants
Growing Rosemary
Growing Roses
Growing Strawberries
Growing Sunflowers
Growing Thyme
Growing Tomatoes
Growing Tulips
Growing Vegetables
Herb Basics
Herb Garden
Indoor Growing
Landscaping Basics
Landscaping Patios
Landscaping Plants
Landscaping Shrubs
Landscaping Trees
Landscaping Walks & Pathways
Lawn Basics
Lawn Maintenance
Lawn Mowers
Lawn Ornaments
Lawn Planting
Lawn Tools
Outdoor Growing
Overall Landscape Planning
Pests, Weeds & Problems
Plant Basics
Rock Garden
Rose Garden
Shrubs
Soil
Specialty Gardens
Trees
Vegetable Garden
Yard Maintenance
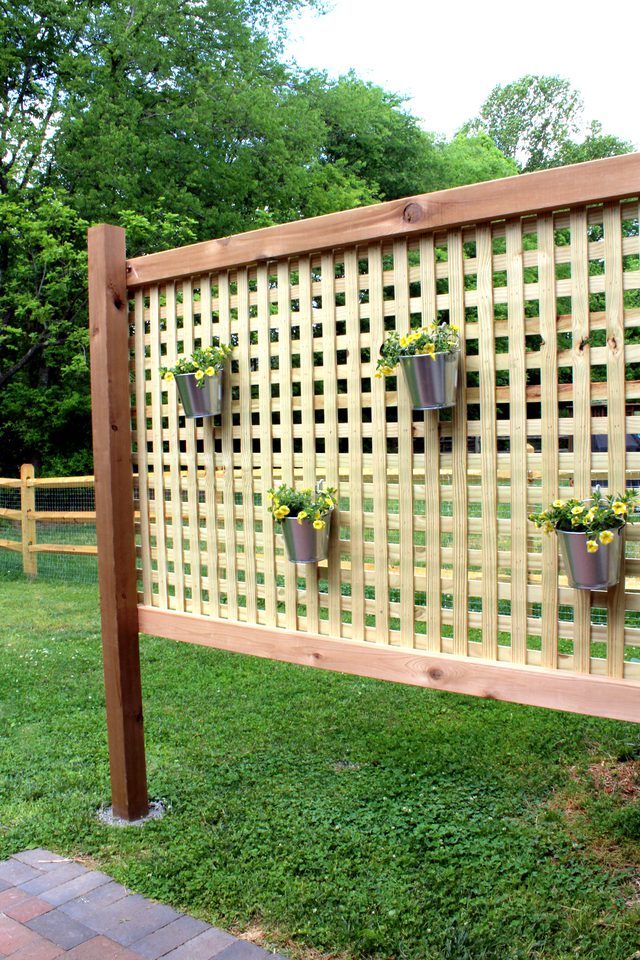
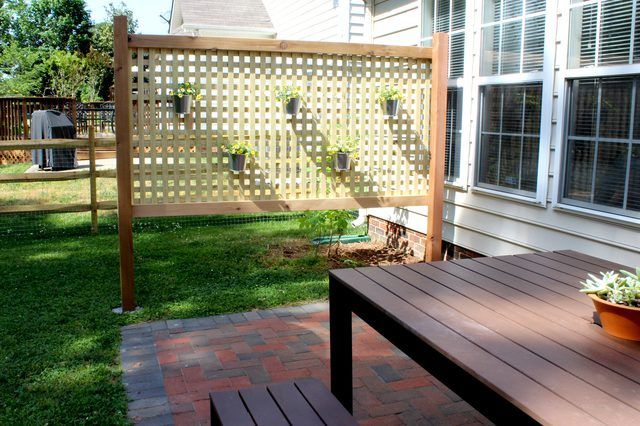
How to Build an Outdoor Privacy Screen
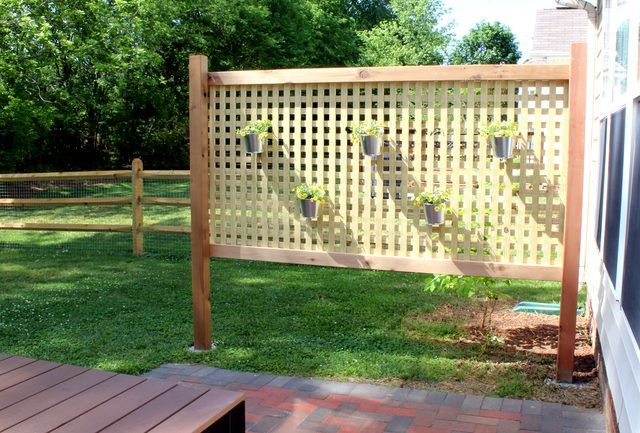
This cedar wood screen adds loads of character to a back yard, is budget friendly, and gives an outdoor patio space extra privacy.
We live in the suburbs, so our yard size is adequate but not large. We love our neighbors, but sometimes we want to eat a meal outside or get a little sun while enjoying some privacy. One of my favorite things about this project is that it doesn't require cutting any wood! We worked with the dimensions of the posts and lattice, which made the process much faster. For this project, we used a combination of cedar lumber and pressure-treated lattice. The eight-foot-tall posts go into the ground about two feet, creating an outdoor screen that's about six-feet tall � just enough height to give the family some privacy while eating dinner on the patio!
Things You'll Need
4-foot x 8-foot pressure-treated lattice�
4 x 4 cedar post, 8 feet long (2)
2 x 4 cedar boards, 8 feet long (2)
Drill with screwdriver bits
2-inch deck screws
4-inch deck screws
Carpenter's square
Mallet
Post-hole digger
Tape measure
Gravel
Level
60-lb. bag of high-strength concrete mix
5-gallon bucket
Water hose
Paddle mixing attachment for drill
Small shovel
2-quart galvanized paint buckets and flowers (5)
S hooks (5)
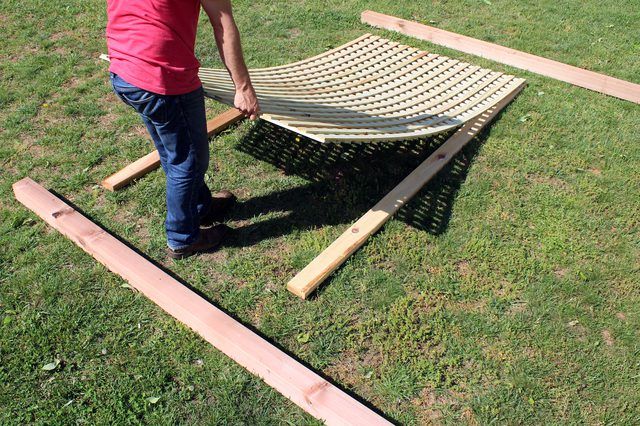
Step 1
Lay out the 2 x 4 cedar boards spaced about 4 feet apart. Then lay the lattice on top of the cedar boards and adjust the pieces so the edges of the 2 x 4s are flush with the top and bottom of the lattice.
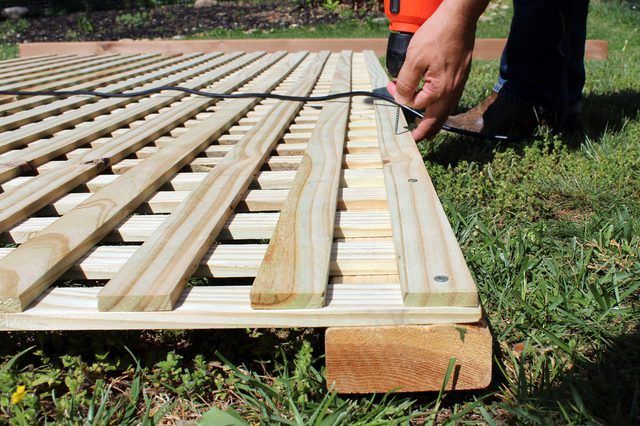
Step 2
Attach the lattice to the bottom of the cedar board with 2-inch deck screws spaced about every 6 inches along the bottom edge. Repeat to secure the top edge of the lattice to the other cedar board.
Step 3
Lay the 4 x 4 cedar posts underneath the assembled lattice panel, perpendicular to the cedar boards. Adjust so the lattice extends 4 inches above the top of the cedar posts.
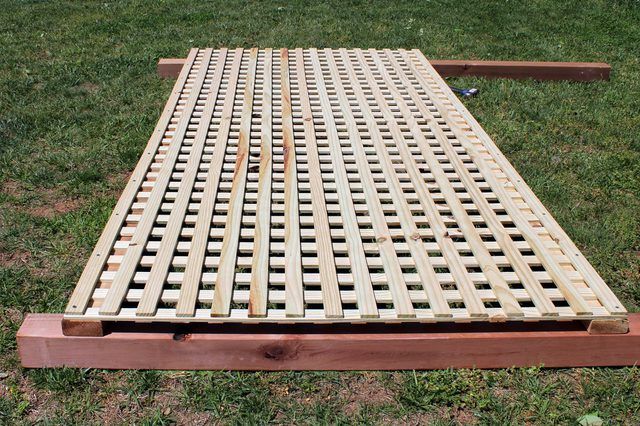
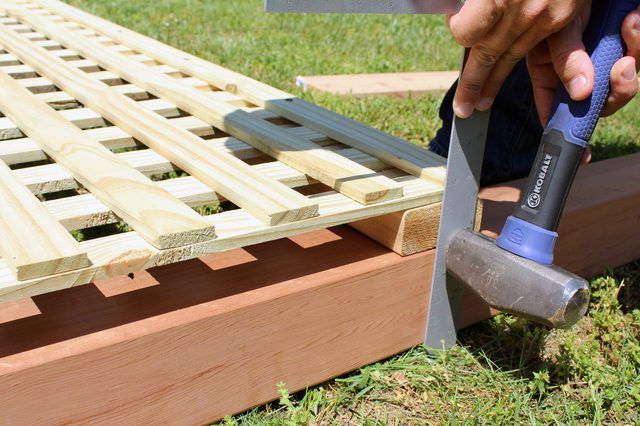
Step 4
Use a mallet to tap the boards and posts into alignment, so the edges are exactly flush.
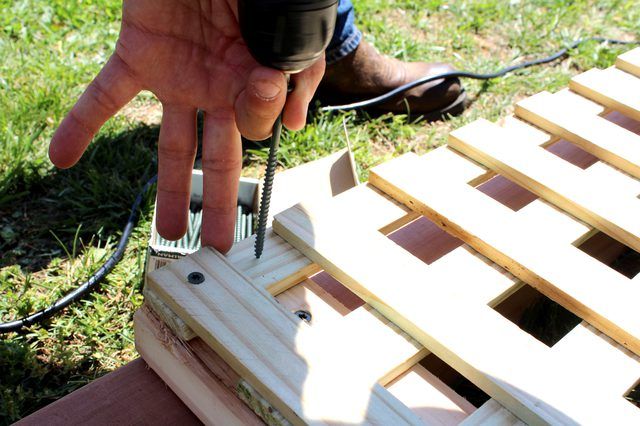
Step 5
Attach the lattice panel to the posts with 4-inch deck screws driven through the lattice and cedar boards and into the cedar posts. Drive three 4-inch screws per corner, for a total of 12 screws.
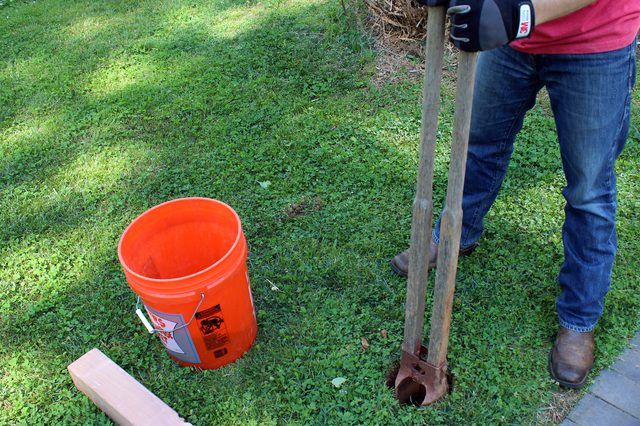
Step 6
Determine the position for your privacy screen, then dig the first post hole about 24-inches deep, using a post-hole digger.
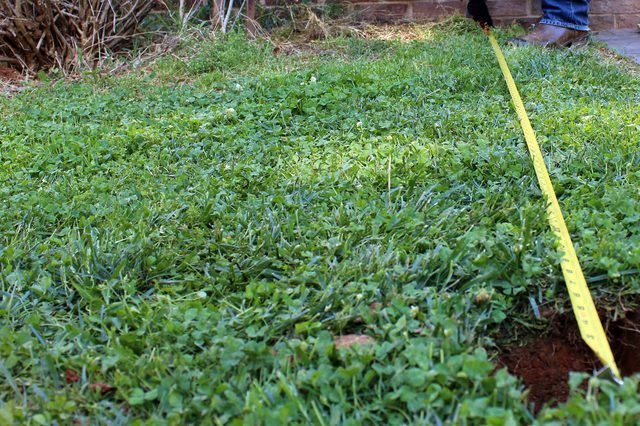
Step 7
Repeating step 6, dig the second post hole, approximately 8 feet away from other hole, measuring outer edge to outer edge.
Step 8
Add a small amount of gravel to each hole for drainage and to help prevent wood rot.
Tip
Even though cedar posts have natural resistance to rot, you may want to apply a wood sealer to the bottom two feet of the posts to improve their durability once imbedded in concrete.
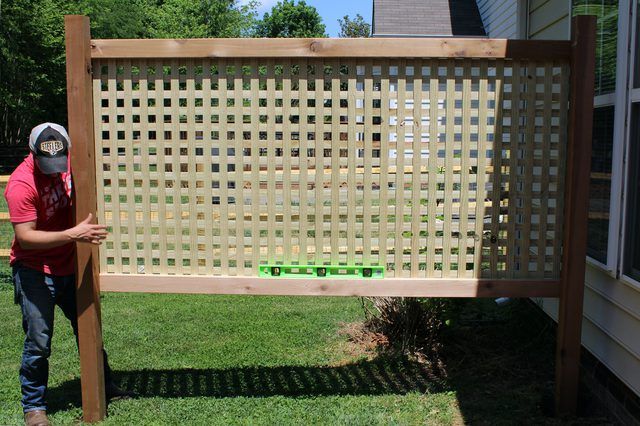
Step 9
Carefully lift the privacy screen upright, placing the posts into the holes.
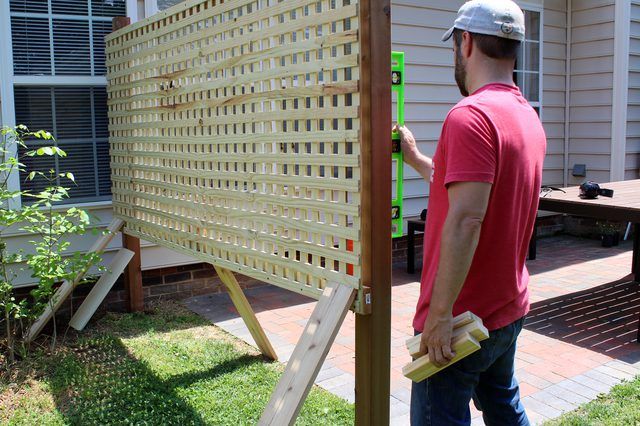
Step 10
Adjust the screen so it's perfectly upright (plumb) and level from one end to the other. Then use scrap wood to prop up it into place.
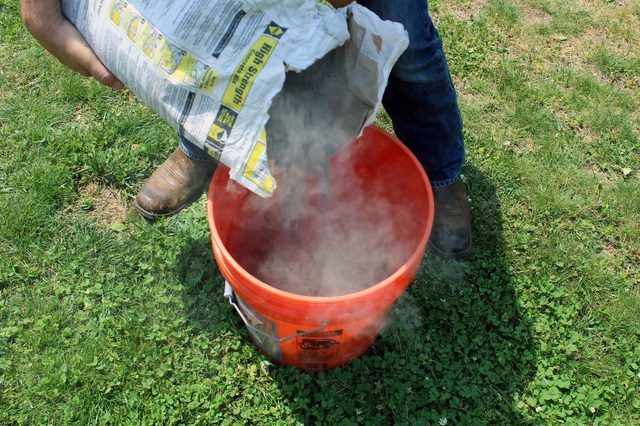
Step 11
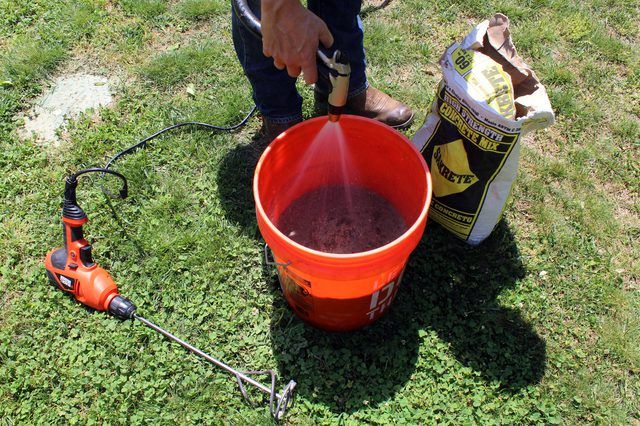
Add 1/2 bag of concrete mix to a 5-gallon bucket.
Step 12
Spray a small amount of water into the bucket.
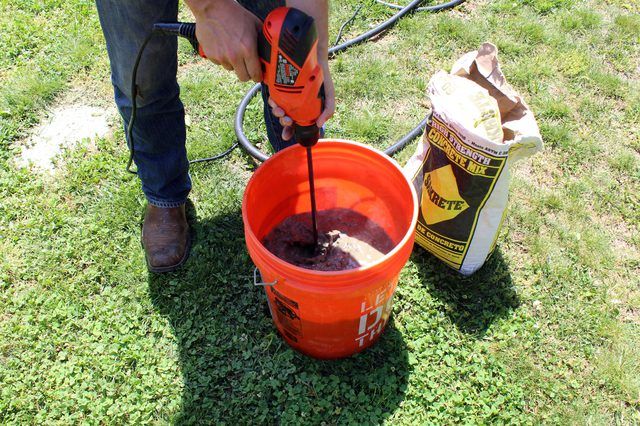
Step 13
Mix with a paddle attachment until the mixture is the consistency of pancake mix. Add more water in small increments as needed (making the concrete too wet will reduce its effectiveness).
Step 14
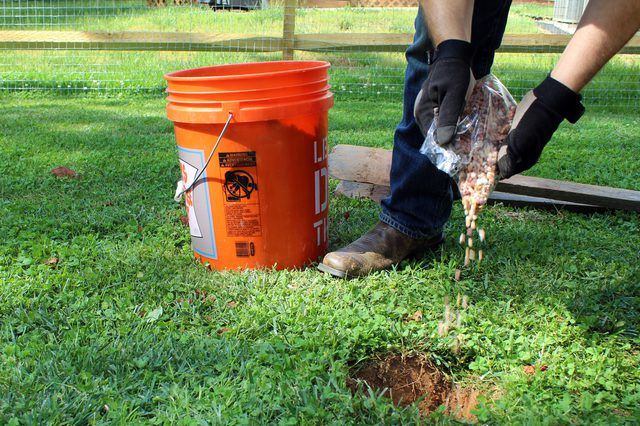
Using a small shovel, fill one post hole until the concrete is flush with the grass.
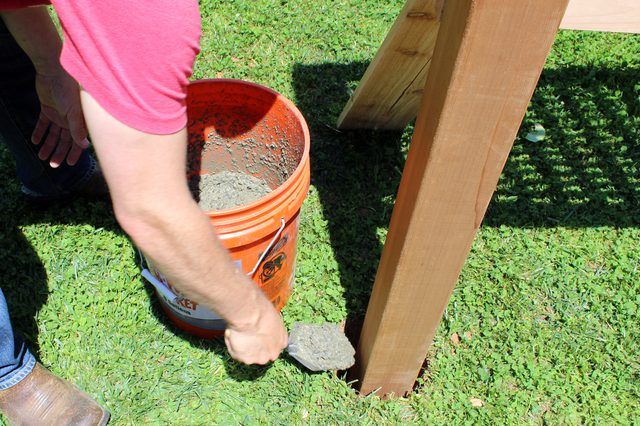
Step 15
Repeat steps 11-14 with remaining 1/2 bag of concrete and the other post hole.
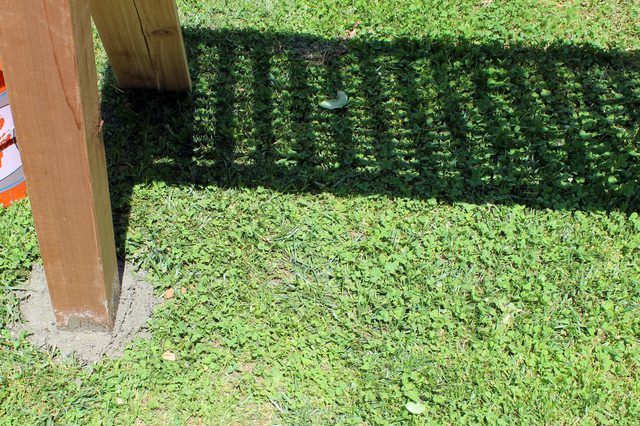
Tip
Slightly mounding the top of the poured concrete against the posts while it's still wet (so the footings slope up away from the lawn surface) will help the footings shed rainwater away from the posts and will slow their decay.
Step 16
Add a small amount of soil to the galvanized paint buckets and gently plant your flowers of choice. These are small planters with a small amount of soil, so flowers with low-moisture requirements are best. Petunias or geraniums work well, especially "wave" or ivy varieties that cascade downward.
Tip
Drill a few small holes in bottom of the buckets to provide drainage. Flowers that become waterlogged in sealed planters will likely die.
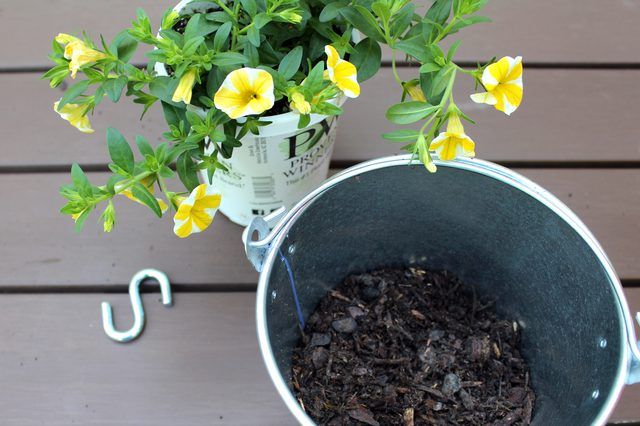
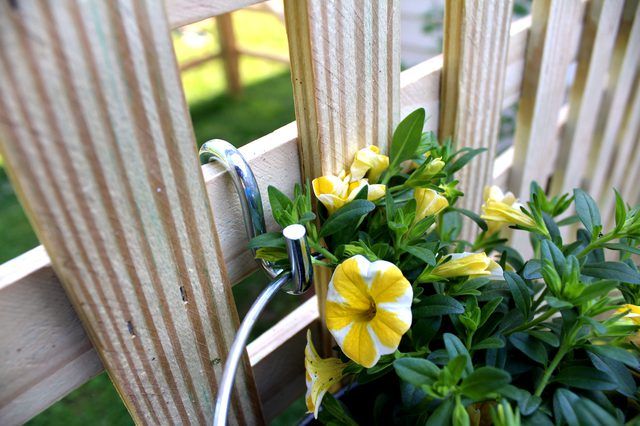
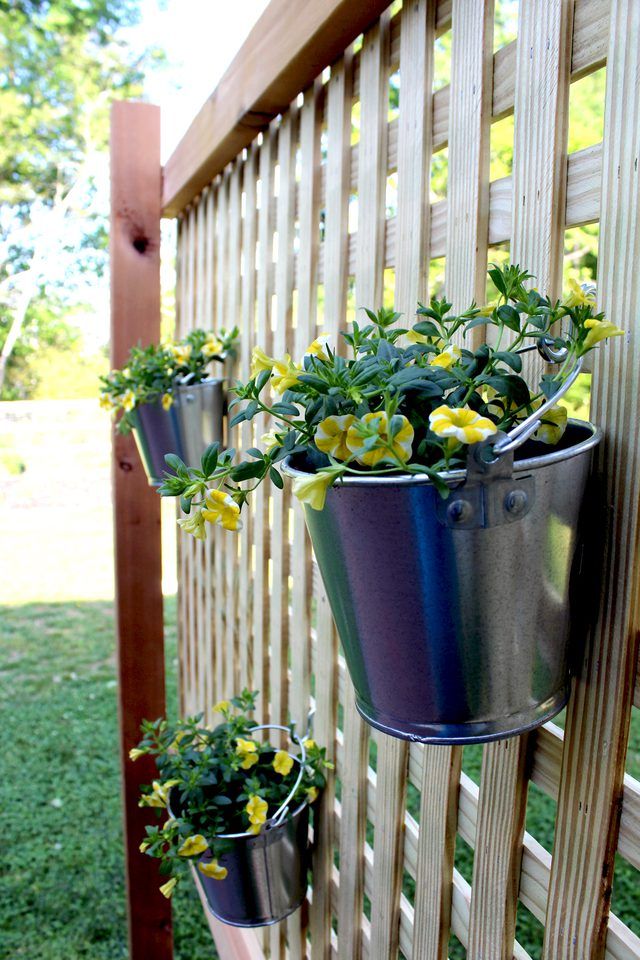
Step 17
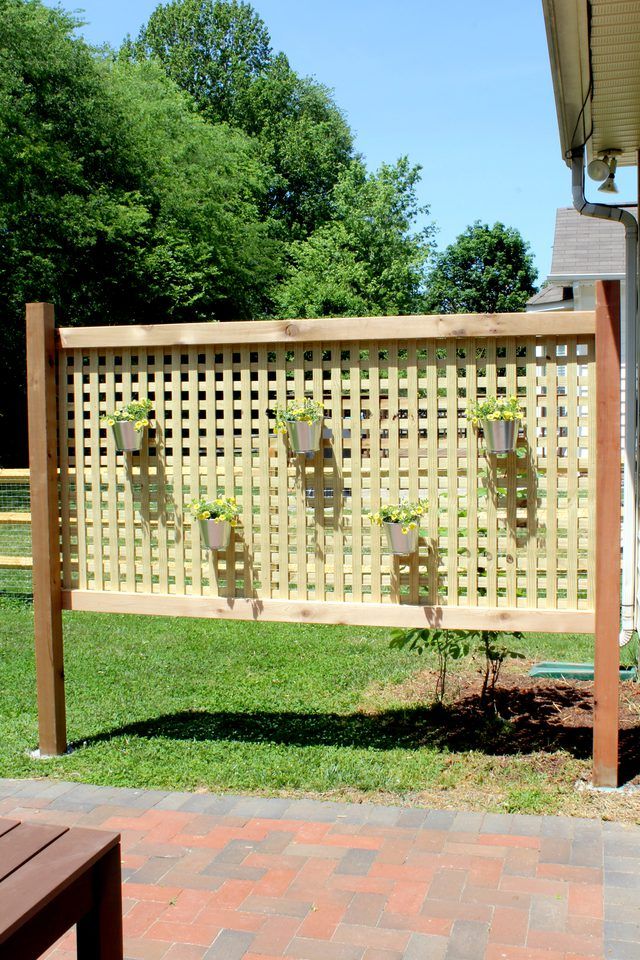
Hang the buckets on the lattice screen, using an S hook.
This wood screen adds loads of character to a backyard and gives an outdoor patio space a little extra privacy. The project was budget-friendly, with materials costing around $100, and it can easily be completed in an afternoon (plus drying time for the concrete).


