Bulbs
Flower Basics
Flower Beds & Specialty Gardens
Flower Garden
Garden Furniture
Garden Gnomes
Garden Seeds
Garden Sheds
Garden Statues
Garden Tools & Supplies
Gardening Basics
Green & Organic
Groundcovers & Vines
Growing Annuals
Growing Basil
Growing Beans
Growing Berries
Growing Blueberries
Growing Cactus
Growing Corn
Growing Cotton
Growing Edibles
Growing Flowers
Growing Garlic
Growing Grapes
Growing Grass
Growing Herbs
Growing Jasmine
Growing Mint
Growing Mushrooms
Orchids
Growing Peanuts
Growing Perennials
Growing Plants
Growing Rosemary
Growing Roses
Growing Strawberries
Growing Sunflowers
Growing Thyme
Growing Tomatoes
Growing Tulips
Growing Vegetables
Herb Basics
Herb Garden
Indoor Growing
Landscaping Basics
Landscaping Patios
Landscaping Plants
Landscaping Shrubs
Landscaping Trees
Landscaping Walks & Pathways
Lawn Basics
Lawn Maintenance
Lawn Mowers
Lawn Ornaments
Lawn Planting
Lawn Tools
Outdoor Growing
Overall Landscape Planning
Pests, Weeds & Problems
Plant Basics
Rock Garden
Rose Garden
Shrubs
Soil
Specialty Gardens
Trees
Vegetable Garden
Yard Maintenance
How to Lay Pavers Without Digging
How to Lay Pavers Without Digging. You want the aesthetic appeal of a paver walkway or patio, but you don't want to break your back doing it. While it is true that most people choose do dig down into the earth a little bit in order to remove the surface vegetation and keep their pavers set firmly in the ground, you don't have to go that route. It...
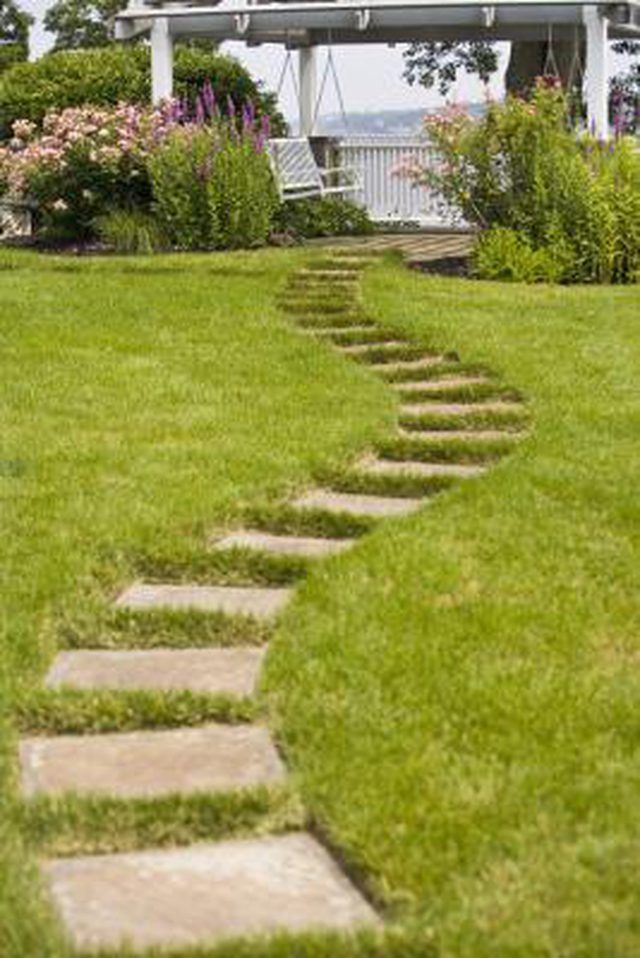
You want the aesthetic appeal of a paver walkway or patio, but you don't want to break your back doing it. While it is true that most people choose do dig down into the earth a little bit in order to remove the surface vegetation and keep their pavers set firmly in the ground, you don't have to go that route. It will still take some time and effort, but there is a way to install pavers with no digging, and in fact, very little heavy-duty work at all.
Things You'll Need
Black plastic sheeting
Flat metal rake
Tamping tool
Paver edging
Hammer or mallet
Lay a sheet of black plastic over the area and hold the edges down with stones, bricks or your pavers, to kill the grass and any other vegetation that may be growing there. Ideally, do this during a hot part of the year, as this "soil solarization" will kill the weeds and pests by causing them to overheat. If you're laying pavers as a patio, lay plastic over the entire area, plus about 1 foot on each side. For a walkway, lay the plastic about 6 inches wider than the desired walkway area on either side of the projected walkway.
Allow the plastic to sit on the area for about four weeks, or until all the growth underneath has died away. Lift a corner of the plastic every week or so to check on the progress.
Rake the area with a sturdy metal rake to smooth out the surface. If you're installing a patio, aim to make the area as level as possible, raking more dirt into certain areas if necessary.
Tamp down the area with a tamping tool.
Lay "no-dig" paver edging at the edges of your desired paver area. The installation for this material is different for every brand, but typically, you'll only need to lay down the edging, slide spikes through the holes in the edging, and then use a hammer or mallet to drive the spikes into the ground. Place the horizontal anchor tabs on the edging facing toward the projected paver area, or away from it -- the choice is up to you. Either way, the vertical "wall" of the edging will help hold the paver in place.
Spread about 1 inch of paving sand over the area, and then smooth it out with your rake.
Lay the pavers over the sand in the configuration you want.
Tips & Warnings
Since you're not digging down into the ground to install the pavers, your pavers are likely to stick up from the ground a bit -- but that no-dig paver edging you installed will help them stay in place.


