Bulbs
Flower Basics
Flower Beds & Specialty Gardens
Flower Garden
Garden Furniture
Garden Gnomes
Garden Seeds
Garden Sheds
Garden Statues
Garden Tools & Supplies
Gardening Basics
Green & Organic
Groundcovers & Vines
Growing Annuals
Growing Basil
Growing Beans
Growing Berries
Growing Blueberries
Growing Cactus
Growing Corn
Growing Cotton
Growing Edibles
Growing Flowers
Growing Garlic
Growing Grapes
Growing Grass
Growing Herbs
Growing Jasmine
Growing Mint
Growing Mushrooms
Orchids
Growing Peanuts
Growing Perennials
Growing Plants
Growing Rosemary
Growing Roses
Growing Strawberries
Growing Sunflowers
Growing Thyme
Growing Tomatoes
Growing Tulips
Growing Vegetables
Herb Basics
Herb Garden
Indoor Growing
Landscaping Basics
Landscaping Patios
Landscaping Plants
Landscaping Shrubs
Landscaping Trees
Landscaping Walks & Pathways
Lawn Basics
Lawn Maintenance
Lawn Mowers
Lawn Ornaments
Lawn Planting
Lawn Tools
Outdoor Growing
Overall Landscape Planning
Pests, Weeds & Problems
Plant Basics
Rock Garden
Rose Garden
Shrubs
Soil
Specialty Gardens
Trees
Vegetable Garden
Yard Maintenance
How to Build a Raspberry Patch
How to Build a Raspberry Patch. If you have only a small space for gardening, you can still enjoy the wonderful taste of fresh raspberries (Rubus idaeus). A raised raspberry bed will accommodate eight trailing raspberry plants such as the variety "Dormanred," which will yield up to 8 pints per plant. Raspberries are hardy in U.S....

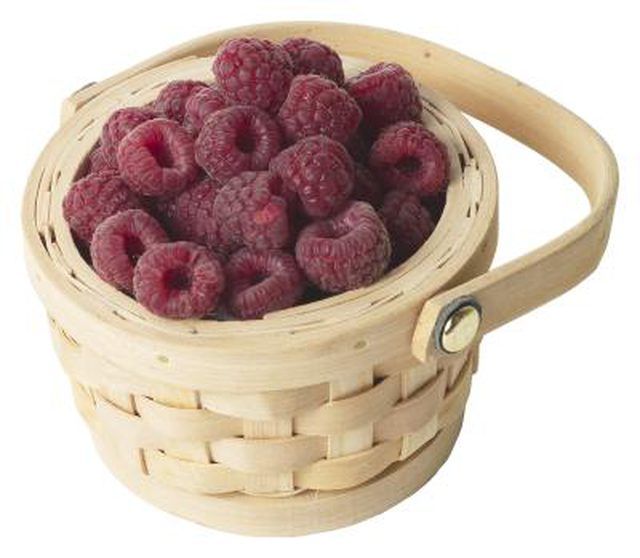
If you have only a small space for gardening, you can still enjoy the wonderful taste of fresh raspberries (Rubus idaeus). A raised raspberry bed will accommodate eight trailing raspberry plants such as the variety "Dormanred," which will yield up to 8 pints per plant. Raspberries are hardy in U.S. Department of Agriculture plant hardiness zones 2 through 7. Build the bed in a location that receives at least six hours a day of sunlight. Creating a raspberry patch by building a raised bed with an attached trellis is not only practical but also makes an attractive addition to your landscape.
Things You'll Need
Cedar four-by-four, 8 feet long
Measuring tape
Circular saw
6 cedar one-by-12s, 8 feet long
48 exterior grade wood screws, 3 inches long
Drill with screwdriver bit
2 cedar four-by-fours, 6 feet long
Fencing staples
Hammer
Post-hole digger
Gravel
Shovel
12-gauge fencing wire
Wire cutters
8 bags of planting soil
4 bags of compost
8 raspberry plants
Make the Raised Bed
Place the 8-foot-long cedar four-by-four on a flat working surface; mark a location along the post every 24 inches. Use a circular saw to cut the post along the marks so that you have four 24-inch-long posts. These are the corner posts for the raised bed.
Mark the center of two one-by-12s measuring 8 feet long. Cut the boards in half to form four 4-foot boards. These will be the short sides of the raised bed.
Place two of the corner posts made in Step 1 on a flat surface about 4 feet apart. Place a short side board from Step 2 across the two posts. Slide it down so it is flush with the bottom of the posts and screw in place with three 3-inch exterior-grade wood screws evenly spaced on each end. Attach a second short board directly above the first, leaving no gap in between. Repeat with the remaining short boards and posts to make a second short side.
Place the two short sides upright, facing each other and about 8 feet apart. Place an 8-foot-long one-by-12 across one of the posts on each side piece. Screw the board in place on the bottom of the posts with three 3-inch exterior-grade wood screws evenly spaced on each side. Attach a second 8-foot board directly above the first. Repeat on the other side of the raised bed to add two more long boards.
Make a Trellis
Place two four-by-fours measuring 6 feet long on a flat working surface. Make a mark 20 inches from the bottom on each post. Make three more marks, spaced 18 inches apart. Use a hammer to pound a fencing staple halfway into the posts at each mark. These posts will support a wire trellis.
Dig holes in the raised bed to install the trellis posts. Use post-hole diggers to make two holes 7 feet apart in the center of the raised bed. Shovel 4 inches of gravel into the bottom of the holes to help with drainage.
Place both four-by-fours, with the staples facing to the front, into the holes. Using a shovel, backfill the holes with dirt and tamp it down well.
Cut four pieces of 12-gauge fencing wire measuring 8 feet long each. Thread the first piece through the bottom two fencing staples on the trellis posts. Stretch the wire tight and pound the staples in the rest of the way to hold it in place. Repeat to install three more rows of wire.
Prepare the Bed and Plant
Spread a 1-inch layer of gravel in the bottom of the raised bed to assist with drainage.
Dump eight bags of planting soil and four bags of compost into the raised bed. Mix the soil and compost evenly inside the bed.
Plant eight raspberry plants evenly spaced on each side of the trellis. As the plants grow, tie long canes to the trellis wire. Add two inches of mulch to help with water retention and weed control.
Tips & Warnings
Choose trailing raspberry varieties such as "Dormanred" for this project. Erect varieties such as "Heritage" do not require a trellis, but may produce long canes that you can tie back to the trellis wires to keep them controlled.
Provide one inch of water per week.
Cedar and redwood are both rot-resistant.
Wear safety gear when operating power tools.