Bulbs
Flower Basics
Flower Beds & Specialty Gardens
Flower Garden
Garden Furniture
Garden Gnomes
Garden Seeds
Garden Sheds
Garden Statues
Garden Tools & Supplies
Gardening Basics
Green & Organic
Groundcovers & Vines
Growing Annuals
Growing Basil
Growing Beans
Growing Berries
Growing Blueberries
Growing Cactus
Growing Corn
Growing Cotton
Growing Edibles
Growing Flowers
Growing Garlic
Growing Grapes
Growing Grass
Growing Herbs
Growing Jasmine
Growing Mint
Growing Mushrooms
Orchids
Growing Peanuts
Growing Perennials
Growing Plants
Growing Rosemary
Growing Roses
Growing Strawberries
Growing Sunflowers
Growing Thyme
Growing Tomatoes
Growing Tulips
Growing Vegetables
Herb Basics
Herb Garden
Indoor Growing
Landscaping Basics
Landscaping Patios
Landscaping Plants
Landscaping Shrubs
Landscaping Trees
Landscaping Walks & Pathways
Lawn Basics
Lawn Maintenance
Lawn Mowers
Lawn Ornaments
Lawn Planting
Lawn Tools
Outdoor Growing
Overall Landscape Planning
Pests, Weeds & Problems
Plant Basics
Rock Garden
Rose Garden
Shrubs
Soil
Specialty Gardens
Trees
Vegetable Garden
Yard Maintenance
How to Grow Mushrooms Quickly
How to Grow Mushrooms Quickly. Grow edible mushrooms quickly in your home with a few supplies. The optimal growing environment produces mushrooms in about four weeks with harvest several weeks later, depending on the variety. Choose button (Agaricus bisporus), shiitake (Lentinula edodes) or oyster (Pleurotus species) mushrooms for the best results...
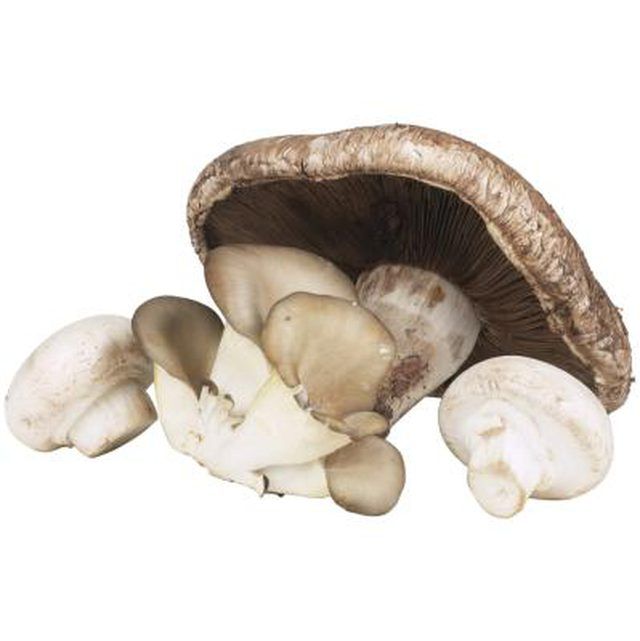
Grow edible mushrooms quickly in your home with a few supplies. The optimal growing environment produces mushrooms in about four weeks with harvest several weeks later, depending on the variety. Choose button (Agaricus bisporus), shiitake (Lentinula edodes) or oyster (Pleurotus species) mushrooms for the best results when growing mushrooms quickly at home.
Things You'll Need
6-inch wide, untreated lumber planks
Measuring tape
Saw
2-inch long nails
Hammer
Thermometer
Humidity meter
Composted horse manure
Watering device
Clean, dry hay
Composted poultry manure
Ammonium nitrate
Gypsum
Soil thermometer
Mushroom spores
Water mister
Newspaper
Horticultural limestone
Sphagnum moss
Sticky insect strip
Food-safe fungicide (optional)
Make a mushroom grow box by cutting 11 sections that are each 50 inches long from 6-inch wide, untreated lumber planks. Attach four planks together at their ends with 2-inch long nails, making a box frame that is about 50 inches long and 6 inches deep. Nail the remaining seven planks along the box frame's bottom with 1-inch gaps between those planks to allow drainage. The length of planks can be adjusted to fit the space.
Set the mushroom grow box in an area that remains dark, has an air temperature of 55 to 70 degrees Fahrenheit and maintains a humidity between 80 and 95 percent.
Fill the bottom of the grow box with a 5-inch layer of composted horse manure. Moisten the compost with water, and work it with your hands until it reaches the consistency of a moist sponge.
Add a 1/2-inch layer of clean, dry hay on top of the horse manure layer. Add a 1/4-inch layer of composted poultry manure on top of the hay. Moisten the hay and composted poultry manure with water, and work the mixture with your hands until it reaches the consistency of a moist sponge.
Sprinkle ammonium nitrate and gypsum lightly on top of the grow box's contents.
Let the grow box rest until the growing medium reaches a temperature of 70 to 80 degrees Fahrenheit. The growing medium should remain at that temperature during the mushroom growing process.
Sprinkle mushroom spores evenly over the growing medium in the grow box, using the amount of spores listed for the grow box's size on the mushroom spores' package. Work the growing medium to a depth of 2 inches to incorporate the spores into the medium.
Mist the top of the growing medium with water by using a water mister. Place two or three layers of newspaper on top of the growing medium. The newspaper holds in moisture and keeps light from the spores. Lift the edge of the newspaper layers every day to inspect the growing medium. Remove the layers of newspaper when white fungus appears on the top of the growing medium. Keep the light level dark after removing the newspaper.
Mix equal portions of horticultural limestone and sphagnum moss. Sprinkle about a 1-inch layer of the mixture over top of the fungus in the growing bed for a casing treatment. The box's contents will mound slightly above the top of the box. Mist the growing bed with warm water, moistening the contents without making them wet. Repeat the water misting task several times each week, keeping the environment moist while mushrooms grow. Avoid letting the growing bed's contents dry out or become saturated with water.
Monitor the mushrooms for the presence of fungus gnats and flies. Hang a sticky insect strip above the top of the mushroom grow box to kill catch the insects.
Monitor the mushrooms for deformed or stunted growth, a sign of a fungal disease. Apply a food-safe fungicide if the mushrooms display either symptom after the casing treatment. Follow the fungicide package's instructions to determine the amount of fungicide to use for the grow box's size.
Tips & Warnings
Mushrooms begin to appear about four weeks after the casing treatment. When the mushrooms reach the desired size, twist off the mushrooms at the bottom of their stem to harvest them.
Mushroom growing supplies and spores are available from garden supply stores and online gardening retailers.


