Bulbs
Flower Basics
Flower Beds & Specialty Gardens
Flower Garden
Garden Furniture
Garden Gnomes
Garden Seeds
Garden Sheds
Garden Statues
Garden Tools & Supplies
Gardening Basics
Green & Organic
Groundcovers & Vines
Growing Annuals
Growing Basil
Growing Beans
Growing Berries
Growing Blueberries
Growing Cactus
Growing Corn
Growing Cotton
Growing Edibles
Growing Flowers
Growing Garlic
Growing Grapes
Growing Grass
Growing Herbs
Growing Jasmine
Growing Mint
Growing Mushrooms
Orchids
Growing Peanuts
Growing Perennials
Growing Plants
Growing Rosemary
Growing Roses
Growing Strawberries
Growing Sunflowers
Growing Thyme
Growing Tomatoes
Growing Tulips
Growing Vegetables
Herb Basics
Herb Garden
Indoor Growing
Landscaping Basics
Landscaping Patios
Landscaping Plants
Landscaping Shrubs
Landscaping Trees
Landscaping Walks & Pathways
Lawn Basics
Lawn Maintenance
Lawn Mowers
Lawn Ornaments
Lawn Planting
Lawn Tools
Outdoor Growing
Overall Landscape Planning
Pests, Weeds & Problems
Plant Basics
Rock Garden
Rose Garden
Shrubs
Soil
Specialty Gardens
Trees
Vegetable Garden
Yard Maintenance
How to Build a Potato Digger
How to Build a Potato Digger. A potato digger uses a blade to cut into the ground and free up the potatoes. From the cutting blade, the potatoes are pushed across a screen that shakes off the dirt, then dropped back onto the field to be picked up later. Usually, potato diggers will dig up one row of potatoes at a time. Although commercial potato...
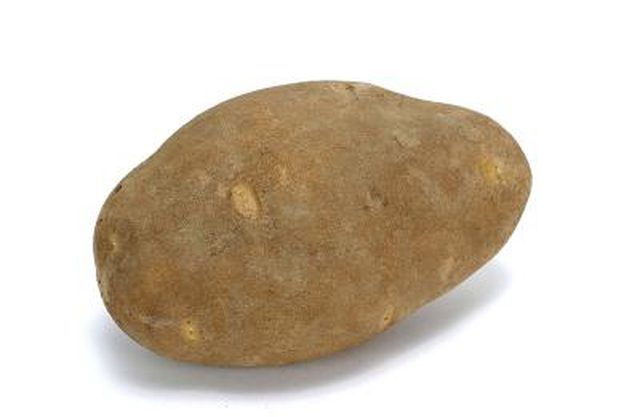
A potato digger uses a blade to cut into the ground and free up the potatoes. From the cutting blade, the potatoes are pushed across a screen that shakes off the dirt, then dropped back onto the field to be picked up later. Usually, potato diggers will dig up one row of potatoes at a time. Although commercial potato diggers are more suitable for professional use, you can build your own for a large hobby garden. You can also use the diggers to dig up other vegetables by adjusting the angle of the cutting blade.
Things You'll Need
Metal saw
U-shaped cutting blade
Drill
Bolt and washer
Roll of metal screen
Snips
Small trailer for a tractor that has air-filled wheels
Welder
Use the metal saw to cut a hole in the trailer. The hole should start at the front of the trailer and go to the back. Leave 1 foot of trailer bed on either side of the hole. For example, if the trailer is 3 feet wide, the hole should be 1 foot wide in the center of the trailer with 1 foot on either side of the hole.
Hold the U-shaped cutting blade up to the hole and find the correct angle for cutting into the ground low enough to cut under the potatoes (a 35-degree angle would suffice; adjust it as necessary). The blade should be positioned at the front of the trailer, low enough to the ground for it to drag and cut into the ground. Mark either side of the trailer hole where the blade will be placed. The cutting blade should be approximately 1 foot from one side to the other and approximately 3 feet wide for a 3-foot-wide trailer. The U shape in the blade helps to guide the potatoes onto the screening, with the center-bottom portion of the blade positioned at the center of the row of potatoes. The blades can be purchased as most farm-equipment stores, and you can also find out where to get one from an animal-feed supplier.
Dill holes in either side of the trailer (where you marked for the cutting blade). Also drill holes in either side of the cutting blade (where it will attach to the trailer). Use a drill bit that will be strong enough to drill through metal; ask your local hardware store if you are unsure of which kind of drill bit to use. The size of the hole does not matter, but ensure the bolts you use later on to attach the cutting blade are the same size as the holes for a snug fit.
Line up the holes on the blade and trailer. Insert the bolts through the holes and secure them with washers.
Position the screen from the back of the cutting blade to the back of the trailer. The screen should follow the same U shape as the blade. Ensure the potatoes will be able to go up the cutting blade, onto the screen and then drop out of the back of the trailer. Cut the screen to the appropriate size. The screen will form a tube below the trailer surface where the potatoes will shake. As the potatoes build up on the screen, the shaking and new potatoes coming up from the ground will push the shaken potatoes off the back of the screen. Having the screen on a downward angle from the cutting blade will help with this.
Weld the screen in place so there are no gaps other than at the back of the trailer where the potatoes will drop out. Although the trailer bed will be flat, the screen will now form a tube below the surface of the trailer that will guide the potatoes across the screening and out the back of the trailer. Having the screen extend all the way to the back of the trailer will ensure your trailer wheels are not running over your potatoes after they drop out.
Tips & Warnings
Take a small amount of air out of the tires of the trailer so it bounces while being dragged through the field. This will help shake the dirt off the potatoes before dropping them in the field.
If you find the cutting blade is not going low enough into the ground, use chain to attach the trailer to the tractor. This will drop the front of the trailer lower to the ground than if the trailer hitch is used.
Making your own machinery is always dangerous and it is recommended that you proceed at your own risk. There are many ways of completing this task; this is only one method.


