Bulbs
Flower Basics
Flower Beds & Specialty Gardens
Flower Garden
Garden Furniture
Garden Gnomes
Garden Seeds
Garden Sheds
Garden Statues
Garden Tools & Supplies
Gardening Basics
Green & Organic
Groundcovers & Vines
Growing Annuals
Growing Basil
Growing Beans
Growing Berries
Growing Blueberries
Growing Cactus
Growing Corn
Growing Cotton
Growing Edibles
Growing Flowers
Growing Garlic
Growing Grapes
Growing Grass
Growing Herbs
Growing Jasmine
Growing Mint
Growing Mushrooms
Orchids
Growing Peanuts
Growing Perennials
Growing Plants
Growing Rosemary
Growing Roses
Growing Strawberries
Growing Sunflowers
Growing Thyme
Growing Tomatoes
Growing Tulips
Growing Vegetables
Herb Basics
Herb Garden
Indoor Growing
Landscaping Basics
Landscaping Patios
Landscaping Plants
Landscaping Shrubs
Landscaping Trees
Landscaping Walks & Pathways
Lawn Basics
Lawn Maintenance
Lawn Mowers
Lawn Ornaments
Lawn Planting
Lawn Tools
Outdoor Growing
Overall Landscape Planning
Pests, Weeds & Problems
Plant Basics
Rock Garden
Rose Garden
Shrubs
Soil
Specialty Gardens
Trees
Vegetable Garden
Yard Maintenance
How to Make Manure Pots
How to Make Manure Pots. Making manure pots is a process that turns waste into paper, which can then be baked and molded into the appropriate shape. These pots are biodegradable and can be seamlessly integrated into any garden or home environment. The manure, which you can purchase from a local home and garden store, is often made from cow feces....

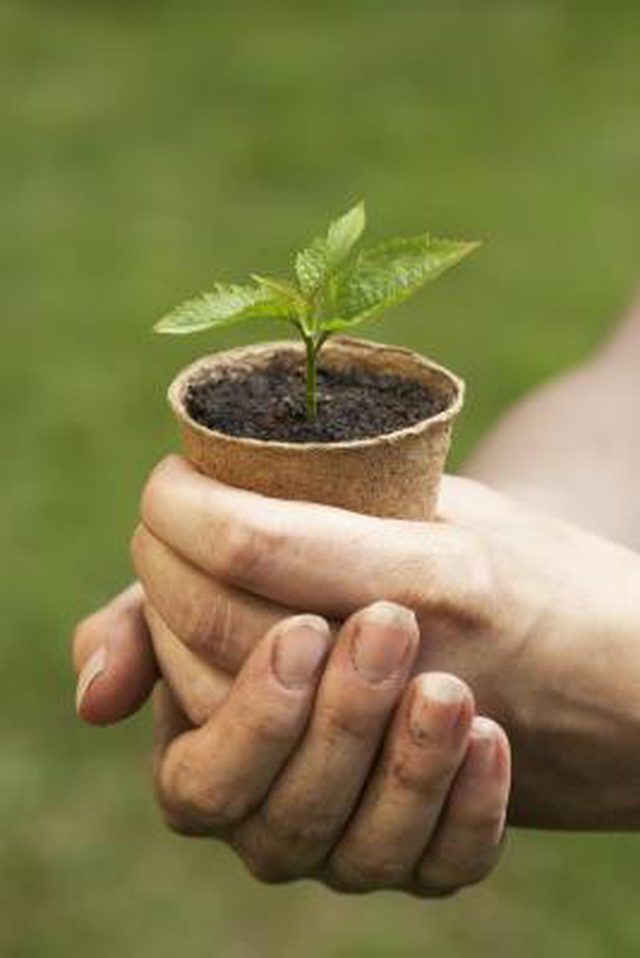
Making manure pots is a process that turns waste into paper, which can then be baked and molded into the appropriate shape. These pots are biodegradable and can be seamlessly integrated into any garden or home environment. The manure, which you can purchase from a local home and garden store, is often made from cow feces. Despite this standard, you can cultivate your own manure using the excrement of your own pets. While the process may be smelly, the finished product is equivalent to a typical paper pot.
Things You'll Need
2 pounds of manure
Acrylic felt -- 12 inches square, 10 to 12 pieces
Large wooden board
Putty knife
Wooden spoon
Deckle -- 12 inches square
Plastic tub
Plastic sheeting -- about 3 feet square
Plastic pail
Large stock pot
Outdoor gas cooker
Wooden dowel -- 18 to 24 inches long
1 cup soda ash
Blender
Fine mesh fabric (6 mm by 6 mm holes) -- 12 inches square
4 clothespins
Plastic pot molds
1/2 cup cotton linter
Sharp, narrow knife
Place approximately 1/2 pound of manure onto your plastic sheet. Use a putty knife to spread it out in a thin, even layer. Let it dry in an outdoor space.
Fill an empty stock pot halfway with water, and set the pot on an outdoor grill set to high heat. Add dried manure to the pot, breaking it off from the plastic sheet it has dried on. Continuously add manure to the mixture until it reaches 2 inches below the top of the pot.
Stir the mixture with a long, wooden dowel to break up the manure as it starts boiling. Add 1 cup of soda ash. Continue stirring, until the ash is integrated into the mixture.
Cook this mixture for up to 2 hours, stirring occasionally to keep the contents from separating.
Attach fine mesh to your plastic pail. Place it over the top of the pail and hold it tight with your right hand while attaching all four clothespins to four different sections of the lip of the pail. The clothespins should be pinned so the cloth stays securely on top of the pail.
Strain the contents of the boiled manure pot through the fine mesh. Do this by slowly pouring the mixture onto the mesh and pushing it gently with a wooden spoon. Once the liquid has run through, pour clean water over the manure matter that rests on top of the mesh to rinse it.
Place 1/2 cup of torn pieces of cotton linter and 1/2 cup of water into a blender. Push the pulse button for 30 seconds, allowing it to rest before repeating the process. Repeat until the linter blends thoroughly with the water.
Add 1 cup of the rinsed, drained manure matter to the blender, pulsing it for an additional 30 seconds. Place this mixture into a plastic tub.
Repeat Steps 7 and 8 until you have nearly filled the plastic tub.
Place your paper-making mold down in a bucket that is large enough to hold a 12-inch-square mold. Then place the deckle -- or wooden frame -- around the mold. The job of the deckle is to secure the mold, making sure it doesn't move around while the manure is being placed in. Gently pour water on both the deckle and mold until it is submerged.
Place the manure down onto the mold and into the deckle, smoothing it out with a wooden spoon until it is pushed tightly and firmly into the deckle border. Wait 5 minutes before pulling the mold and deckle straight up from the bottom of the plastic tub, allowing excess water to drip from the mold. This will yield one sheet of manure paper.
Place this sheet directly onto a piece of acrylic felt. Add a sheet of felt on top, and then add another piece of manure paper on top of it. Place weighted objects, such as books and bricks on top, to squeeze out excess water and flatten the paper. The weighted objects should stay on for 24 hours.
Place the sheets into pot molds while they are still damp, pushing them tightly to the sides of the molds. Place them in an oven at 550 degrees F for three hours, and then turn off the heat. Let them set in the oven for several hours. After removing the molds from the oven, slide a sharp knife carefully around the sides of the molds before twisting them out to preserve their shape.