Bulbs
Flower Basics
Flower Beds & Specialty Gardens
Flower Garden
Garden Furniture
Garden Gnomes
Garden Seeds
Garden Sheds
Garden Statues
Garden Tools & Supplies
Gardening Basics
Green & Organic
Groundcovers & Vines
Growing Annuals
Growing Basil
Growing Beans
Growing Berries
Growing Blueberries
Growing Cactus
Growing Corn
Growing Cotton
Growing Edibles
Growing Flowers
Growing Garlic
Growing Grapes
Growing Grass
Growing Herbs
Growing Jasmine
Growing Mint
Growing Mushrooms
Orchids
Growing Peanuts
Growing Perennials
Growing Plants
Growing Rosemary
Growing Roses
Growing Strawberries
Growing Sunflowers
Growing Thyme
Growing Tomatoes
Growing Tulips
Growing Vegetables
Herb Basics
Herb Garden
Indoor Growing
Landscaping Basics
Landscaping Patios
Landscaping Plants
Landscaping Shrubs
Landscaping Trees
Landscaping Walks & Pathways
Lawn Basics
Lawn Maintenance
Lawn Mowers
Lawn Ornaments
Lawn Planting
Lawn Tools
Outdoor Growing
Overall Landscape Planning
Pests, Weeds & Problems
Plant Basics
Rock Garden
Rose Garden
Shrubs
Soil
Specialty Gardens
Trees
Vegetable Garden
Yard Maintenance
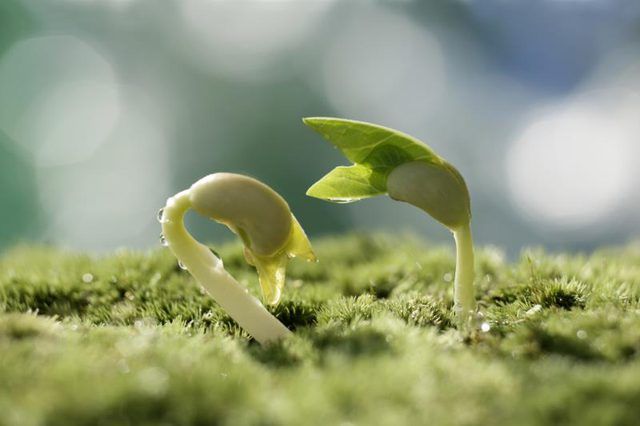
How to Transplant Seedlings
How to Transplant Seedlings. By germinating seeds indoors before the growing season begins, you get a jump-start on plants such as tomatoes (Solanum lycopersicum), which are perennial in U.S. Department of Agriculture plant hardiness zones 10 through 11 and take longer than some other plants to mature. Growing your own seedlings indoors is less...
By germinating seeds indoors before the growing season begins, you get a jump-start on plants such as tomatoes (Solanum lycopersicum), which are perennial in U.S. Department of Agriculture plant hardiness zones 10 through 11 and take longer than some other plants to mature. Growing your own seedlings indoors is less expensive than purchasing seedlings at plant nurseries but still eventually requires transplanting them in an outdoor growing space. The small plants need a gradual transition to outdoor conditions and an optimal growing environment to thrive.
Time the Transplant
The specific time that is ideal for transplanting seedlings outdoors depends on your specific climate. Wait until the threat of frost passes in your area so the seedlings aren't damaged by cold temperatures. The seedlings need to be strong and healthy. Repotting them in larger containers before transplanting them outdoors may be necessary if they need more time to grow. Seedlings fare best when transplanted in the morning or on an overcast day.
Containers and Thinning
Seedlings started in trays need to be thinned and transplanted into individual containers for the least disturbance of roots when the final transplanting into the garden takes place. Planting into individual peat pots eliminates the need to thin multiple seedlings and the pot is planted directly into the garden without disturbing the roots. The peat pot eventually breaks down into the soil. Make sure your containers drain and use a sterile seed-starting potting mix. Once the seedlings produce two sets of true leaves it's time to thin them. Pinch off the extra seedlings and space them approximately 2 inches apart. Fill an individual container with potting mix and moisten the soil. Poke a hole into the center deep enough to hold the seedling's root system at the same height it was growing in the starter tray. Using a spoon, gently lift the seedling from the tray. Handle them by the leaves so the roots are not damaged and place into the container's hole. Firm the soil around the seedling and water. Allow the seedlings to recover from transplant shock by not putting them into direct sunlight for three or four days.
Harden Off Seedlings
Going from controlled indoor conditions to the full sunlight, wind and temperature changes outdoors can be a shock to seedlings. The young plants need to go through the hardening off process to build up tolerance to outdoor conditions. About seven to 10 days before transplanting, place the seedlings outdoors for one or two hours each day. Their initial hardening-off spot should be protected from wind and be in partial shade. Increase the length of time the plants stay outdoors and give them more exposure to sunlight and wind as the transplant date nears.
Prepare the Site
A well-prepared planting site means you can get the seedlings into the ground right away. The soil should be worked before the transplanting day so it is loose and drains well. Till a 1- to 2-inch thick layer of compost into the soil to create a fertile spot for the seedlings. Dig each planting hole so it is wide and deep enough for its respective plant's roots. A general recommendation is to make each hole as deep as its plant's container and just slightly wider than the container.
Plant the Seedlings
The seedlings should stay in their containers until you are ready to plant them. Waiting until then protects the roots so they don't dry out. Because seedlings are young and tender, handle them with care when transplanting. Squeezing a stem can cause damage that stops growth. Water the container's soil before transplanting. Loosen the soil in a plant's container by using a small stick or other narrow tool carefully. Then tip the container, and shake or tap its bottom to slide out the seedling. Each seedling needs to be planted at the same soil depth at which it grew in its container. If a planting hole is too deep, add soil to its bottom before planting. Place each seedling in its hole with the plant's roots spread outward. Cover the roots with soil, and press the soil downward gently. Transplanted seedlings need to have their soil watered right away and then irrigated regularly until the plants produce signs of new growth.


