Bulbs
Flower Basics
Flower Beds & Specialty Gardens
Flower Garden
Garden Furniture
Garden Gnomes
Garden Seeds
Garden Sheds
Garden Statues
Garden Tools & Supplies
Gardening Basics
Green & Organic
Groundcovers & Vines
Growing Annuals
Growing Basil
Growing Beans
Growing Berries
Growing Blueberries
Growing Cactus
Growing Corn
Growing Cotton
Growing Edibles
Growing Flowers
Growing Garlic
Growing Grapes
Growing Grass
Growing Herbs
Growing Jasmine
Growing Mint
Growing Mushrooms
Orchids
Growing Peanuts
Growing Perennials
Growing Plants
Growing Rosemary
Growing Roses
Growing Strawberries
Growing Sunflowers
Growing Thyme
Growing Tomatoes
Growing Tulips
Growing Vegetables
Herb Basics
Herb Garden
Indoor Growing
Landscaping Basics
Landscaping Patios
Landscaping Plants
Landscaping Shrubs
Landscaping Trees
Landscaping Walks & Pathways
Lawn Basics
Lawn Maintenance
Lawn Mowers
Lawn Ornaments
Lawn Planting
Lawn Tools
Outdoor Growing
Overall Landscape Planning
Pests, Weeds & Problems
Plant Basics
Rock Garden
Rose Garden
Shrubs
Soil
Specialty Gardens
Trees
Vegetable Garden
Yard Maintenance
How to Get Dirt Out of Sprinkler Lines
How to Get Dirt Out of Sprinkler Lines. Automatic sprinkler systems rely on clean pipes and steady water pressure to operate properly. If your sprinklers are showing signs of slowing down, erratic spraying or no spraying at all, chances are there is dirt trapped within the sprinkler lines. It's possible to flush your lines using no tools and...
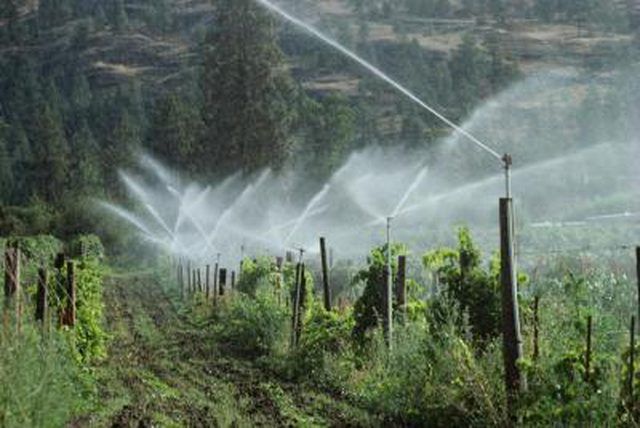
Automatic sprinkler systems rely on clean pipes and steady water pressure to operate properly. If your sprinklers are showing signs of slowing down, erratic spraying or no spraying at all, chances are there is dirt trapped within the sprinkler lines. It's possible to flush your lines using no tools and removing the dirt. Once a sprinkler line is flushed out, the performance should return to normal.
Open the irrigation control box outside and identify the first zone on the sprinkler system. The first zone is typically the one closest to the supply pipe.
Turn the solenoid on top of the valve counterclockwise to begin the manual flow of water.
Inspect each sprinkler head on the zone for signs of dirt clogs. A clogged sprinkler will spray erratically or not at all.
Tighten the solenoid on the valve and watch as the sprinklers go down. Note the position of the last sprinkler to stop spraying. This is the last sprinkler on the zone.
Grab the top of the sprinkler that you have identified as the last on the line and turn the body counterclockwise until it releases from the plastic riser underground. This will expose the riser and give dirt that's trapped in your line a place to escape.
Turn the solenoid on the sprinkler valve counterclockwise again to start the flow of water. Water will gush out of the sprinkler riser that you removed. Allow the water to flush through the line for at least three minutes. After that time, tighten the solenoid to stop the flow of water.
Replace the sprinkler on the riser and tighten clockwise by hand. Any large particles of dirt that were trapped in the line should now have been flushed out.
Tips & Warnings
Sprinkler heads contain a small plastic filter that should also be checked routinely for signs of clogging. Unscrew the nozzle of the sprinkler and pull out the filter to see if it's dirty. Running the filter under cold water will remove any dirt.


