Bulbs
Flower Basics
Flower Beds & Specialty Gardens
Flower Garden
Garden Furniture
Garden Gnomes
Garden Seeds
Garden Sheds
Garden Statues
Garden Tools & Supplies
Gardening Basics
Green & Organic
Groundcovers & Vines
Growing Annuals
Growing Basil
Growing Beans
Growing Berries
Growing Blueberries
Growing Cactus
Growing Corn
Growing Cotton
Growing Edibles
Growing Flowers
Growing Garlic
Growing Grapes
Growing Grass
Growing Herbs
Growing Jasmine
Growing Mint
Growing Mushrooms
Orchids
Growing Peanuts
Growing Perennials
Growing Plants
Growing Rosemary
Growing Roses
Growing Strawberries
Growing Sunflowers
Growing Thyme
Growing Tomatoes
Growing Tulips
Growing Vegetables
Herb Basics
Herb Garden
Indoor Growing
Landscaping Basics
Landscaping Patios
Landscaping Plants
Landscaping Shrubs
Landscaping Trees
Landscaping Walks & Pathways
Lawn Basics
Lawn Maintenance
Lawn Mowers
Lawn Ornaments
Lawn Planting
Lawn Tools
Outdoor Growing
Overall Landscape Planning
Pests, Weeds & Problems
Plant Basics
Rock Garden
Rose Garden
Shrubs
Soil
Specialty Gardens
Trees
Vegetable Garden
Yard Maintenance
How to Make a Succulent Moss Ball
How to Make a Succulent Moss Ball. Some varieties of succulents make excellent houseplants. Because they require very little care and even less water, succulents will grow and thrive when planted closely together to form a succulent sphere, similar to the popular mistletoe sphere, commonly used as a winter holiday decoration. Started from scratch...
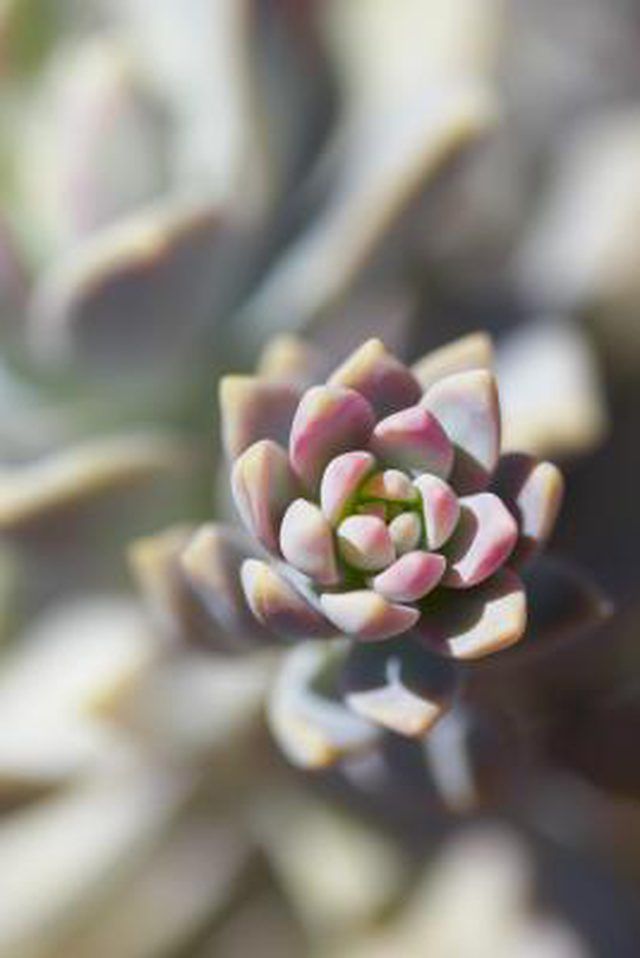
Some varieties of succulents make excellent houseplants. Because they require very little care and even less water, succulents will grow and thrive when planted closely together to form a succulent sphere, similar to the popular mistletoe sphere, commonly used as a winter holiday decoration. Started from scratch with cuttings from mature succulent plants, a succulent moss ball will take from four to six months to fill in and reach its full, decorative potential.
Things You'll Need
Two identical-sized wire hanging baskets
Sheet moss
Pliers
Commercial potting mixture specially formulated for cacti and succulents
Piece of cardboard larger than the diameter of the wire hanging baskets
20-gauge wire
Wire clippers
Nylon fishing line
Scissors
Icepick or other sharp, pointed object
Florists' wire
Terra-cotta clay flowerpot slightly smaller in diameter than the wire baskets
Variety of succulents in 2-inch pots or cuttings
Remove the hanging chains from one of the wire baskets with pliers. The wire basket without chains will be the bottom of the succulent ball.
Soak the moss in a bucket of warm water.
Line the baskets with sheets of moistened moss, overlapping the sheets slightly to help retain the potting mixture.
Fill both baskets to the top with the commercial succulent potting mixture.
Cover the top of the basket that no longer has chains with a piece of the cardboard. The cardboard will keep the soil from falling out as you invert it. Holding the cardboard in place, flip over the chainless basket and place it on top of the other basket. Line up the edges of the baskets.
Hold the baskets in place and slowly slide the cardboard out from between them. You may find it necessary to recruit an assistant; an extra pair of hands will make this step much easier.
Wire the two halves together securely, using pieces of the 20-gauge wire. Wrap the top edges of both baskets together where they meet at the "equator" of the succulent sphere.
Wrap the outside of the sphere with nylon fishing line to keep the moss from falling through the wires. Do not completely cover the basket with the fishing line; leave spaces in which to plant the succulents.
Place the wired orb on top of the terra-cotta flowerpot while you plant it. Orient the succulent ball so the half with the chains is on the bottom and the half without the chains is facing upward. The half without the chains is the bottom and should be planted first. You will invert the ball after the succulents have been planted.
Make a hole in the moss lining with the ice pick or another sharp object. Insert the roots of a succulent in the hole. If you are using cuttings, insert the cutting into the prepared hole and firm the soil around it. Leave space between each succulent so they have room in which to grow.
Push "U"-shaped pieces of florists wire around the plants to hold them in place until roots form.
Invert the ball and hang it from a temporary hook over your work table while you insert the plants in the top half, following the same method as when planting the bottom half of the ball.
Water the ball seven days after planting it. The lack of water encourages the succulents to begin sending out roots. Submerge it in water and allow it to sit for about 10 minutes. Let it dry out thoroughly between waterings.
Tips & Warnings
Take cuttings from larger plants at least 24 hours prior to building the succulent ball.
When the plants grow too large for the succulent ball, remove them, trim them back and replant them.
Use hardy varieties, such as hens 'n chicks, for a succulent ball that can stay outdoors year-round. For winter protection in colder areas, place the succulent ball on a bed of leaves, cover it with more leaves and top with landscaping fabric to keep rodents out. The leaves and any winter snow cover will protect them.
Plant tender, warm-weather succulents for an indoor succulent ball that will look good year-round. Hang it in a bright, sunny window during the winter months and set it outdoors in the summer in the dappled shade of a deciduous tree.


