Bulbs
Flower Basics
Flower Beds & Specialty Gardens
Flower Garden
Garden Furniture
Garden Gnomes
Garden Seeds
Garden Sheds
Garden Statues
Garden Tools & Supplies
Gardening Basics
Green & Organic
Groundcovers & Vines
Growing Annuals
Growing Basil
Growing Beans
Growing Berries
Growing Blueberries
Growing Cactus
Growing Corn
Growing Cotton
Growing Edibles
Growing Flowers
Growing Garlic
Growing Grapes
Growing Grass
Growing Herbs
Growing Jasmine
Growing Mint
Growing Mushrooms
Orchids
Growing Peanuts
Growing Perennials
Growing Plants
Growing Rosemary
Growing Roses
Growing Strawberries
Growing Sunflowers
Growing Thyme
Growing Tomatoes
Growing Tulips
Growing Vegetables
Herb Basics
Herb Garden
Indoor Growing
Landscaping Basics
Landscaping Patios
Landscaping Plants
Landscaping Shrubs
Landscaping Trees
Landscaping Walks & Pathways
Lawn Basics
Lawn Maintenance
Lawn Mowers
Lawn Ornaments
Lawn Planting
Lawn Tools
Outdoor Growing
Overall Landscape Planning
Pests, Weeds & Problems
Plant Basics
Rock Garden
Rose Garden
Shrubs
Soil
Specialty Gardens
Trees
Vegetable Garden
Yard Maintenance
How to Make Your Own Agar for Orchids
How to Make Your Own Agar for Orchids. Orchids, members of the Orchidaceae family, are prized for their attractive and exotic flowers. Considered difficult for amateurs to grow from seed, orchid species may be hardy from USDA zones 4 through 12. From hardy natives to tropical beauties, orchid seeds contain few food reserves, naturally relying on a...
Orchids, members of the Orchidaceae family, are prized for their attractive and exotic flowers. Considered difficult for amateurs to grow from seed, orchid species may be hardy from USDA zones 4 through 12. From hardy natives to tropical beauties, orchid seeds contain few food reserves, naturally relying on a symbiotic relationship with a fungus to provide their nutrients. Home growers imitate this relationship by sowing orchid seeds on a gelled, algae-based nutrient solution known as agar. Because the seeds and agar are generally kept in a flask, this process is called flasking. Agar or nutrient agar mixtures can be purchased. Alternatively, home growers can make an orchid-flasking, agar medium of their own.

Things You'll Need
Saucepan
Water
Plain gelatin or agar
Sugar
Beef bouillon cubes or granules
Sterilized flasks
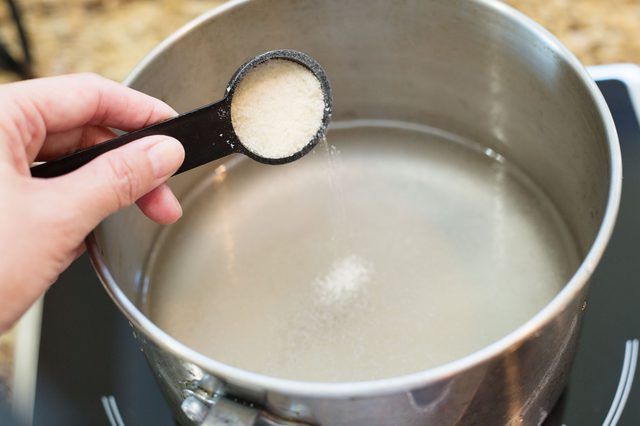
Step 1
Mix water, gelatin, sugar and beef bouillon cubes or granules together in a saucepan. The amount of each used will depend on the amount of growing medium desired, but a sample mixture would have the following ingredient proportions: 4 cups of water, four packets of plain gelatin or a substitutable amount of agar, 8 teaspoons of sugar and four bouillon cubes or 4 teaspoons of bouillon granules.
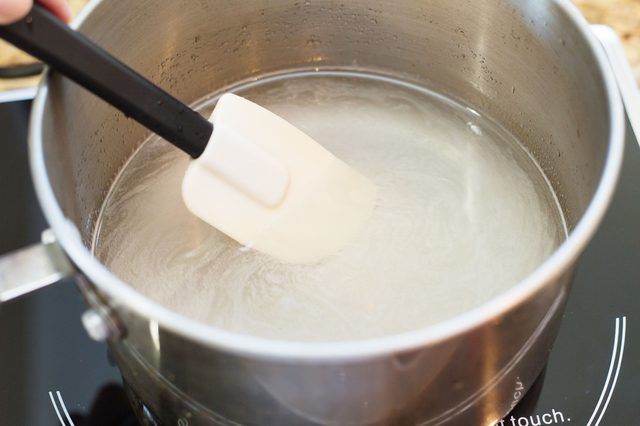
Step 2
Boil this mixture, stirring constantly.
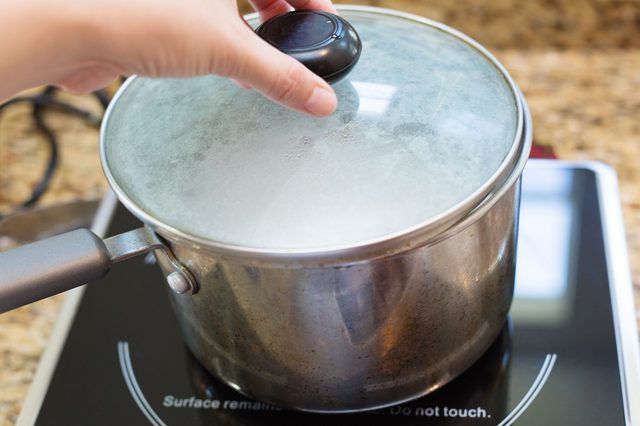
Step 3
Cool the mixture once it has been brought to a boil and all of the ingredients have dissolved. Keep the mixture sterile. Avoid exposing it to any surfaces, skin or other materials that may harbor any amount of bacteria. Keep it covered to prevent contamination and let it cool for no more than eight minutes.
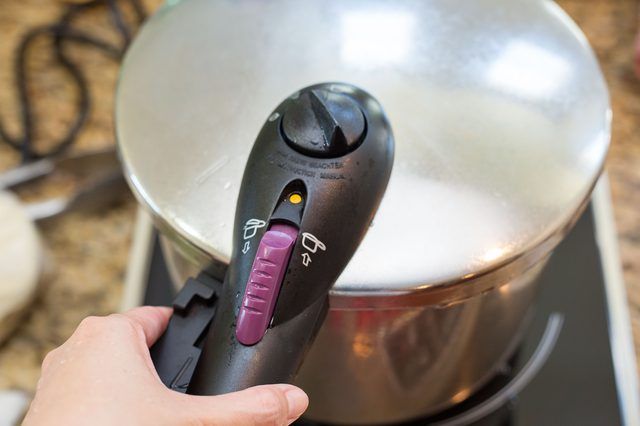
Step 4
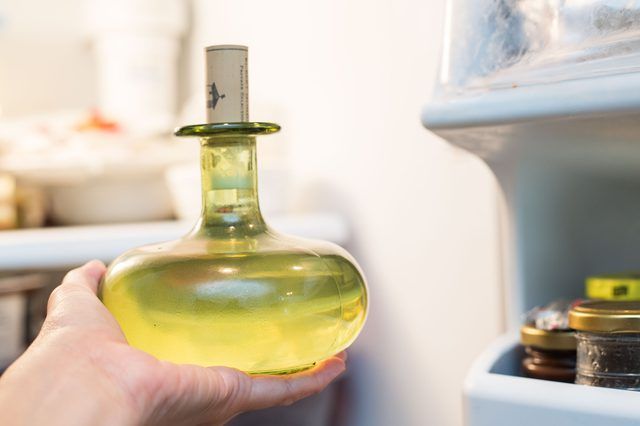
Pour the mixture into sterilized flasks. Purchase sterilized flasks and avoid opening them and exposing them to microorganisms until immediately before they will be filled with the growing medium, or sterilize the flasks in a pressure cooker or oven. In a pressure cooker, sterilize the flasks for 15 minutes at 15 psi (pounds per square inch). For oven sterilization, put glassware in the oven for two to three hours at 350 degrees Fahrenheit.
Step 5
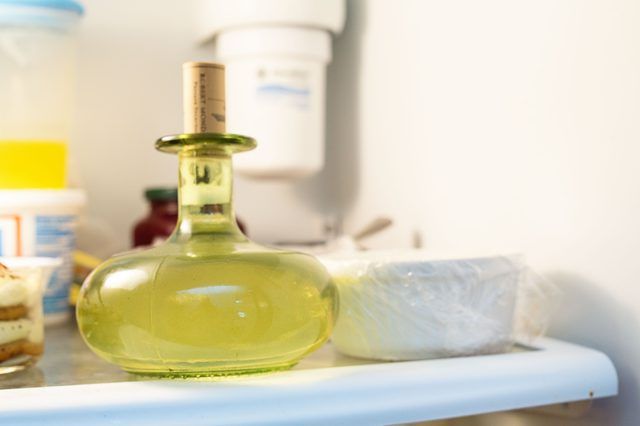
Cover the flasks and let them cool until the gelatin has set. The flasks may be refrigerated to encourage setting.
Step 6
Keep the flasks cool, ideally refrigerated, until the orchid seeds are ready to sow. For best results, the medium should be put to use within three days after you have made it.


