Bulbs
Flower Basics
Flower Beds & Specialty Gardens
Flower Garden
Garden Furniture
Garden Gnomes
Garden Seeds
Garden Sheds
Garden Statues
Garden Tools & Supplies
Gardening Basics
Green & Organic
Groundcovers & Vines
Growing Annuals
Growing Basil
Growing Beans
Growing Berries
Growing Blueberries
Growing Cactus
Growing Corn
Growing Cotton
Growing Edibles
Growing Flowers
Growing Garlic
Growing Grapes
Growing Grass
Growing Herbs
Growing Jasmine
Growing Mint
Growing Mushrooms
Orchids
Growing Peanuts
Growing Perennials
Growing Plants
Growing Rosemary
Growing Roses
Growing Strawberries
Growing Sunflowers
Growing Thyme
Growing Tomatoes
Growing Tulips
Growing Vegetables
Herb Basics
Herb Garden
Indoor Growing
Landscaping Basics
Landscaping Patios
Landscaping Plants
Landscaping Shrubs
Landscaping Trees
Landscaping Walks & Pathways
Lawn Basics
Lawn Maintenance
Lawn Mowers
Lawn Ornaments
Lawn Planting
Lawn Tools
Outdoor Growing
Overall Landscape Planning
Pests, Weeds & Problems
Plant Basics
Rock Garden
Rose Garden
Shrubs
Soil
Specialty Gardens
Trees
Vegetable Garden
Yard Maintenance
How to Build a Tractor Plow
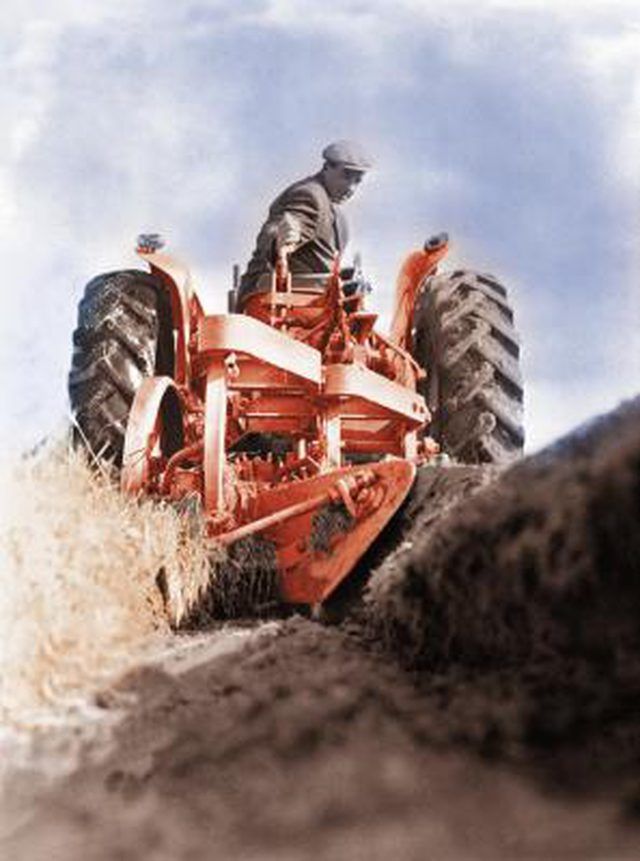
How to Build a Tractor Plow. Tractor plows are horizontal earth-working tools. They have a curved, primary blade called a moldboard (also known as a plowshare) that is pulled through the earth, cutting and lifting it. The hump or curve on its upper surface flips the soil over, thereby tilling it. Tractor plows are connected via a hitch on the front...

Tractor plows are horizontal earth-working tools. They have a curved, primary blade called a moldboard (also known as a plowshare) that is pulled through the earth, cutting and lifting it. The hump or curve on its upper surface flips the soil over, thereby tilling it. Tractor plows are connected via a hitch on the front end and a curved, "C"-shaped arm on the trailing end. The arm holds the moldboard horizontal at ground level, preventing it from being pulled from the earth. A tractor plow can be built from replacement moldboards and a welded frame.
Things You'll Need
1/4-inch by 2-inch by-2-inch angle steel
Steel vise
Tape measure
Power hacksaw
Steel punch
Power drill
1/2-inch by 1/2-inch machine bolts
1/2-inch by 4-inch by-4-inch angle steel
5-inch by 6-inch left hand moldboard
Cardboard
Scissors
Heavy marker
Acetylene torch and tanks
Heavy steel file
140-amp stick welder
Heavy pliers
1/2-inch-by-18-inch-by-24-inch steel plate
Place a piece of 1/4-inch angle steel in a vise and cut a 2-inch piece. Mark, punch and drill a 1/2-inch hole through the center of one flange. Place the replacement steel moldboard in the vise and bolt the drilled angle steel to it with a 1/2-inch by 1/2-inch machine bolt. The other angle flange should extend behind the leading edge of the moldboard.
Cut a 4-inch piece of the 1/2-inch angle and drill a 3/4-inch hole in the center of one flange.
Draw a "J"-shaped curve on cardboard, measuring 3 inches wide. Standing, it should be 24 inches tall and 18 inches wide. Cut the outline with scissors and trace it on 1/2-inch steel plate. Cut the piece with an acetylene torch. Clean up the edges with a heavy steel file.
Weld the short end of the "J" piece to the angle steel bolted to the moldboard. After the weld is cooled, hold the piece at ground level with the moldboard vertical. Determine if there is any cant in the "J" piece that will cause the moldboard to ride at an angle rather than vertical. If there is cant in the "J" piece, mount it in a steel vise. Heat a 4-inch area on the arm just above where it clears the short end. Hold the piece with heavy pliers and twist out the cant.
Hold the welded "J" assembly behind the tractor with the moldboard touching the ground. Hold the 4-inch piece of 1/2-inch angle steel horizontal to the ground. Slide the "J" assembly against it to determine the angle at which the 4-inch piece must be welded in order for the "J" assembly to ride exactly horizontally and at ground level. Mark it on the "J" assembly.
Place the "J" assembly in the vise and weld the 4-inch drilled piece of 1/2-inch angle steel to the long end of the "J" assembly. The flange opposite the weld should be flat and horizontal so it can take a 3/4-inch standard hitch to a garden tractor.
Mount the assembly behind the tractor and test the plow's capability. Have someone drive the tractor while you observe its cut and lift. If there are any problems in the moldboard's performance, heat and alter the "J" assembly.
Tips & Warnings
Wear eye and hearing protection when working with metal or power tools.