Bulbs
Flower Basics
Flower Beds & Specialty Gardens
Flower Garden
Garden Furniture
Garden Gnomes
Garden Seeds
Garden Sheds
Garden Statues
Garden Tools & Supplies
Gardening Basics
Green & Organic
Groundcovers & Vines
Growing Annuals
Growing Basil
Growing Beans
Growing Berries
Growing Blueberries
Growing Cactus
Growing Corn
Growing Cotton
Growing Edibles
Growing Flowers
Growing Garlic
Growing Grapes
Growing Grass
Growing Herbs
Growing Jasmine
Growing Mint
Growing Mushrooms
Orchids
Growing Peanuts
Growing Perennials
Growing Plants
Growing Rosemary
Growing Roses
Growing Strawberries
Growing Sunflowers
Growing Thyme
Growing Tomatoes
Growing Tulips
Growing Vegetables
Herb Basics
Herb Garden
Indoor Growing
Landscaping Basics
Landscaping Patios
Landscaping Plants
Landscaping Shrubs
Landscaping Trees
Landscaping Walks & Pathways
Lawn Basics
Lawn Maintenance
Lawn Mowers
Lawn Ornaments
Lawn Planting
Lawn Tools
Outdoor Growing
Overall Landscape Planning
Pests, Weeds & Problems
Plant Basics
Rock Garden
Rose Garden
Shrubs
Soil
Specialty Gardens
Trees
Vegetable Garden
Yard Maintenance
How to Make Aqua Spikes for Gardens
How to Make Aqua Spikes for Gardens. Water your plants slowly over time using aqua spikes, which are inserted into the ground near the plant's root system. If you have trouble remembering to water your plants, or if you'll be out of town for a few days, use aqua spikes to ensure your plants get adequate water. Although you can purchase ready-made...
Water your plants slowly over time using aqua spikes, which are inserted into the ground near the plant's root system. If you have trouble remembering to water your plants, or if you'll be out of town for a few days, use aqua spikes to ensure your plants get adequate water. Although you can purchase ready-made aqua spikes in garden centers, consider making your own.
Things You'll Need
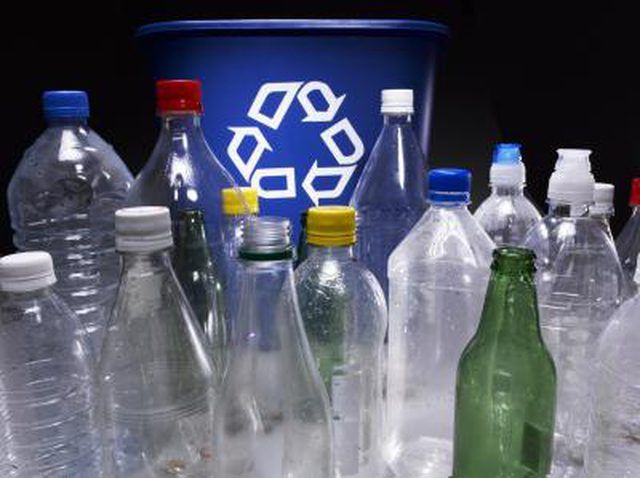
Plastic bottle, 2-liter
Drill
Knife
Drill between four and eight small holes in the cap of the 2-liter bottle cap. Drill fewer holes if you want the water to drip slowly and drill more holes if you would prefer the water to drip more quickly.
Cut the bottom off of the 2-liter bottle using a sharp knife. Make an even slice from one side of the bottle's bottom to the other, removing the part of the bottle on which it would typically sit. Be careful when you do this. Always cut with the knife pointing away from your body so that if the knife slips, it will not cut you.
Dig a small hole next to a plant, or in the center of a grouping of plants. Place the bottle cap-side-down inside the hole so that about 1/3 of it is buried. You are placing the bottle into the ground upside down because the water will drip into the soil through the holes you drilled in its cap.
Pour water into the base of the bottle to fill the aqua spike. The water will begin dripping out of the bottle's cap. Leave the aqua spike as it is and refill it when the water has all dripped into the soil.
Keep the bottle filled with water so that the plants continue to get the nutrition they need.


