Bulbs
Flower Basics
Flower Beds & Specialty Gardens
Flower Garden
Garden Furniture
Garden Gnomes
Garden Seeds
Garden Sheds
Garden Statues
Garden Tools & Supplies
Gardening Basics
Green & Organic
Groundcovers & Vines
Growing Annuals
Growing Basil
Growing Beans
Growing Berries
Growing Blueberries
Growing Cactus
Growing Corn
Growing Cotton
Growing Edibles
Growing Flowers
Growing Garlic
Growing Grapes
Growing Grass
Growing Herbs
Growing Jasmine
Growing Mint
Growing Mushrooms
Orchids
Growing Peanuts
Growing Perennials
Growing Plants
Growing Rosemary
Growing Roses
Growing Strawberries
Growing Sunflowers
Growing Thyme
Growing Tomatoes
Growing Tulips
Growing Vegetables
Herb Basics
Herb Garden
Indoor Growing
Landscaping Basics
Landscaping Patios
Landscaping Plants
Landscaping Shrubs
Landscaping Trees
Landscaping Walks & Pathways
Lawn Basics
Lawn Maintenance
Lawn Mowers
Lawn Ornaments
Lawn Planting
Lawn Tools
Outdoor Growing
Overall Landscape Planning
Pests, Weeds & Problems
Plant Basics
Rock Garden
Rose Garden
Shrubs
Soil
Specialty Gardens
Trees
Vegetable Garden
Yard Maintenance
How to Create Liquid Mycorrhizal Fertilizer
How to Create Liquid Mycorrhizal Fertilizer. Mycorrhizae fungi are an important part of the ecosystem. They assist plant roots in absorbing water and nutrients from the soil. Creating your own fresh, organic mycorrhizal fertilizer is a simple project. Begin by brewing a compost tea with a bucket, aerator, compost and water. When the tea is brewed,...
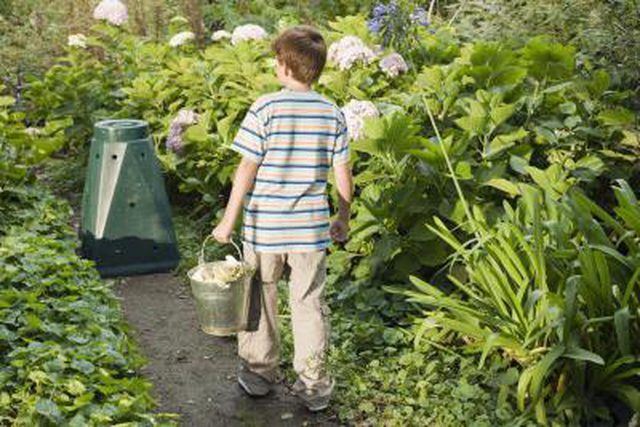
Mycorrhizae fungi are an important part of the ecosystem. They assist plant roots in absorbing water and nutrients from the soil. Creating your own fresh, organic mycorrhizal fertilizer is a simple project. Begin by brewing a compost tea with a bucket, aerator, compost and water. When the tea is brewed, dilute it and add the mycorrhizal innoculant. Apply the liquid mycorrhizal fertilizer directly to your plants' roots for the best results.
Things You'll Need
Plastic tubing
3 airstones
5-gallon bucket
Gang valve
Aquarium pump
Cheesecloth
Measuring cup
8 cups of compost
Twine
Water
Mycorrhizal innoculant
Plastic milk containers, 1/2-gallon size
Metal skewer
Trowel
Funnel
Making the Compost Tea
Attach the plastic tubing to the airstones. Place the airstones into the 5-gallon bucket, extending the tubing up the side and attaching to the gang valve. Extend a length of tubing from the gang valve to the aquarium pump. Place the aquarium pump above and to the side of the bucket.
Spread out the cheesecloth in layers, three or four layers thick. Pour 8 cups of compost into the cloth�s center. Fold the sides up and tie with twine making a compost tea bag.
Put the compost tea bag into the 5-gallon bucket. Tie the twine to the handle so the tea bag hangs along the bucker�s side. It may sit partially on the bottom of the bucket, but do not cover the airstones. Add 4 gallons of water.
Plug the aquarium pump in and turn it on. The airstones agitate the water continuously with a steady stream of bubbles. Brew the compost tea for 24 to 48 hours.
Mix one part compost tea with four parts water. Add 1 tsp. mycorrhizal innoculant to the compost tea and stir to mix. Apply to plants immediately.
Applying the Mycorrhizal Compost Tea
Lay a 1/2-gallon plastic milk container on its side. Punch 10 to 15 small holes in the sides and bottom with the skewer.
Dig a hole next to your plants' rootball with a trowel. Insert the plastic container into the hole and cover it up to the neck with soil.
Insert a funnel into the neck and fill the plastic container with the compost tea immediately after mixing it with the mycorrhizal innoculant.


