Bulbs
Flower Basics
Flower Beds & Specialty Gardens
Flower Garden
Garden Furniture
Garden Gnomes
Garden Seeds
Garden Sheds
Garden Statues
Garden Tools & Supplies
Gardening Basics
Green & Organic
Groundcovers & Vines
Growing Annuals
Growing Basil
Growing Beans
Growing Berries
Growing Blueberries
Growing Cactus
Growing Corn
Growing Cotton
Growing Edibles
Growing Flowers
Growing Garlic
Growing Grapes
Growing Grass
Growing Herbs
Growing Jasmine
Growing Mint
Growing Mushrooms
Orchids
Growing Peanuts
Growing Perennials
Growing Plants
Growing Rosemary
Growing Roses
Growing Strawberries
Growing Sunflowers
Growing Thyme
Growing Tomatoes
Growing Tulips
Growing Vegetables
Herb Basics
Herb Garden
Indoor Growing
Landscaping Basics
Landscaping Patios
Landscaping Plants
Landscaping Shrubs
Landscaping Trees
Landscaping Walks & Pathways
Lawn Basics
Lawn Maintenance
Lawn Mowers
Lawn Ornaments
Lawn Planting
Lawn Tools
Outdoor Growing
Overall Landscape Planning
Pests, Weeds & Problems
Plant Basics
Rock Garden
Rose Garden
Shrubs
Soil
Specialty Gardens
Trees
Vegetable Garden
Yard Maintenance
Winter Care for Iris Bulbs
Winter Care for Iris Bulbs. Irises are popular flowers for the home flower garden, offering over 1,000 varieties. These hardy, long-lived perennials adapt to nearly any soil condition. Iris varieties range from miniatures growing only six inches tall with flowers one to two inches across to giants growing 36 inches tall with blossoms eight to 10...

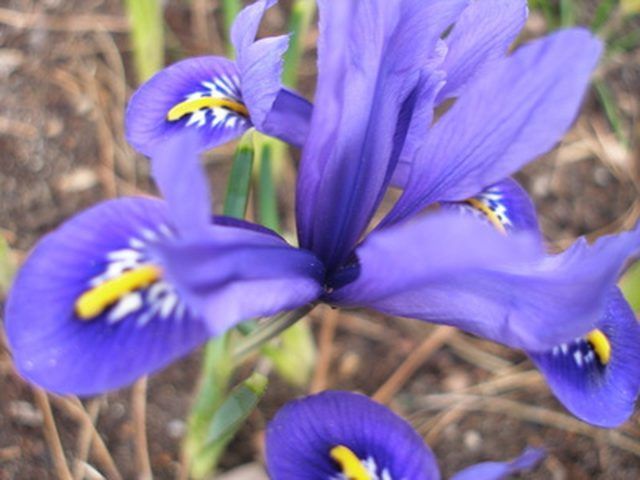
Irises are popular flowers for the home flower garden, offering over 1,000 varieties. These hardy, long-lived perennials adapt to nearly any soil condition. Iris varieties range from miniatures growing only six inches tall with flowers one to two inches across to giants growing 36 inches tall with blossoms eight to 10 inches across. Most irises can be planted in late summer or early fall. This allows the iris bulbs to establish a root system before winter weather occurs.
Things You'll Need
Soap
Water
Bleach
Sharp knife
Irises
Fungicide
Insecticide
Clean hay mulch
Wash a sharp knife in soapy water. Rinse it in a solution of one part bleach and nine parts water. This disinfects the knife and prevents the spread of plant disease.
Cut the leaves back to six to eight inches tall with a sharp knife after the first fall frost. This will encourage the iris plants to go dormant by reducing its food supply. Do not remove the leaves entirely, since you will not be able to locate the bulbs without the leaves.
Pull up any weeds and grass invading the iris bed. Remove the plant debris from the area. This eliminates winter hiding places for insect pests and plant diseases.
Spray the iris plants with fungicide and insecticide labeled for use with irises. Preventative measures taken now will stop problems forming under the mulch.
Spread four to six inches of clean hay, straw, evergreen boughs or other non-compacting materials over the top of the flowerbed in the late fall. Winter mulch is necessary during the first year the irises are planted and in any area where the winter weather produces freezing temperatures.
Remove the winter mulch once the snow and ice have melted in the spring. Remove the mulch two inches at a time. Allow to dry for 24 hours before removing another two inches. This kills any fungi spores in the mulch and keeps them from spreading.
Tips & Warnings
Place mulch over the iris bed even if it snows. Just cover the snow with mulch, since the snow acts as another layer of insulation for the bulbs. The mulch is needed to reduce thawing and freezing of a site during the winter.
Watch for heaving in areas where mulch is not used. Heaving is where the ground goes through freezing and thawing cycles. This may push the iris bulbs out of the ground. If this happens, place the bulbs back into the ground and firm the soil around them.