Bulbs
Flower Basics
Flower Beds & Specialty Gardens
Flower Garden
Garden Furniture
Garden Gnomes
Garden Seeds
Garden Sheds
Garden Statues
Garden Tools & Supplies
Gardening Basics
Green & Organic
Groundcovers & Vines
Growing Annuals
Growing Basil
Growing Beans
Growing Berries
Growing Blueberries
Growing Cactus
Growing Corn
Growing Cotton
Growing Edibles
Growing Flowers
Growing Garlic
Growing Grapes
Growing Grass
Growing Herbs
Growing Jasmine
Growing Mint
Growing Mushrooms
Orchids
Growing Peanuts
Growing Perennials
Growing Plants
Growing Rosemary
Growing Roses
Growing Strawberries
Growing Sunflowers
Growing Thyme
Growing Tomatoes
Growing Tulips
Growing Vegetables
Herb Basics
Herb Garden
Indoor Growing
Landscaping Basics
Landscaping Patios
Landscaping Plants
Landscaping Shrubs
Landscaping Trees
Landscaping Walks & Pathways
Lawn Basics
Lawn Maintenance
Lawn Mowers
Lawn Ornaments
Lawn Planting
Lawn Tools
Outdoor Growing
Overall Landscape Planning
Pests, Weeds & Problems
Plant Basics
Rock Garden
Rose Garden
Shrubs
Soil
Specialty Gardens
Trees
Vegetable Garden
Yard Maintenance
How to Install Pine Straw
How to Install Pine Straw. Placing a layer of pine straw around the base of flowers, plants and trees serves several purposes. The main purpose is that the pine straw acts as a barrier to evaporation, which keeps moisture in the soil during the warm months. During the colder winter months, pine straw acts as an insulator and keeps the soil...

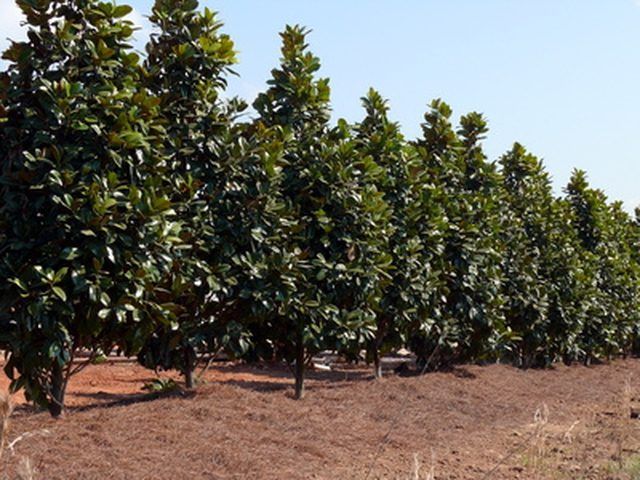
Placing a layer of pine straw around the base of flowers, plants and trees serves several purposes. The main purpose is that the pine straw acts as a barrier to evaporation, which keeps moisture in the soil during the warm months. During the colder winter months, pine straw acts as an insulator and keeps the soil temperature slightly higher than the air temperature. To get the most benefit from pine straw, it is important to install it correctly.
Things You'll Need
Gardening gloves
Scissors
Garden hose
Measure the length and width of the area in feet where you want to install the pine straw. Multiple the two numbers to arrive at the square footage of the area. You will need to buy 1/2 lb. of pine straw per square foot.
Put on gardening gloves and carry the pine straw bales to the the flower beds or landscaping locations that you want to install it in. If you purchased round pine straw bales, you can simply roll the bales to the locations.
Cut the string that is tied around the pine straw bales with a pair of scissors. Gather up the pieces of string and discard them.
Grab large handfuls of pine straw from the bales and use your hands to sprinkle the pine straw over the landscape area. Separate the pine straw using your hands as you go.
Continue spreading pine straw until it is in a 3-inch layer over the entire area.
Pull back the pine straw from around the base of plants at least 3 inches.
Water the pine straw with a garden hose immediately after installation. The pine straw should be moist but not soggy.
Tips & Warnings
Pine straw decomposes at a rate of approximately 1 inch per year.