Bulbs
Flower Basics
Flower Beds & Specialty Gardens
Flower Garden
Garden Furniture
Garden Gnomes
Garden Seeds
Garden Sheds
Garden Statues
Garden Tools & Supplies
Gardening Basics
Green & Organic
Groundcovers & Vines
Growing Annuals
Growing Basil
Growing Beans
Growing Berries
Growing Blueberries
Growing Cactus
Growing Corn
Growing Cotton
Growing Edibles
Growing Flowers
Growing Garlic
Growing Grapes
Growing Grass
Growing Herbs
Growing Jasmine
Growing Mint
Growing Mushrooms
Orchids
Growing Peanuts
Growing Perennials
Growing Plants
Growing Rosemary
Growing Roses
Growing Strawberries
Growing Sunflowers
Growing Thyme
Growing Tomatoes
Growing Tulips
Growing Vegetables
Herb Basics
Herb Garden
Indoor Growing
Landscaping Basics
Landscaping Patios
Landscaping Plants
Landscaping Shrubs
Landscaping Trees
Landscaping Walks & Pathways
Lawn Basics
Lawn Maintenance
Lawn Mowers
Lawn Ornaments
Lawn Planting
Lawn Tools
Outdoor Growing
Overall Landscape Planning
Pests, Weeds & Problems
Plant Basics
Rock Garden
Rose Garden
Shrubs
Soil
Specialty Gardens
Trees
Vegetable Garden
Yard Maintenance
How to Graft Pine Trees
How to Graft Pine Trees. According to the Toronto Botanical Gardens, veneer grafting is a method commonly used to propagate conifers, or pine trees. Veneer, also known as bark or inlay, grafting is similar to side grafting and makes use of scions--cuttings a bit thicker than a pencil and 3 to 6 inches tall that include a few buds. These are...
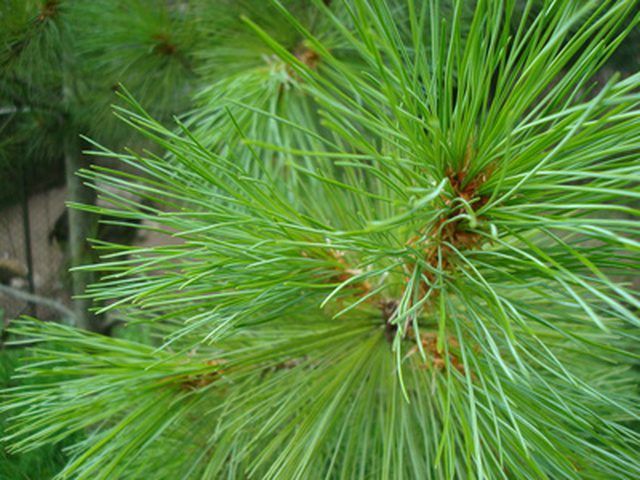
According to the Toronto Botanical Gardens, veneer grafting is a method commonly used to propagate conifers, or pine trees. Veneer, also known as bark or inlay, grafting is similar to side grafting and makes use of scions--cuttings a bit thicker than a pencil and 3 to 6 inches tall that include a few buds. These are connected to rootstock over 1 inch in diameter. It is important that the vascular cambium of the scion--the layer of green tissue between the bark and wood--contact the vascular cambium of the rootstock to facilitate exchange of nutrients and adoption of the scion to the rootstock.
Things You'll Need
Sharp grafting knife
Sterilizing solution or isopropyl alcohol
Moistened burlap
Plastic bag
Wood saw
Parafilm or grafting tape
Grafting wax
Disinfect the grafting knife with the sterilizing solution or isopropyl alcohol.
Cut two or three healthy scions from the tree, wrap them immediately in moistened burlap and place them in the plastic bag for transport. If they will not be used immediately store them in a cool location as near 32 degrees F as possible.
Clean and sterilize the grafting knife and wood saw.
Use the wood saw to cut the rootstock trunk or branch at a right angle to the grain of the wood just above a smooth, knot-free section. Smooth the cut if necessary by trimming with the grafting knife.
Cut one slit about 3/4 inch long, or cut two slits, one at each side, the width of the scion.
Sterilize the grafting knife again.
Cut into the scion at a shallow angle to form a shoulder then cut down toward the bottom of the scion so it forms a wedge.
Slide the scion into place in the slit with the cut side facing the center of the rootstock. Push it down into the single slit or at the center of the double slit until the shoulder rests on the edge of the rootstock. Make sure the vascular cambiums are in contact. Peel the bark back at the top edge if necessary to start the scion into the slit.
Wrap the graft with parafilm or grafting tape to secure the scion to the rootstock.
Apply grafting wax to any exposed cut areas to protect them from insects or disease.


