Bulbs
Flower Basics
Flower Beds & Specialty Gardens
Flower Garden
Garden Furniture
Garden Gnomes
Garden Seeds
Garden Sheds
Garden Statues
Garden Tools & Supplies
Gardening Basics
Green & Organic
Groundcovers & Vines
Growing Annuals
Growing Basil
Growing Beans
Growing Berries
Growing Blueberries
Growing Cactus
Growing Corn
Growing Cotton
Growing Edibles
Growing Flowers
Growing Garlic
Growing Grapes
Growing Grass
Growing Herbs
Growing Jasmine
Growing Mint
Growing Mushrooms
Orchids
Growing Peanuts
Growing Perennials
Growing Plants
Growing Rosemary
Growing Roses
Growing Strawberries
Growing Sunflowers
Growing Thyme
Growing Tomatoes
Growing Tulips
Growing Vegetables
Herb Basics
Herb Garden
Indoor Growing
Landscaping Basics
Landscaping Patios
Landscaping Plants
Landscaping Shrubs
Landscaping Trees
Landscaping Walks & Pathways
Lawn Basics
Lawn Maintenance
Lawn Mowers
Lawn Ornaments
Lawn Planting
Lawn Tools
Outdoor Growing
Overall Landscape Planning
Pests, Weeds & Problems
Plant Basics
Rock Garden
Rose Garden
Shrubs
Soil
Specialty Gardens
Trees
Vegetable Garden
Yard Maintenance
How to Grow Ivy From Cuttings
How to Grow Ivy From Cuttings. Ivy (Hedera) is a plant everyone knows. Widely used as a ground cover, it also makes a great hanging houseplant. English ivy (Hedera helix) is hardy from USDA Zones 4 to 9, while the larger leaved Algerian ivy (Hedera canariensis) is only hardy in Zones 9 and 10, but is grown as a houseplant farther north. Both...
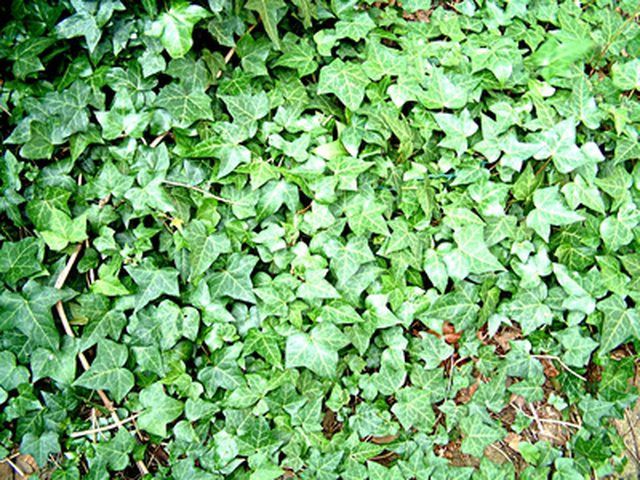
Ivy (Hedera) is a plant everyone knows. Widely used as a ground cover, it also makes a great hanging houseplant. English ivy (Hedera helix) is hardy from USDA Zones 4 to 9, while the larger leaved Algerian ivy (Hedera canariensis) is only hardy in Zones 9 and 10, but is grown as a houseplant farther north. Both varieties are easy to propagate from stem cuttings.
Things You'll Need
Ivy stem cuttings (4 to 6 inches)
Flat or shallow container (3 to 4 inches deep)
Moist potting soil, sand, vermiculite or perlite
Rooting hormone (optional)
Sticks or twigs
Plastic wrap
Fill the flat or shallow container with moist, well-drained growing medium. Potting soil, sand, perlite or vermiculite are all good choices.
Remove the bottom leaves from your ivy cuttings. Be sure to expose at least 2 nodes (the place where the leaf joins the stem). Roots will grow from the nodes.
Dip the bottom of the cutting into the rooting hormone, being sure to coat the nodes you exposed. This step is optional, but the hormone encourages rapid root growth.
Stick the cuttings into the flat at 3-inch intervals. Be sure they are inserted deep enough to cover the exposed nodes.
Put sticks or small twigs in each corner of the flat, then drape a piece of plastic wrap over the flat to create a mini-greenhouse. Fold back one corner to create a small vent to prevent humidity from getting too high.
Place the flat in a shady location. Water if necessary to keep medium moist but do not let the soil get soggy.
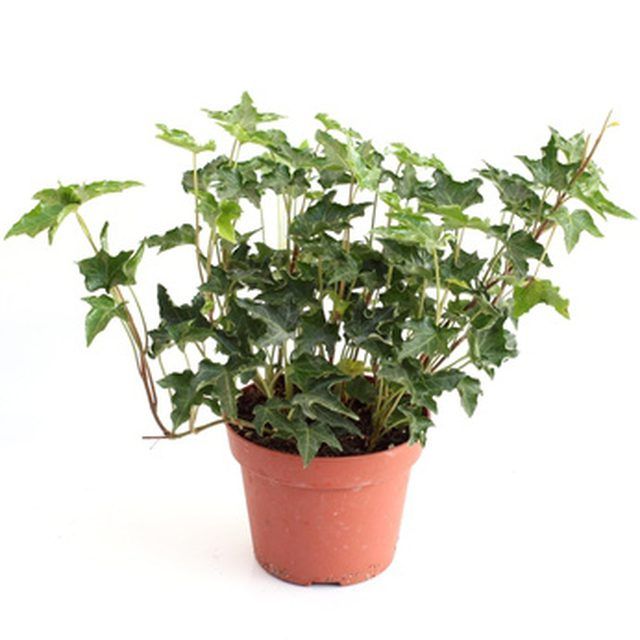
Give the cuttings a slight tug after 2 or 3 weeks to check for root formation. If roots have developed, discard the plastic wrap and re-pot the cuttings into individual containers. Gradually expose them to more light. You can plant them into their permanent garden position after 6 to 8 weeks.
Tips & Warnings
Cuttings taken from new growth in spring, summer or fall will make vining plants.
Cuttings taken from older, woodier growth will create bushy plants instead of vines.


