Bulbs
Flower Basics
Flower Beds & Specialty Gardens
Flower Garden
Garden Furniture
Garden Gnomes
Garden Seeds
Garden Sheds
Garden Statues
Garden Tools & Supplies
Gardening Basics
Green & Organic
Groundcovers & Vines
Growing Annuals
Growing Basil
Growing Beans
Growing Berries
Growing Blueberries
Growing Cactus
Growing Corn
Growing Cotton
Growing Edibles
Growing Flowers
Growing Garlic
Growing Grapes
Growing Grass
Growing Herbs
Growing Jasmine
Growing Mint
Growing Mushrooms
Orchids
Growing Peanuts
Growing Perennials
Growing Plants
Growing Rosemary
Growing Roses
Growing Strawberries
Growing Sunflowers
Growing Thyme
Growing Tomatoes
Growing Tulips
Growing Vegetables
Herb Basics
Herb Garden
Indoor Growing
Landscaping Basics
Landscaping Patios
Landscaping Plants
Landscaping Shrubs
Landscaping Trees
Landscaping Walks & Pathways
Lawn Basics
Lawn Maintenance
Lawn Mowers
Lawn Ornaments
Lawn Planting
Lawn Tools
Outdoor Growing
Overall Landscape Planning
Pests, Weeds & Problems
Plant Basics
Rock Garden
Rose Garden
Shrubs
Soil
Specialty Gardens
Trees
Vegetable Garden
Yard Maintenance
How to Grow Yellow Squash in Pots
How to Grow Yellow Squash in Pots. You do not need a huge garden space to grow yellow squash. In fact, you can grow yellow summer squash easily in a container on your balcony or patio. Starting the squash seeds indoors several weeks before the last frost date in your area, will allow you to be eating the harvest from your plants even sooner than...
You do not need a huge garden space to grow yellow squash. In fact, you can grow yellow summer squash easily in a container on your balcony or patio. Starting the squash seeds indoors several weeks before the last frost date in your area, will allow you to be eating the harvest from your plants even sooner than planting them directly into pots outdoors.
Things You'll Need
Peat pots
Potting soil
Squash seeds
Plastic wrap
2 gallon growing container
Pea gravel
Wooden plant stakes
Plant tying tape
Starting the Seed
Fill peat pots three-quarters full of potting soil. Water the pots until the soil is completely wet.
Place one yellow squash seed in each wet peat pot. Cover the seed with potting soil until the soil level is even with the top of the pot.
Place a sheet of plastic wrap loosely over the top of the peat pots. Remove the plastic wrap when the squash seedlings break through the top of the soil.
Water the seedling as often as needed to keep the soil moist to the touch.
Transplant into Containers
Choose the healthiest, strongest looking plants for transplanting.
Select planting containers that are at least two gallons in size. The optimal container for growing squash will be at least 18 inches in diameter and 16 to 18 inches deep.
Place one inch of pea gravel in the bottom of the container. This will help with drainage and help prevent root rot.
Fill the container with a good quality potting soil.
Use a garden trowel or spade to dig a hole in the center of the soil twice as large and as deep as the peat pot.
Place the peat pot with the squash plant in the hole and fill in the remaining soil around the plant.
Insert a long plant state into the soil near the outside of the pot. As the summer squash grows, tie the plant to the stake using plant tape to train the squash to grow vertically up the stake. Place the squash vine against the stake and loosely tie the vine in place. Tie the plant to the stake when the vines reach six to eight inches in length.
Tips & Warnings
Fertilize the plants using any general garden fertilizer according to label instructions after the squash has been transplanted into the containers.
Plant tape, available at most garden centers, helps train plants to grow in a specific direction. It will not damage the vine or the plant as it grows.
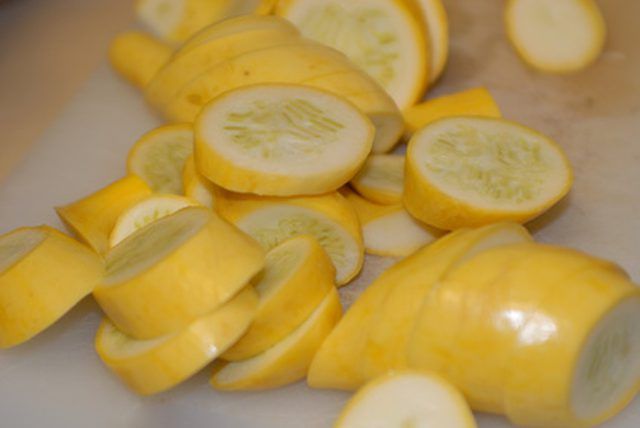
Harvest the summer squash when they are between five and six inches long.


