Bulbs
Flower Basics
Flower Beds & Specialty Gardens
Flower Garden
Garden Furniture
Garden Gnomes
Garden Seeds
Garden Sheds
Garden Statues
Garden Tools & Supplies
Gardening Basics
Green & Organic
Groundcovers & Vines
Growing Annuals
Growing Basil
Growing Beans
Growing Berries
Growing Blueberries
Growing Cactus
Growing Corn
Growing Cotton
Growing Edibles
Growing Flowers
Growing Garlic
Growing Grapes
Growing Grass
Growing Herbs
Growing Jasmine
Growing Mint
Growing Mushrooms
Orchids
Growing Peanuts
Growing Perennials
Growing Plants
Growing Rosemary
Growing Roses
Growing Strawberries
Growing Sunflowers
Growing Thyme
Growing Tomatoes
Growing Tulips
Growing Vegetables
Herb Basics
Herb Garden
Indoor Growing
Landscaping Basics
Landscaping Patios
Landscaping Plants
Landscaping Shrubs
Landscaping Trees
Landscaping Walks & Pathways
Lawn Basics
Lawn Maintenance
Lawn Mowers
Lawn Ornaments
Lawn Planting
Lawn Tools
Outdoor Growing
Overall Landscape Planning
Pests, Weeds & Problems
Plant Basics
Rock Garden
Rose Garden
Shrubs
Soil
Specialty Gardens
Trees
Vegetable Garden
Yard Maintenance
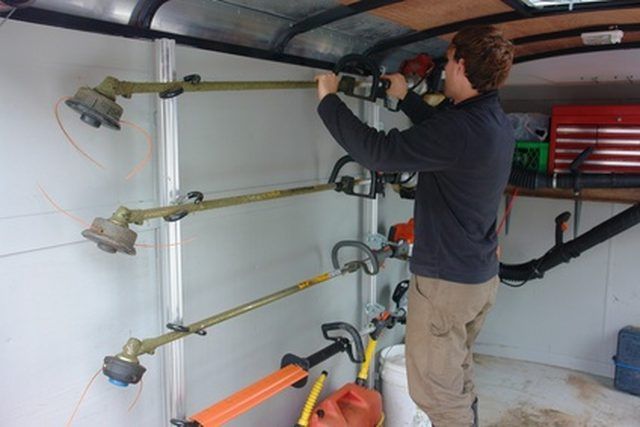
How to Replace the Trimmer Line on Weed Eaters
How to Replace the Trimmer Line on Weed Eaters. The trimmer line on a weed eater, also referred to as the cutting line, is the line located on the trimmer head at the end of your tool. The trimmer line is what cuts the weeds. There are straight shaft weed eaters and curved shaft weed eaters, both of which have trimmer heads that use a trimmer line....
The trimmer line on a weed eater, also referred to as the cutting line, is the line located on the trimmer head at the end of your tool. The trimmer line is what cuts the weeds. There are straight shaft weed eaters and curved shaft weed eaters, both of which have trimmer heads that use a trimmer line. Before changing the trimmer line in your weed eater you must have the proper size line for your model. Refer to the owner's manual of your model for the line size that you need.
Remove the spool from the trimmer head and unscrew the bump knob to access the spool by twisting in the direction that the arrow indicates. Some models have a retaining ring that secures the spool to the trimmer head. Remove this by squeezing the clips inward and pulling the head straight off. Some retaining ring casings require squeezing the clips as well as making a slight turn.
Cut the replacement trimmer line to 20 feet. If your model has a two-line trimmer head, cut two equal lengths of line.
Locate the starter hole on the inside of the spool. The starter hole will be on the core of the spool and is not to be confused with the various notches or holes on the ends of the spool.
Insert the replacement trimmer line into the starter hole. Wind your line in the direction the arrow indicates on the spool. Leave 5 inches of line unwound.
Locate the notch, or notches, on the edge of the spool. After winding the replacement line onto the spool, clip the remaining 5 inches of line into the notch.
Insert the trimmer spool back into the trimmer head.
Unclasp the remaining 5 inches of trimmer line from the notch. Guide the line through the lead hole or holes located on the trimmer head.
Replace the retaining ring or bump knob. Retaining rings will snap back into place. Bump knobs require you to screw the knob back into place.
Tips & Warnings
For your protection, wear gloves and eyes protection during this replacement process.
According to the "Stihl USA website," improper use of a trimmer can result in serious or fatal injuries.


