Bulbs
Flower Basics
Flower Beds & Specialty Gardens
Flower Garden
Garden Furniture
Garden Gnomes
Garden Seeds
Garden Sheds
Garden Statues
Garden Tools & Supplies
Gardening Basics
Green & Organic
Groundcovers & Vines
Growing Annuals
Growing Basil
Growing Beans
Growing Berries
Growing Blueberries
Growing Cactus
Growing Corn
Growing Cotton
Growing Edibles
Growing Flowers
Growing Garlic
Growing Grapes
Growing Grass
Growing Herbs
Growing Jasmine
Growing Mint
Growing Mushrooms
Orchids
Growing Peanuts
Growing Perennials
Growing Plants
Growing Rosemary
Growing Roses
Growing Strawberries
Growing Sunflowers
Growing Thyme
Growing Tomatoes
Growing Tulips
Growing Vegetables
Herb Basics
Herb Garden
Indoor Growing
Landscaping Basics
Landscaping Patios
Landscaping Plants
Landscaping Shrubs
Landscaping Trees
Landscaping Walks & Pathways
Lawn Basics
Lawn Maintenance
Lawn Mowers
Lawn Ornaments
Lawn Planting
Lawn Tools
Outdoor Growing
Overall Landscape Planning
Pests, Weeds & Problems
Plant Basics
Rock Garden
Rose Garden
Shrubs
Soil
Specialty Gardens
Trees
Vegetable Garden
Yard Maintenance
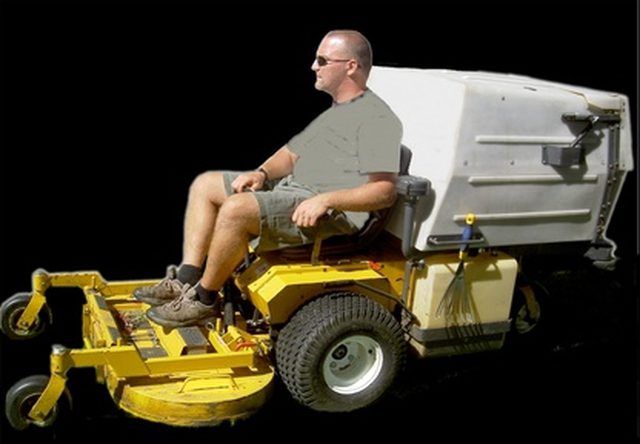
How to Change the Blades on a Zero-Turn Radius Lawnmower
How to Change the Blades on a Zero-Turn Radius Lawnmower. If your yard has an uneven or ragged cut after you've been over it once with your zero-turn radius lawnmower, that likely means it's time to change the mower's blades. Before every use, check the blades on your mower to see whether they have become dull or nicked. Heavy use can cause blades...

If your yard has an uneven or ragged cut after you've been over it once with your zero-turn radius lawnmower, that likely means it's time to change the mower's blades. Before every use, check the blades on your mower to see whether they have become dull or nicked. Heavy use can cause blades to deteriorate. You can also damage blades in various ways, including running over a thick branch. When it's time to change the blades, leave yourself about 20 minutes for a task that most people can do.
Things You'll Need
Two hydraulic jacks
Jack stands
Heavy work gloves
Electric impact wrench
Six-point socket
2 by 4 block of wood
3 replacement blades
Torque wrench
Pull the spark plug wire to prevent the mower from starting while you are servicing it. Position two hydraulic jacks at the front of the mower and lift it high enough to gain access beneath the mower deck. Place the mower on jack stands once you have reached the desired height.
Put on work gloves to protect your hands from being cut while working around the blades. Place a 2 by 4 block of wood between the blade and mower deck to prevent the blade from rotating while you service it. Use an electric impact wrench with a six-point socket to loosen the blade bolt. Remove the bolt, washer, blade and blade spacer.
Insert the blade bolt through the washer, blade and blade spacer. Check to see that the beveled cutting edge is on top of the blade. Place the blade assembly on the blade spindle and tighten with a torque wrench to 70 ft. lbs. or the precise torque recommended in your owner's manual.
Repeat the removal and installation process for your mower's other blades. Use the hydraulic jacks to elevate the mower enough so you can remove the jack stands. Lower the hydraulic jacks. Reattach the spark plug wire.
Tips & Warnings
Use only blades that your mower's manufacturer recommends.
Use caution when rotating one mower blade because that can cause all of your blades to rotate.