Bulbs
Flower Basics
Flower Beds & Specialty Gardens
Flower Garden
Garden Furniture
Garden Gnomes
Garden Seeds
Garden Sheds
Garden Statues
Garden Tools & Supplies
Gardening Basics
Green & Organic
Groundcovers & Vines
Growing Annuals
Growing Basil
Growing Beans
Growing Berries
Growing Blueberries
Growing Cactus
Growing Corn
Growing Cotton
Growing Edibles
Growing Flowers
Growing Garlic
Growing Grapes
Growing Grass
Growing Herbs
Growing Jasmine
Growing Mint
Growing Mushrooms
Orchids
Growing Peanuts
Growing Perennials
Growing Plants
Growing Rosemary
Growing Roses
Growing Strawberries
Growing Sunflowers
Growing Thyme
Growing Tomatoes
Growing Tulips
Growing Vegetables
Herb Basics
Herb Garden
Indoor Growing
Landscaping Basics
Landscaping Patios
Landscaping Plants
Landscaping Shrubs
Landscaping Trees
Landscaping Walks & Pathways
Lawn Basics
Lawn Maintenance
Lawn Mowers
Lawn Ornaments
Lawn Planting
Lawn Tools
Outdoor Growing
Overall Landscape Planning
Pests, Weeds & Problems
Plant Basics
Rock Garden
Rose Garden
Shrubs
Soil
Specialty Gardens
Trees
Vegetable Garden
Yard Maintenance
How to Build a Clematis Trellis
How to Build a Clematis Trellis. Clematis, a member of the Ranunculaceae family with more than 300 cultivars and thousands of hybrids, features show-stopping blooms in a veritable rainbow of colors. The twining vine has some particular needs to ensure healthy growth, including a strong support on which to grow. If you're building your own trellis,...
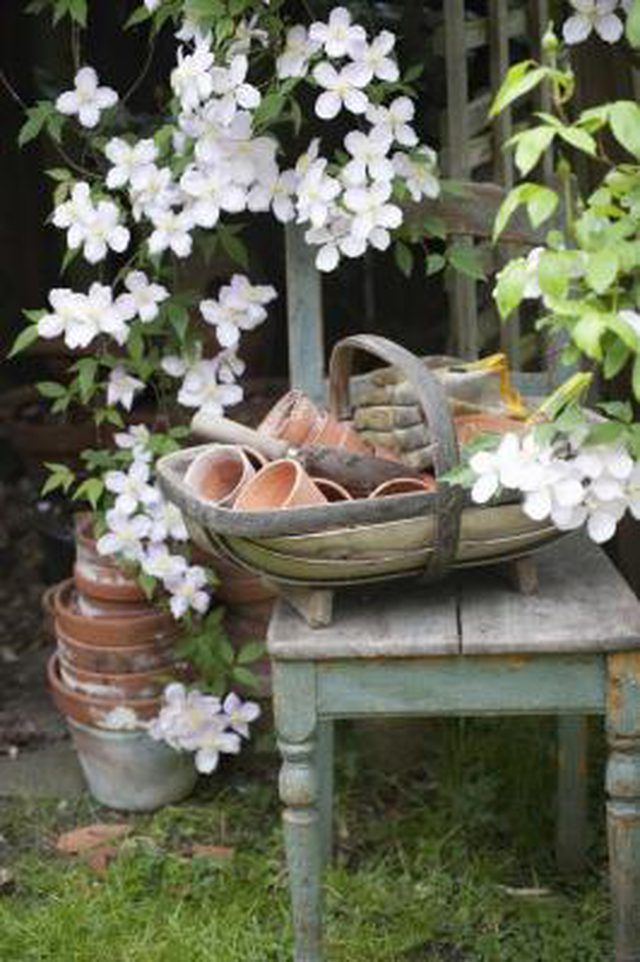
Clematis, a member of the Ranunculaceae family with more than 300 cultivars and thousands of hybrids, features show-stopping blooms in a veritable rainbow of colors. The twining vine has some particular needs to ensure healthy growth, including a strong support on which to grow. If you're building your own trellis, keep in mind that clematis does best on supports with narrow openings and relatively slender posts for the vine tendrils to wrap around. Start with an old window frame to minimize your time investment and maximize the upcycled charm.
Things You'll Need
Salvaged window frame
1 roll 2-inch mesh poultry netting
Wire snips
Staple gun
1/4-inch wood staples
2 boards, 1-by-2-inch, at least 18 inches taller than the frame
2 C-clamps
Electric drill
3/16-inch drill bit
12 1/4-by-2-inch wood screws
Post hole digger
Stones, sand or brick for fill
Fast-drying cement
Build the Trellis
Remove and dispose of any glass remaining in the window panes. Set the window frame aside.
Roll out the chicken wire on a flat surface. Measure and cut a piece about 3 inches wider and longer than the outside dimensions of the window frame.
Bend the 3-inch excess poultry wire inward on all four sides. Trim any protruding wires to prevent injury.
Fit the wire against the back of the window frame with the folded edges facing the wood.
Staple the wire in place, using a staple every 6 inches or so around the entire frame.
Place one board on one side of the back of the window frame, sandwiching the wire between the board and the side of the frame. Clamp it in place with two C-clamps.
Drill six evenly spaced holes through the board and about 1/2-inch into the window frame. Secure the board and frame to each other with wood screws. Repeat with the other board.
Installing the Trellis
Measure the distance between the two legs of the trellis. Mark two positions separated by the measured distance. With the post hole digger or a shovel, dig a 12-inch deep hole about 3 inches wide by 6 inches long at each mark.
Mix the cement according to package directions.
Stand the trellis in the holes and have someone hold it upright while you fill the holes around each leg with the cement. Hold the trellis in place until the cement dries.
Tips & Warnings
Wear gloves when working with the wire. The ends are sharp.


