Bulbs
Flower Basics
Flower Beds & Specialty Gardens
Flower Garden
Garden Furniture
Garden Gnomes
Garden Seeds
Garden Sheds
Garden Statues
Garden Tools & Supplies
Gardening Basics
Green & Organic
Groundcovers & Vines
Growing Annuals
Growing Basil
Growing Beans
Growing Berries
Growing Blueberries
Growing Cactus
Growing Corn
Growing Cotton
Growing Edibles
Growing Flowers
Growing Garlic
Growing Grapes
Growing Grass
Growing Herbs
Growing Jasmine
Growing Mint
Growing Mushrooms
Orchids
Growing Peanuts
Growing Perennials
Growing Plants
Growing Rosemary
Growing Roses
Growing Strawberries
Growing Sunflowers
Growing Thyme
Growing Tomatoes
Growing Tulips
Growing Vegetables
Herb Basics
Herb Garden
Indoor Growing
Landscaping Basics
Landscaping Patios
Landscaping Plants
Landscaping Shrubs
Landscaping Trees
Landscaping Walks & Pathways
Lawn Basics
Lawn Maintenance
Lawn Mowers
Lawn Ornaments
Lawn Planting
Lawn Tools
Outdoor Growing
Overall Landscape Planning
Pests, Weeds & Problems
Plant Basics
Rock Garden
Rose Garden
Shrubs
Soil
Specialty Gardens
Trees
Vegetable Garden
Yard Maintenance
How to Plant in a Pot With No Holes
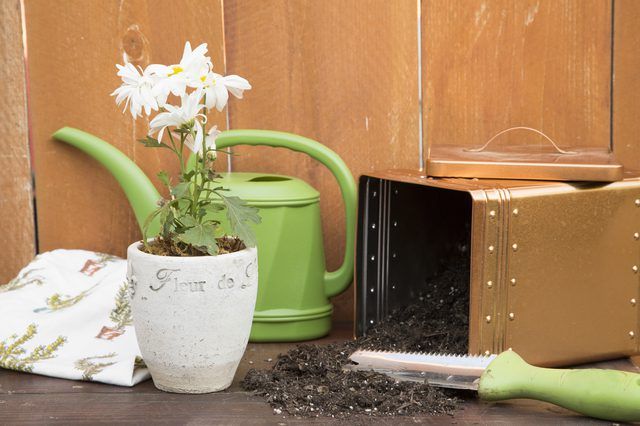
How to Plant in a Pot With No Holes. Potted plants that fail to thrive and eventually die are most often the victim of over-watering and poor drainage. Excess water gathers in the bottom of the pot, becomes stagnant and saturates the soil, promoting root rot. Plants rarely recover when their roots become afflicted. However, some of the most...
Potted plants that fail to thrive and eventually die are most often the victim of over-watering and poor drainage. Excess water gathers in the bottom of the pot, becomes stagnant and saturates the soil, promoting root rot. Plants rarely recover when their roots become afflicted. However, some of the most beautiful pots do not have drainage holes, and if you can't drill a hole or two without risking ruining the pot, double-potting is the answer.
Things You'll Need
Pot liner or plastic pot
Lava-type rocks, river pebbles or broken crockery pieces
Kitchen shears or knife
Potting soil
Trowel
Watering can
Sphagnum moss (optional)
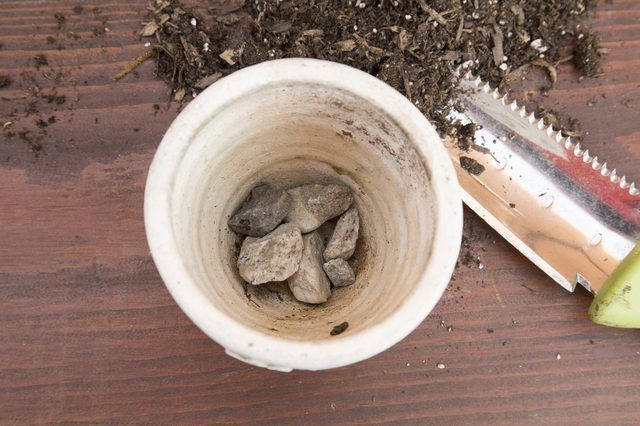
Step 1
Arrange a layer of river rocks, lava rocks or broken crockery in the bottom of the decorative pot.
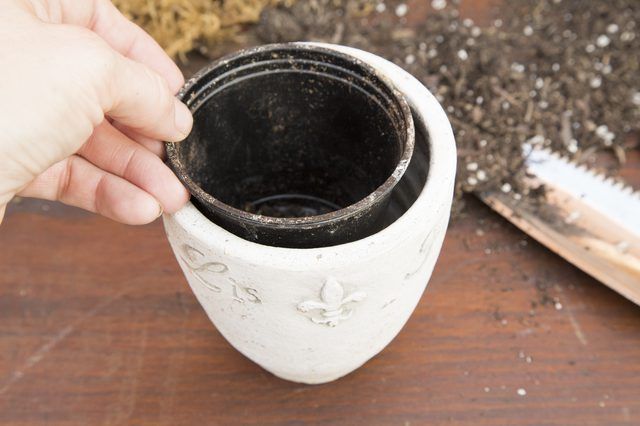
Step 2
Place a plastic pot or pot liner that has drainage holes inside the decorative pot and on top of the rocks or crockery. Check to see if the top of the plastic pot or liner is at or below the rim of the decorative pot. Add more material at the bottom of the decorative pot if the plastic pot or liner rim is much more than 1" short of the decorative pot rim. Remove material beneath, or trim the rim using sharp kitchen shears or a knife if it extends above the top of the decorative pot.
Step 3
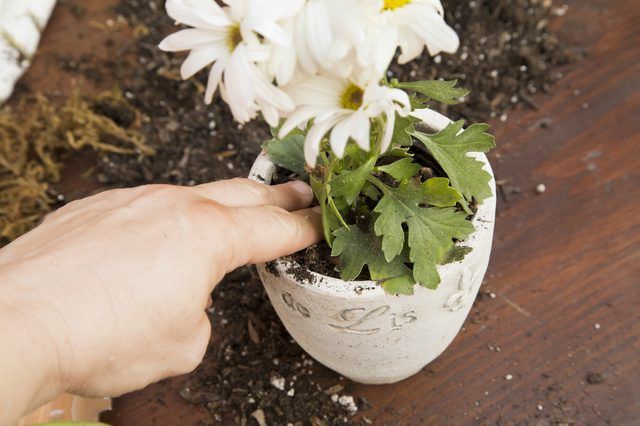
Pour potting soil into the liner or pot until it is half-full. Place the plant in the pot, with the root or root-ball centered on the soil. Add or remove soil from beneath the plant until the soil line around the plant (or the place on the stem where the soil line would be, in the case of a bare-root plant) is 2 inches below the rim of the plastic liner or pot.
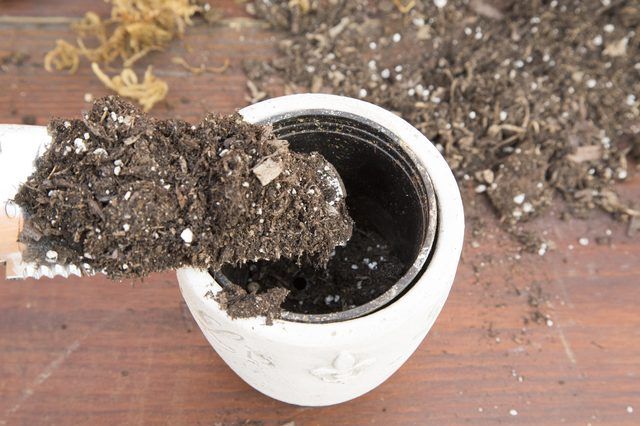
Step 4
Fill in potting soil around the plant by scooping potting soil into the areas around the roots with a trowel, firming the soil with your hands as you go.
Step 5
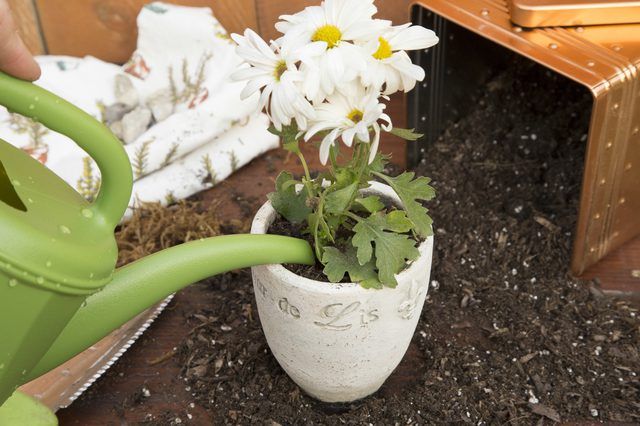
Water the potted plant thoroughly with water from the watering can until water begins to drain from the bottom of the pot. Allow the water to soak into the soil.
Step 6
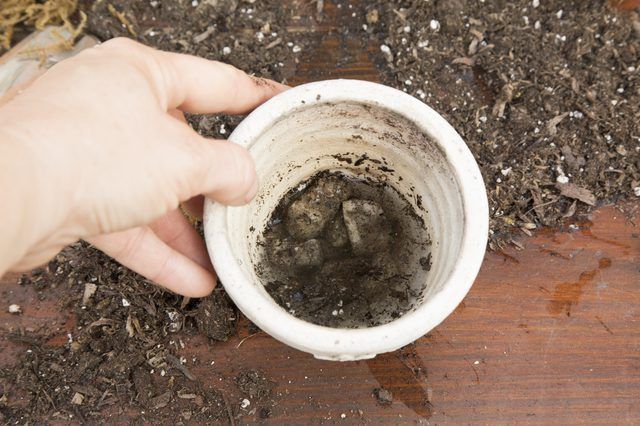
Pull the plastic pot or liner out of the decorative pot to remove standing water in the bottom of the decorative pot after you have finished watering and allowed a few minutes for the water to flow through the soil. Removing excess water reduces the chances of harboring bugs and mildew growth.
Step 7
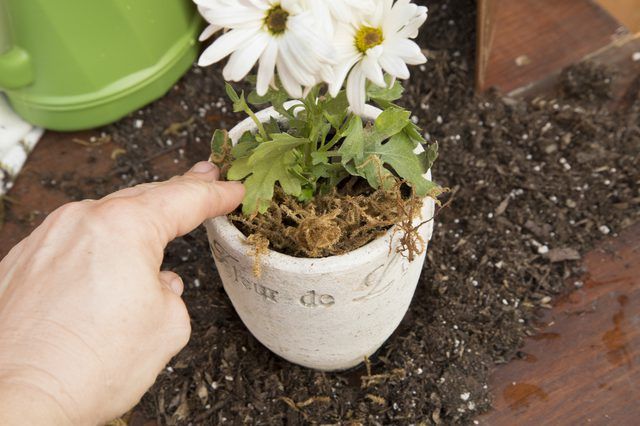
Conceal the upper rim of the pot or liner by spreading a layer of sphagnum over the soil surrounding the plant.


