Bulbs
Flower Basics
Flower Beds & Specialty Gardens
Flower Garden
Garden Furniture
Garden Gnomes
Garden Seeds
Garden Sheds
Garden Statues
Garden Tools & Supplies
Gardening Basics
Green & Organic
Groundcovers & Vines
Growing Annuals
Growing Basil
Growing Beans
Growing Berries
Growing Blueberries
Growing Cactus
Growing Corn
Growing Cotton
Growing Edibles
Growing Flowers
Growing Garlic
Growing Grapes
Growing Grass
Growing Herbs
Growing Jasmine
Growing Mint
Growing Mushrooms
Orchids
Growing Peanuts
Growing Perennials
Growing Plants
Growing Rosemary
Growing Roses
Growing Strawberries
Growing Sunflowers
Growing Thyme
Growing Tomatoes
Growing Tulips
Growing Vegetables
Herb Basics
Herb Garden
Indoor Growing
Landscaping Basics
Landscaping Patios
Landscaping Plants
Landscaping Shrubs
Landscaping Trees
Landscaping Walks & Pathways
Lawn Basics
Lawn Maintenance
Lawn Mowers
Lawn Ornaments
Lawn Planting
Lawn Tools
Outdoor Growing
Overall Landscape Planning
Pests, Weeds & Problems
Plant Basics
Rock Garden
Rose Garden
Shrubs
Soil
Specialty Gardens
Trees
Vegetable Garden
Yard Maintenance
Arborvitae Transplanting
Arborvitae Transplanting. Arborvitae trees are a popular feature for many landscaping projects. This soft needled evergreen can serve as a shrub, hedge or singular tree in the yard. It is best to transplant an arborvitae when it is relatively young and smaller. Larger trees have more extensive root systems that can be damaged when digging them out...
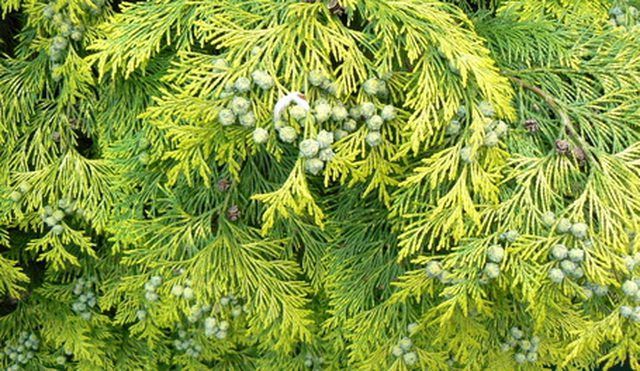
Arborvitae trees are a popular feature for many landscaping projects. This soft needled evergreen can serve as a shrub, hedge or singular tree in the yard. It is best to transplant an arborvitae when it is relatively young and smaller. Larger trees have more extensive root systems that can be damaged when digging them out of the ground.
Seasonal concerns
Arborvitae fare best when they are transplanted in or near a dormant stage. This will allow the tree to begin establishing itself in its new spot in the yard when the growing season begins. Target late fall as the time you want to move the tree or shrub. Arborvitae can be transplanted at other times of the year but you will have to pay additional attention to the tree in order to make sure it gets enough water.
Removing the Transplant
To dig out the arborvitae, identify the drip line of the tree. This is generally a line around the tree where the outermost branches reach. Using a sharp shovel, dig straight down around the tree about 4 to 6 inches outside of the drip line. This will help make sure you don't damage the root system. After circling the tree with your spade, begin digging to a depth of at least 1 foot in order to loosen the arborvitae from the ground. Continue around the tree, gently loosening the roots from the soil without cutting through them until the tree can be removed from the hole.
Leave Rootball Alone
Do not attempt to remove the dirt around the roots after you unearth your arborvitae.
Preparing the New Hole
Dig the new hole to be slightly larger than the root ball of your existing tree. Transplant the arborvitae to the new hole and fill in the remaining areas with the dirt you have removed from the hole. Tamp it down to remove air pockets, but don't pack the dirt tightly. Give the newly transplanted tree a good dousing of water.
Moisture Considerations
Put down a layer of mulch around the perimeter of the drip line of the transplanted arborvitae. This will help it to retain moisture during its initial replanting stage. Because they are attempting to re-establish the root system, make sure the transplanted tree has adequate amounts of moisture. But take care not to overwater the plant. Too much water will suffocate the root structure.


