Bulbs
Flower Basics
Flower Beds & Specialty Gardens
Flower Garden
Garden Furniture
Garden Gnomes
Garden Seeds
Garden Sheds
Garden Statues
Garden Tools & Supplies
Gardening Basics
Green & Organic
Groundcovers & Vines
Growing Annuals
Growing Basil
Growing Beans
Growing Berries
Growing Blueberries
Growing Cactus
Growing Corn
Growing Cotton
Growing Edibles
Growing Flowers
Growing Garlic
Growing Grapes
Growing Grass
Growing Herbs
Growing Jasmine
Growing Mint
Growing Mushrooms
Orchids
Growing Peanuts
Growing Perennials
Growing Plants
Growing Rosemary
Growing Roses
Growing Strawberries
Growing Sunflowers
Growing Thyme
Growing Tomatoes
Growing Tulips
Growing Vegetables
Herb Basics
Herb Garden
Indoor Growing
Landscaping Basics
Landscaping Patios
Landscaping Plants
Landscaping Shrubs
Landscaping Trees
Landscaping Walks & Pathways
Lawn Basics
Lawn Maintenance
Lawn Mowers
Lawn Ornaments
Lawn Planting
Lawn Tools
Outdoor Growing
Overall Landscape Planning
Pests, Weeds & Problems
Plant Basics
Rock Garden
Rose Garden
Shrubs
Soil
Specialty Gardens
Trees
Vegetable Garden
Yard Maintenance
How to Make a DIY Arched Trellis
How to Make a DIY Arched Trellis. An arched trellis made out of bendable wood creates an artistic lawn ornament that's also useful for trellising plants. Create it out of repurposed branches or bendable wood for an affordable and easy project. Not much measuring is required, and just a few supplies are all that's necessary to build a beautiful...
An arched trellis made out of bendable wood creates an artistic lawn ornament that's also useful for trellising plants. Create it out of repurposed branches or bendable wood for an affordable and easy project. Not much measuring is required, and just a few supplies are all that's necessary to build a beautiful arched trellis for your yard or garden.
Things You'll Need
Gloves
Bendable branches; two long pieces, one short piece
Permanent marker
Hand saw
Nails
Hammer
Shovel
Place two long pieces of branches about the same height side by side the width you would like the trellis to be. Allow for an extra five inches when determining the height of the trellis because the bottom section of the branches will be placed about five inches into the ground.
Put the shorter branch on top of the two branches to form the crosspiece connecting them. To place the crosspiece in the correct position, visually divide the length of the longer branches into three sections; the crosspiece should be about one-third of the way from the top of the two longer branches.
Trim the crosspiece if necessary. If it overhangs the width of the two long branches, use a marker to indicate where to cut, and trim off the excess with a small hand saw.
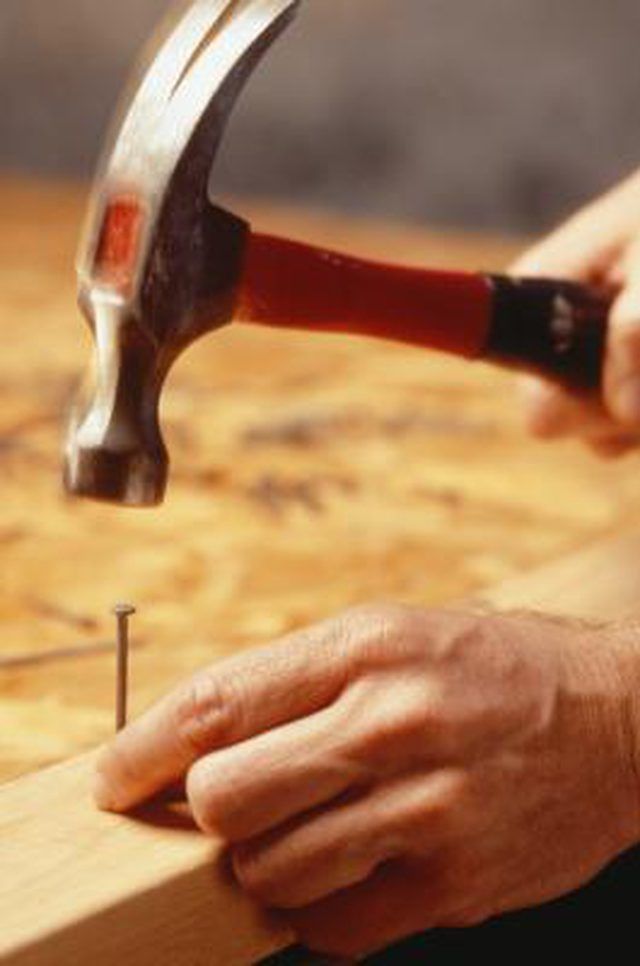
Hammer one small nail through one side of the crosspiece branch and through one of the longer branches. Do the same on the other side. This should create an "H" shape out of the three branches.
Bend the long branches above the crosspiece into each other to form an upside down "U" to create the arch. Weave the branches around each other all the way down to the crosspiece to establish the arch. It should hold itself in place without nails. Hammer one or two small nails through the twisted-together long branches at the top of the arch for additional strength.
Shovel two small holes about 5 inches deep (or one-fourth of the entire height of the trellis) to secure the trellis into the ground. Insert the bottom two poles of the trellis into the holes and tightly pack the earth around them using your foot.


