Bulbs
Flower Basics
Flower Beds & Specialty Gardens
Flower Garden
Garden Furniture
Garden Gnomes
Garden Seeds
Garden Sheds
Garden Statues
Garden Tools & Supplies
Gardening Basics
Green & Organic
Groundcovers & Vines
Growing Annuals
Growing Basil
Growing Beans
Growing Berries
Growing Blueberries
Growing Cactus
Growing Corn
Growing Cotton
Growing Edibles
Growing Flowers
Growing Garlic
Growing Grapes
Growing Grass
Growing Herbs
Growing Jasmine
Growing Mint
Growing Mushrooms
Orchids
Growing Peanuts
Growing Perennials
Growing Plants
Growing Rosemary
Growing Roses
Growing Strawberries
Growing Sunflowers
Growing Thyme
Growing Tomatoes
Growing Tulips
Growing Vegetables
Herb Basics
Herb Garden
Indoor Growing
Landscaping Basics
Landscaping Patios
Landscaping Plants
Landscaping Shrubs
Landscaping Trees
Landscaping Walks & Pathways
Lawn Basics
Lawn Maintenance
Lawn Mowers
Lawn Ornaments
Lawn Planting
Lawn Tools
Outdoor Growing
Overall Landscape Planning
Pests, Weeds & Problems
Plant Basics
Rock Garden
Rose Garden
Shrubs
Soil
Specialty Gardens
Trees
Vegetable Garden
Yard Maintenance
How to Prepare a Field for Planting With a Tractor
How to Prepare a Field for Planting With a Tractor. Preparing a field for planting requires some time and effort to ensure that your plants will have the best soil in which to grow. Using a tractor is essential to preparing a field. The tractor can pull numerous plows, each of which have individual jobs that can help to ready a field for crops. A...
Preparing a field for planting requires some time and effort to ensure that your plants will have the best soil in which to grow. Using a tractor is essential to preparing a field. The tractor can pull numerous plows, each of which have individual jobs that can help to ready a field for crops. A field can be prepared for spring planting after the last hard frost. Check with your local agriculture office or farm bureau if you're uncertain of the projected last frost date.
Things You'll Need
Chisel plow
Disker plow
Lay-off plow
Attach a chisel plow to the back of the tractor by fastening the tongue of the plow to the hitch of the tractor. A steel pin is usually placed through the tongue of the plow and into the hitch. This secures the plow in place. A chisel plow contains two rows of plow prongs, usually four or five prongs on each row, with each prong having very sharp edges.
Drag the chisel plow behind the tractor until you've covered the entire surface of the field. The chisel plow will dig deep and help loosen the soil.
Remove the chisel plow and attach a disker plow in the same manner as the chisel plow, using the tractor hitch. The disker plow contains two rows of round plate-like disks that will rotate into the soil as the tractor pulls them along. Run the disker plow over the entire field. The disker plow will work the soil extensively and break up any large clods.
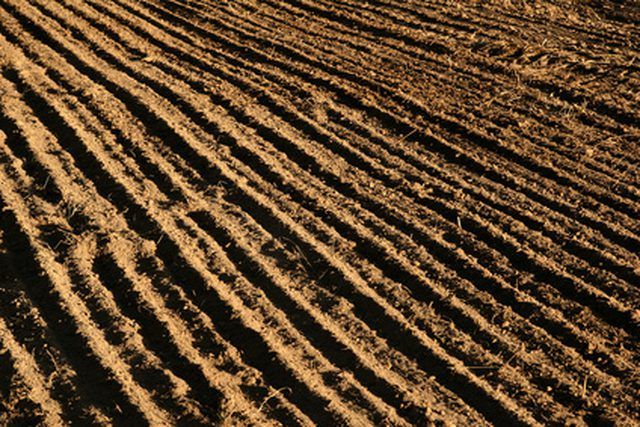
Remove the disker plow and add the final plow needed to prepare a field for planting. This plow is again attached to the tractor via a hitch and is called a lay-off plow. Lay-off plows have a single wide prong used to make rows where you can plant your crops.
Lower your plow in the area of the field where you'll create your rows. The plow will have a handle that rises up from the front area of the plow base. Grab the handle with one hand while using your other hand to steer the tractor. Push down on the handle when you're ready to begin making a row and pull up on the handle when you're finished. After your rows are made, you're ready to begin planting.


