Bulbs
Flower Basics
Flower Beds & Specialty Gardens
Flower Garden
Garden Furniture
Garden Gnomes
Garden Seeds
Garden Sheds
Garden Statues
Garden Tools & Supplies
Gardening Basics
Green & Organic
Groundcovers & Vines
Growing Annuals
Growing Basil
Growing Beans
Growing Berries
Growing Blueberries
Growing Cactus
Growing Corn
Growing Cotton
Growing Edibles
Growing Flowers
Growing Garlic
Growing Grapes
Growing Grass
Growing Herbs
Growing Jasmine
Growing Mint
Growing Mushrooms
Orchids
Growing Peanuts
Growing Perennials
Growing Plants
Growing Rosemary
Growing Roses
Growing Strawberries
Growing Sunflowers
Growing Thyme
Growing Tomatoes
Growing Tulips
Growing Vegetables
Herb Basics
Herb Garden
Indoor Growing
Landscaping Basics
Landscaping Patios
Landscaping Plants
Landscaping Shrubs
Landscaping Trees
Landscaping Walks & Pathways
Lawn Basics
Lawn Maintenance
Lawn Mowers
Lawn Ornaments
Lawn Planting
Lawn Tools
Outdoor Growing
Overall Landscape Planning
Pests, Weeds & Problems
Plant Basics
Rock Garden
Rose Garden
Shrubs
Soil
Specialty Gardens
Trees
Vegetable Garden
Yard Maintenance
How to Change the Blades on a John Deere Riding Mower
How to Change the Blades on a John Deere Riding Mower. If you have a John Deere riding mower, you can maintain its efficiency by keeping the blades sharp. Changing the blades on all mowers is inevitable; sooner or later they'll need sharpening or replacement. Dull, nicked, or damaged blades require immediate attention. Sharp mower blades help avoid...

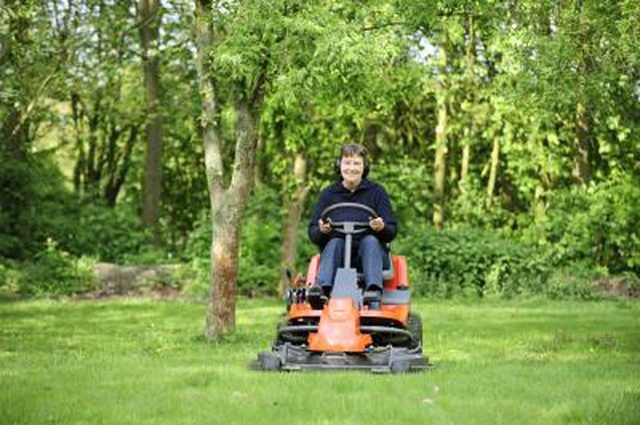
If you have a John Deere riding mower, you can maintain its efficiency by keeping the blades sharp. Changing the blades on all mowers is inevitable; sooner or later they'll need sharpening or replacement. Dull, nicked, or damaged blades require immediate attention. Sharp mower blades help avoid excess wear and tear on the mowerís engine and working parts. Pulleys and bearings take a lot more abuse when worn blades are fighting to cut the grass.
Things You'll Need
5/8-inch wrench
5/8-inch socket
3 pieces of wood, 12 inches long (a 2-by-4 works great)
Torque wrench
Park the mower on a flat surface. The lawn is fine as long as itís fairly level.
Pull the lever to lift the mower deck to its highest position. This is also called the transport position.
Place a piece of wood on each side of the mower deck to keep it from lowering while youíre working on it.
Take your other piece of wood and use it to interrupt the blade from going around while you loosen the mower blades. Place it between the mower blade and the mower deck. Use the 5/8-inch wrench and loosen the bolt at the center of the blade. Be careful not to run your hand into the blade as you loosen the bolt.
Notice the order that you take off the washers and blade. The order should be a bolt, a washer, the blade, another washer, and then the deflector cup; which you donít need to remove. Remove the bolt, washers, and blade.
Examine the blade. If the blade is dull, have it sharpened and balanced. If the blade is damaged, get a new one.
Before placing the blade on the mower verify that the deflector cup is in place. This cup keeps grass from winding around the spindle that holds the blade on. It is located between the mower deck and the mower blade.
Be sure to position the blade with the cutting edge at the lowest level as you place it onto the mower. Replace the washer, blade, and washer in the same way that you removed them. Now put the bolt on and hand tighten it.
Put the block of wood on the other side of the blade so that it will hold the blade as you tighten the bolt. Put the 5/8-inch socket on the torque wrench and tighten the bolt to 75 Newton meters (or 55 foot pounds). Be cautious once again not to run your hand into the blade as you tighten it.
Repeat this method on the other blades as needed to change all of them. Some mowers have two blades and others have three.