Bulbs
Flower Basics
Flower Beds & Specialty Gardens
Flower Garden
Garden Furniture
Garden Gnomes
Garden Seeds
Garden Sheds
Garden Statues
Garden Tools & Supplies
Gardening Basics
Green & Organic
Groundcovers & Vines
Growing Annuals
Growing Basil
Growing Beans
Growing Berries
Growing Blueberries
Growing Cactus
Growing Corn
Growing Cotton
Growing Edibles
Growing Flowers
Growing Garlic
Growing Grapes
Growing Grass
Growing Herbs
Growing Jasmine
Growing Mint
Growing Mushrooms
Orchids
Growing Peanuts
Growing Perennials
Growing Plants
Growing Rosemary
Growing Roses
Growing Strawberries
Growing Sunflowers
Growing Thyme
Growing Tomatoes
Growing Tulips
Growing Vegetables
Herb Basics
Herb Garden
Indoor Growing
Landscaping Basics
Landscaping Patios
Landscaping Plants
Landscaping Shrubs
Landscaping Trees
Landscaping Walks & Pathways
Lawn Basics
Lawn Maintenance
Lawn Mowers
Lawn Ornaments
Lawn Planting
Lawn Tools
Outdoor Growing
Overall Landscape Planning
Pests, Weeds & Problems
Plant Basics
Rock Garden
Rose Garden
Shrubs
Soil
Specialty Gardens
Trees
Vegetable Garden
Yard Maintenance
Why Do Anti-Siphon Valves Leak Water?
Why Do Anti-Siphon Valves Leak Water?. Plumbing codes require anti-siphon valves on irrigation systems and outdoor faucets to protect municipal drinking water. An anti-siphon valve normalizes the pressure inside the pipes when you turn off the water to prevent it from flowing backward. When installed on an outdoor faucet, the valve also allows...
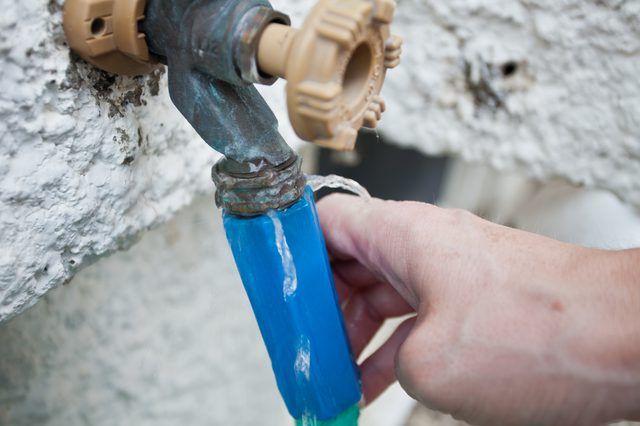
Plumbing codes require anti-siphon valves on irrigation systems and outdoor faucets to protect municipal drinking water. An anti-siphon valve normalizes the pressure inside the pipes when you turn off the water to prevent it from flowing backward. When installed on an outdoor faucet, the valve also allows residual water in the faucet to drain, which prevents faucet and pipe damage from frozen water in winter. Anti-siphon valves are simple devices, and leaks aren't difficult to diagnose and repair.
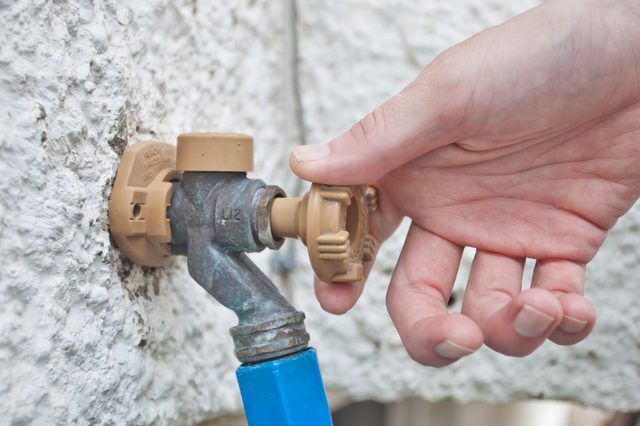
Whether it's installed on a hose bibb or a sprinkler valve, an anti-siphon valve's operation is the same. It consists of a port that's open and a disk -- called a poppet -- that completely covers it. A spring keeps the poppet separated from the port when the water is off, but when you turn on the faucet or sprinkler, water pressure pushes the poppet against the port to seal the valve. The spring once again pulls the poppet away from the opening when you turn the water off, allowing air to come in and equalize the pressure in the pipe.
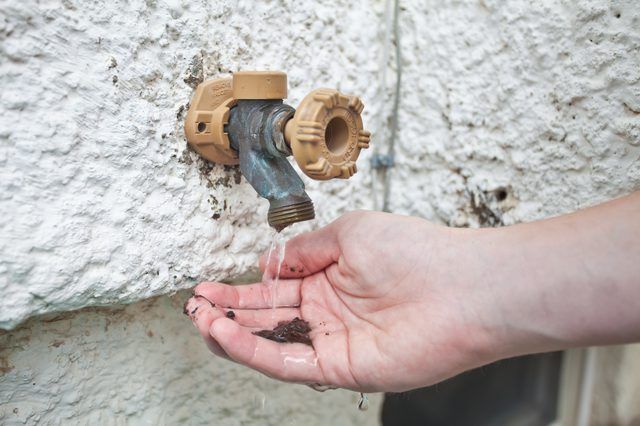
When an anti-siphon valve leaks, it could be because dirt has gotten into the valve and is preventing the poppet from seating completely when the water is turned on. The problem could also be a worn poppet or rubber gasket. Either condition allows pressurized water to spray out of the valve when the faucet or sprinkler is on. A leaking anti-siphon valve can still perform the function it was designed for, which is to allow air into the pipe and break the vacuum, but it wastes water and should be repaired or replaced.
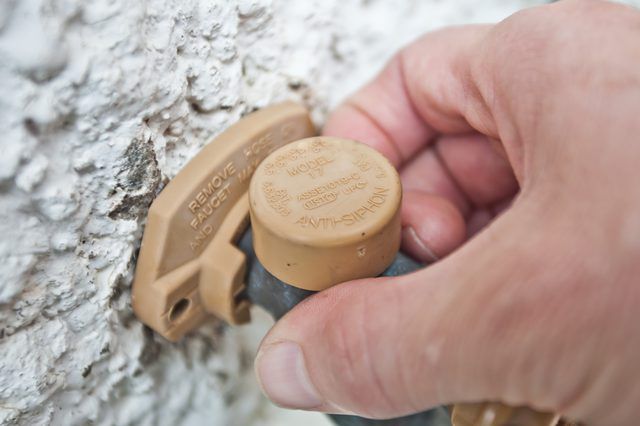
If you have a frost-free faucet with a built-in anti-siphon valve, the faucet should have a plastic cap on the top near the handle. Pry off the cap to reveal the valve mechanism, and then unscrew the valve bonnet with a pair of adjustable pliers and remove it. The poppet should fall out of the bonnet, and you can then clean away any grit that was preventing it from seating -- or replace it if it's cracked or damaged. While the valve is disassembled, flush out any dirt from inside the valve by turning on the faucet. You don't have to turn off the main water supply to make this repair.
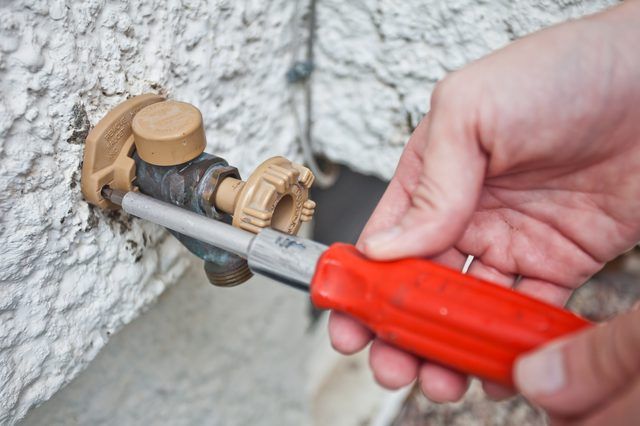
Conventional outdoor faucets usually come with an anti-siphon valve connected to the spout. This type of anti-siphon valve is inexpensive, and when it leaks, the best strategy is to replace it. To remove it, you usually have to loosen a set screw, and if this has rusted, you need to proceed carefully to avoid stripping the screw and making the valve virtually impossible to remove. Spray the screw liberally with lubricating oil, and give the oil plenty of time to work before you attempt to turn it. Once it's off, you won't be able to use the faucet until you replace it -- the threads on these types of faucets won't accept a hose connection.


