Bulbs
Flower Basics
Flower Beds & Specialty Gardens
Flower Garden
Garden Furniture
Garden Gnomes
Garden Seeds
Garden Sheds
Garden Statues
Garden Tools & Supplies
Gardening Basics
Green & Organic
Groundcovers & Vines
Growing Annuals
Growing Basil
Growing Beans
Growing Berries
Growing Blueberries
Growing Cactus
Growing Corn
Growing Cotton
Growing Edibles
Growing Flowers
Growing Garlic
Growing Grapes
Growing Grass
Growing Herbs
Growing Jasmine
Growing Mint
Growing Mushrooms
Orchids
Growing Peanuts
Growing Perennials
Growing Plants
Growing Rosemary
Growing Roses
Growing Strawberries
Growing Sunflowers
Growing Thyme
Growing Tomatoes
Growing Tulips
Growing Vegetables
Herb Basics
Herb Garden
Indoor Growing
Landscaping Basics
Landscaping Patios
Landscaping Plants
Landscaping Shrubs
Landscaping Trees
Landscaping Walks & Pathways
Lawn Basics
Lawn Maintenance
Lawn Mowers
Lawn Ornaments
Lawn Planting
Lawn Tools
Outdoor Growing
Overall Landscape Planning
Pests, Weeds & Problems
Plant Basics
Rock Garden
Rose Garden
Shrubs
Soil
Specialty Gardens
Trees
Vegetable Garden
Yard Maintenance
How to Start Cuttings From Geranium Plants
How to Start Cuttings From Geranium Plants. Unless they live where winters are frost-free, gardeners treat geraniums (Pelargonium spp.) as annuals, discarding plants each fall and planting new ones each spring. There's always a new color or foliage form. If you find a plant you like, start new plants from cuttings rather than discarding the plant...
Unless they live where winters are frost-free, gardeners treat geraniums (Pelargonium spp.) as annuals, discarding plants each fall and planting new ones each spring. There's always a new color or foliage form. If you find a plant you like, start new plants from cuttings rather than discarding the plant or nursing it through winter. You'll need starter mix, plastic bags, rooting hormone, a sharp knife and a sunny windowsill.
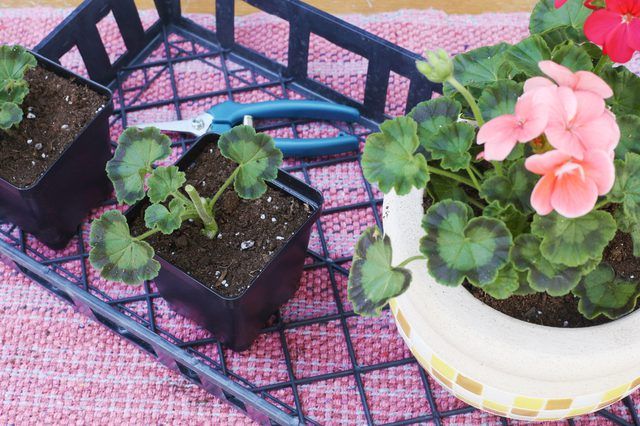
Garden geraniums (Pelargonium x hortorum), ivy geraniums (Pelagonium peltatum) and scented leaf geraniums (Pelargonium spp.) are all easy to start from cuttings. They are tender perennials, hardy in U.S. Department of Agriculture plant hardiness zones 10 and 11. Keep the plastic pots your geraniums came in from the nursery for cuttings, and pinch plants back all summer long to encourage compact growth and bloom. By August or early September, you should have big, bushy plants with plenty of soft green growth.
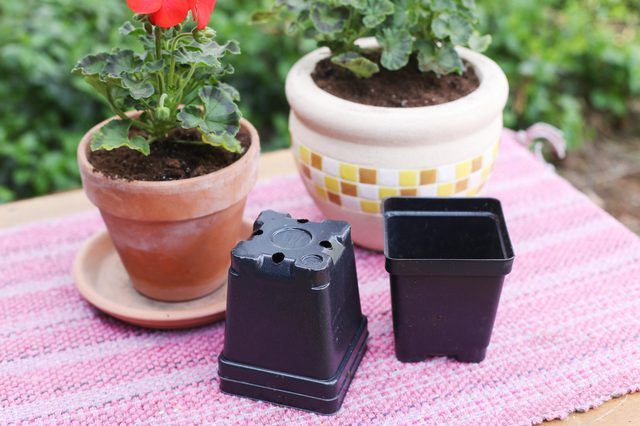
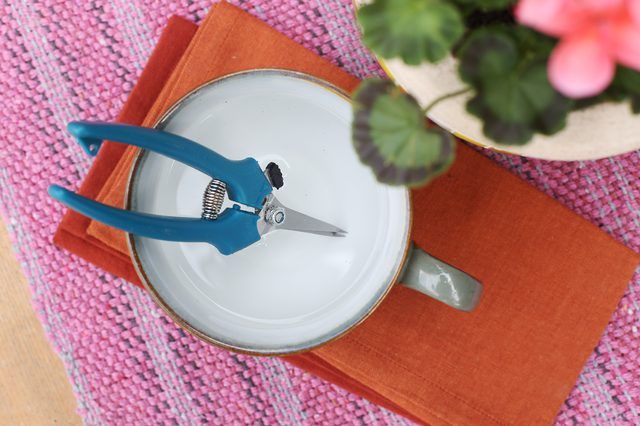
Mix any of the following -- vermiculite, perlite or peat moss -- half and half with clean, sharp sand to make a fast-draining starting medium that will hold the cuttings upright. Use nursery pots or any pots with drainage holes on the bottom that will fit inside a gallon-size plastic bag. Purchase a starter rooting hormone powder -- there are several available. Use a dish for dipping cut ends. Make a mixture of rubbing alcohol mixed 50-50 with water or hand sanitizer, and use it to clean cutting tools periodically to avoid spreading pathogens from one pot to the next.
Bring geraniums in when nighttime temperatures fall below 50 degrees Fahrenheit and before central heating kicks in. In cooler areas, pot them up and bring them in at least a week before the furnace goes on for the first time, so they can acclimate to the drier indoor air. Put the plants in a sunny window and keep their soil moist, not soaked. Fill pots with starting medium and tap the pots to settle the contents.
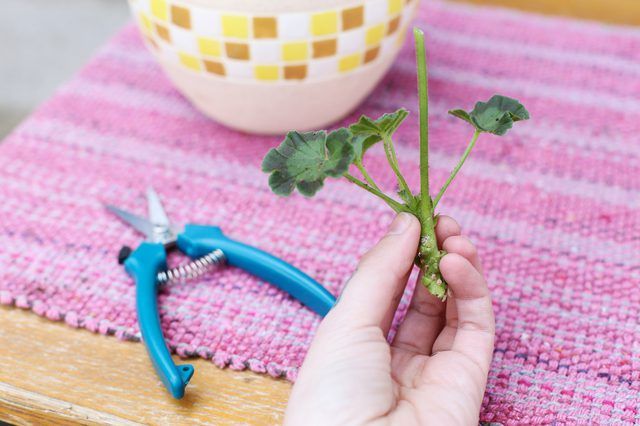
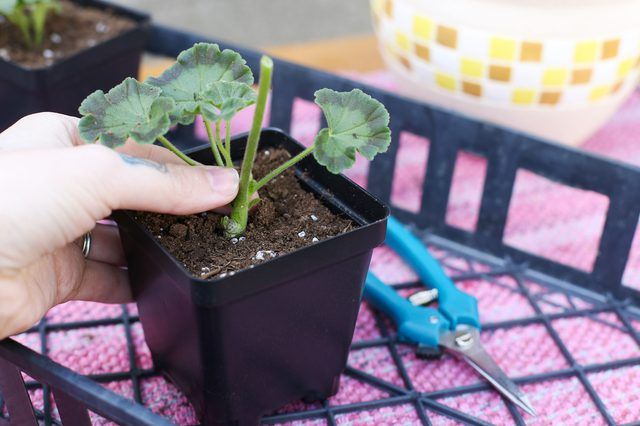
Take 3- to 5-inch cuttings from growing branch tips, cutting below a knobby "node" where leaves sprout. Nonflowering cuttings root most easily, but you can also root flowering branches -- just pinch off flowers at the stem. Pinch or cut all the leaves from the cutting, leaving only three to four leaves on its end. Lightly touch the cut end to the powder in the dish; make a hole in the medium with a pencil, and plant the cutting. You can put several "starts" in one pot, but don't let their leaves touch.
Place your starter pots on a tray and water the medium until moist. Cover each pot with a plastic storage bag -- supported with a straw to keep the plastic off the leaves. Put your mini-nursery in a bright, warm place to root. If condensation forms on the bag, air out the plants. Check for soil moisture weekly, and sprinkle when necessary. In four to six weeks, or when cuttings resist a tug, they're mature enough to pot individually in a potting mix and put on a sunny window ledge until spring.


