Bulbs
Flower Basics
Flower Beds & Specialty Gardens
Flower Garden
Garden Furniture
Garden Gnomes
Garden Seeds
Garden Sheds
Garden Statues
Garden Tools & Supplies
Gardening Basics
Green & Organic
Groundcovers & Vines
Growing Annuals
Growing Basil
Growing Beans
Growing Berries
Growing Blueberries
Growing Cactus
Growing Corn
Growing Cotton
Growing Edibles
Growing Flowers
Growing Garlic
Growing Grapes
Growing Grass
Growing Herbs
Growing Jasmine
Growing Mint
Growing Mushrooms
Orchids
Growing Peanuts
Growing Perennials
Growing Plants
Growing Rosemary
Growing Roses
Growing Strawberries
Growing Sunflowers
Growing Thyme
Growing Tomatoes
Growing Tulips
Growing Vegetables
Herb Basics
Herb Garden
Indoor Growing
Landscaping Basics
Landscaping Patios
Landscaping Plants
Landscaping Shrubs
Landscaping Trees
Landscaping Walks & Pathways
Lawn Basics
Lawn Maintenance
Lawn Mowers
Lawn Ornaments
Lawn Planting
Lawn Tools
Outdoor Growing
Overall Landscape Planning
Pests, Weeds & Problems
Plant Basics
Rock Garden
Rose Garden
Shrubs
Soil
Specialty Gardens
Trees
Vegetable Garden
Yard Maintenance
How to Repair a Concrete Birdbath
How to Repair a Concrete Birdbath. Concrete birdbaths offer an affordable way of providing a water source for the birds that call your yard their home. Over time, weather and other problems can cause cracks to from in the concrete, necessitating some repair work to make the birdbath look as good as new again. While heavy-duty cracks may require...
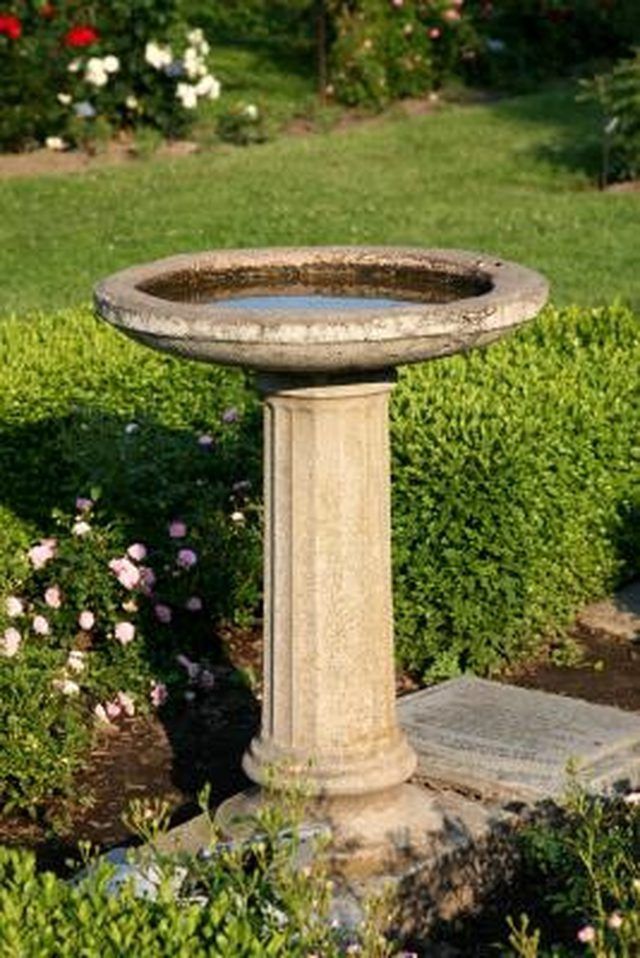
Concrete birdbaths offer an affordable way of providing a water source for the birds that call your yard their home. Over time, weather and other problems can cause cracks to from in the concrete, necessitating some repair work to make the birdbath look as good as new again. While heavy-duty cracks may require replacing the birdbath, most minor cracks are easily repaired with a few simple items.
Things You'll Need
Water
Dish soap
Bristle brush
Two-part concrete epoxy
Putty knife
Popsicle stick
Glass jar
Remove all water from the birdbath.
Clean the birdbath with the water and dish soap mixed in to remove all dirt and debris. Use the bristle brush to scrub clean the surfaces. Use fresh water to get rid of the soap scum.
Move the birdbath to a dry area, preferably a garden shed, garage or other clean place. Let the surfaces dry thoroughly.
Prepare the two-part concrete epoxy by using a popsicle stick to thoroughly mix together the resin and the hardener in a small glass jar with a wide mouth. Follow the manufacturer's exact guidelines when preparing the epoxy.
Smear some of the epoxy on a putty knife, then work the epoxy into the cracks in your birdbath. Fill all cracks evenly, making sure no cracks show when finished. Let the epoxy dry at least 10 to 15 minutes.
Hold pieces of concrete together with the epoxy if you need to fix broken chunks of concrete. Wait for a few minutes until the pieces form a bond before removing your hands.
Move your birdbath back outside after waiting 24 hours for the epoxy to fully cure. Then, fill the basin with fresh water, and let your birds enjoy their newly repaired bath.
Tips & Warnings
Let the epoxy dry for the length of time indicated on the package.
Put a tarp or other cover over your birdbath while the adhesive dries if you're unable to move the birdbath inside. This allows the epoxy to dry while keeping the birds form getting harmed by any toxins in the adhesive.


