Bulbs
Flower Basics
Flower Beds & Specialty Gardens
Flower Garden
Garden Furniture
Garden Gnomes
Garden Seeds
Garden Sheds
Garden Statues
Garden Tools & Supplies
Gardening Basics
Green & Organic
Groundcovers & Vines
Growing Annuals
Growing Basil
Growing Beans
Growing Berries
Growing Blueberries
Growing Cactus
Growing Corn
Growing Cotton
Growing Edibles
Growing Flowers
Growing Garlic
Growing Grapes
Growing Grass
Growing Herbs
Growing Jasmine
Growing Mint
Growing Mushrooms
Orchids
Growing Peanuts
Growing Perennials
Growing Plants
Growing Rosemary
Growing Roses
Growing Strawberries
Growing Sunflowers
Growing Thyme
Growing Tomatoes
Growing Tulips
Growing Vegetables
Herb Basics
Herb Garden
Indoor Growing
Landscaping Basics
Landscaping Patios
Landscaping Plants
Landscaping Shrubs
Landscaping Trees
Landscaping Walks & Pathways
Lawn Basics
Lawn Maintenance
Lawn Mowers
Lawn Ornaments
Lawn Planting
Lawn Tools
Outdoor Growing
Overall Landscape Planning
Pests, Weeds & Problems
Plant Basics
Rock Garden
Rose Garden
Shrubs
Soil
Specialty Gardens
Trees
Vegetable Garden
Yard Maintenance
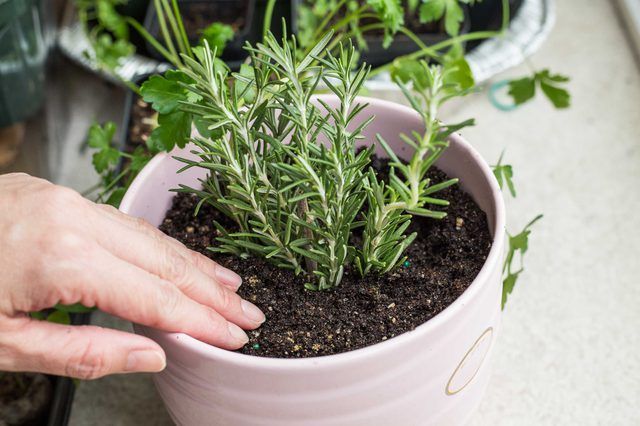
How to Propagate Rosemary From Cuttings
How to Propagate Rosemary From Cuttings. Valued for both its culinary and ornamental properties, evergreen rosemary (Rosmarinus officials), hardy to U.S. Department of Agriculture plant hardiness zones 8 through 10, grows well as a container or garden plant. Rosemary thrives in full sun and well-drained soil. Native to the Mediterranean area, many...
Valued for both its culinary and ornamental properties, evergreen rosemary (Rosmarinus officials), hardy to U.S. Department of Agriculture plant hardiness zones 8 through 10, grows well as a container or garden plant. Rosemary thrives in full sun and well-drained soil. Native to the Mediterranean area, many cultivars exist that vary in height, foliage and flower color, leaf fragrance and growth habit. The best way to propagate rosemary, especially to get the desired cultivar, is through cuttings.
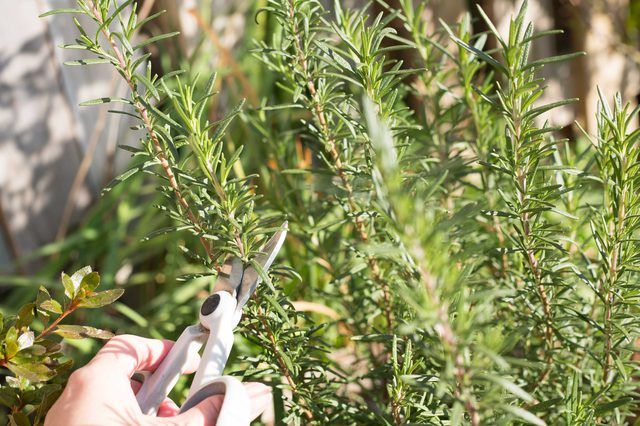
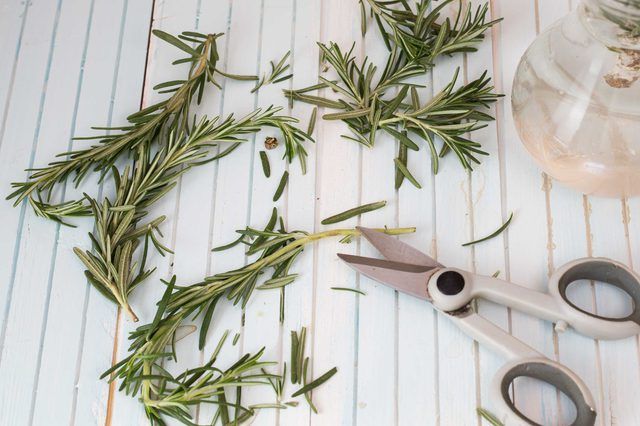
Take cuttings almost any time, except when rosemary is blooming. Start with a healthy plant that doesn't have any insect pests. Choose a branch that is semi-ripe, with soft new growth at the tip but beginning to harden a few inches down the stem. Clean the pruners with a cloth soaked in rubbing alcohol to prevent spreading disease. Take cuttings that measure about 2 1/2 to 4 inches long. Snip off some of the bottom leaves to leave about 1 inch of the stem bare. Don't pull them off, which may break the stem. The bare area should contain two or three leaf nodes (the area where the leaf joins the stem). New roots come from the node.
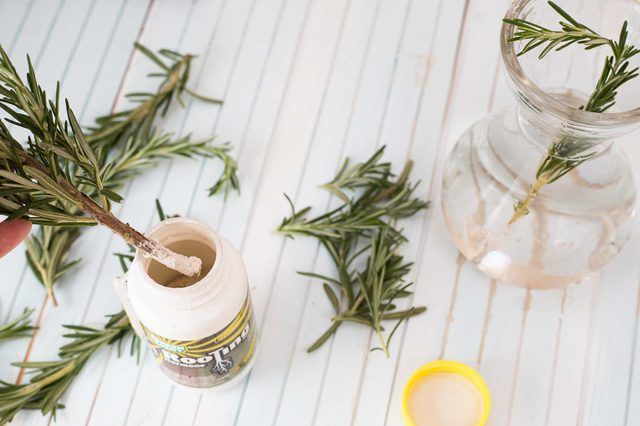
Immediately after cutting off the bottom leaves, dip the bare area of the stem into rooting hormone. You want the sap from the fresh wounds to still be fresh so rooting hormone will cling to the areas and dissolve to be available for plant tissues to take up. Prepare 2-inch-wide containers with drainage holes filled with a rooting mixture of equal parts of moistened perlite and peat moss. Make a hole in the center of the pot with a pencil, and insert the bare, 1-inch-long end of the rosemary cutting, firming the rooting mix around the bottom to hold the cutting erect.
Place the containers in a warm area with bright, indirect light. For quicker rooting, place the pots on a propagating mat, which keeps the potting soil warm. Keep the rooting medium moist but not soggy, and mist the cuttings occasionally on warm days. Cuttings usually form roots in two to three weeks but may take as long as two months. Tug gently on the cutting to test for rooting. If it resists moving when you pull, it's forming roots.
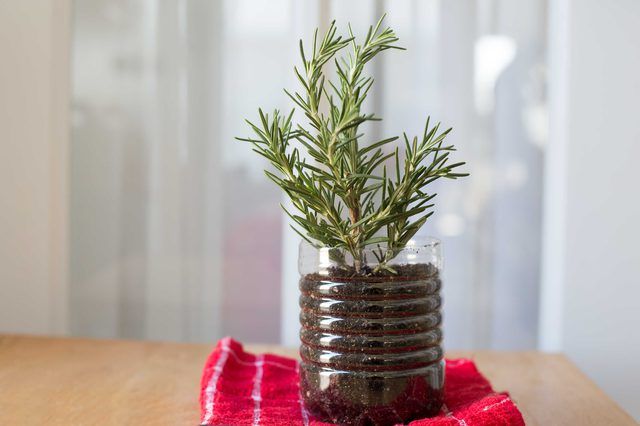
When enough roots have formed to hold the rooting medium together, transplant the rooted cutting to a 3-1/2-inch-wide pot with drainage holes. Use a clean, soilless potting mix that contains perlite or vermiculite. Leave about 1/2 inch between the top of the soil and the top edge of the pot to hold water. Place the pot back in bright indirect light. Allow the top 1/4 inch of potting mix to become dry between waterings. When the cutting begins to show new growth, pinch the top 1/4 inch from the top of the cutting so the plant will branch.


