Bulbs
Flower Basics
Flower Beds & Specialty Gardens
Flower Garden
Garden Furniture
Garden Gnomes
Garden Seeds
Garden Sheds
Garden Statues
Garden Tools & Supplies
Gardening Basics
Green & Organic
Groundcovers & Vines
Growing Annuals
Growing Basil
Growing Beans
Growing Berries
Growing Blueberries
Growing Cactus
Growing Corn
Growing Cotton
Growing Edibles
Growing Flowers
Growing Garlic
Growing Grapes
Growing Grass
Growing Herbs
Growing Jasmine
Growing Mint
Growing Mushrooms
Orchids
Growing Peanuts
Growing Perennials
Growing Plants
Growing Rosemary
Growing Roses
Growing Strawberries
Growing Sunflowers
Growing Thyme
Growing Tomatoes
Growing Tulips
Growing Vegetables
Herb Basics
Herb Garden
Indoor Growing
Landscaping Basics
Landscaping Patios
Landscaping Plants
Landscaping Shrubs
Landscaping Trees
Landscaping Walks & Pathways
Lawn Basics
Lawn Maintenance
Lawn Mowers
Lawn Ornaments
Lawn Planting
Lawn Tools
Outdoor Growing
Overall Landscape Planning
Pests, Weeds & Problems
Plant Basics
Rock Garden
Rose Garden
Shrubs
Soil
Specialty Gardens
Trees
Vegetable Garden
Yard Maintenance
How to Propagate an Oleander
How to Propagate an Oleander. A versatile, long-blooming and low-maintenance shrub, oleander (Nerium oleander) can be propagated from both cuttings and seeds. Growing outdoors year-round in U.S. Department of Agriculture plant hardiness zones 8 through 10, oleander also grows well as a container plant in all zones providing it's overwintered in a...
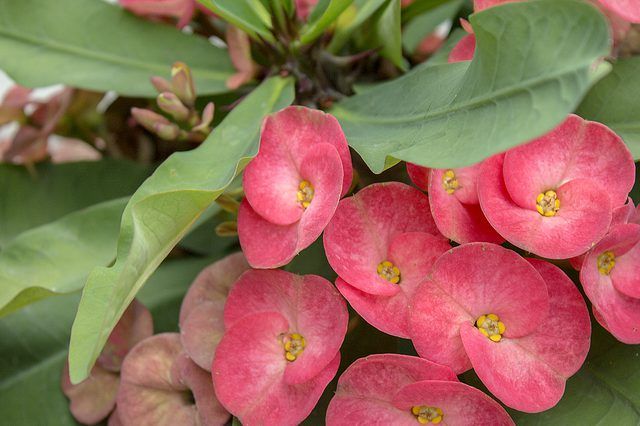
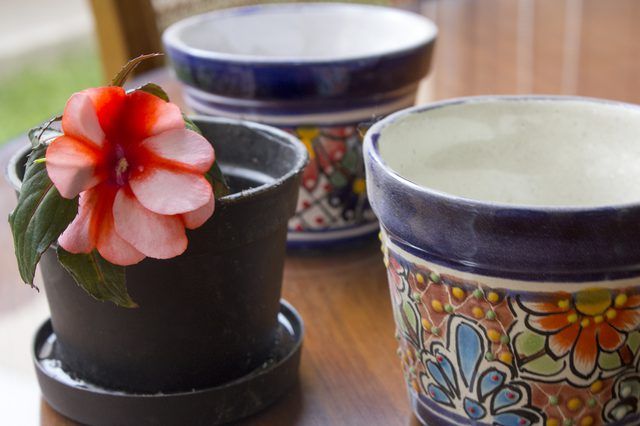
A versatile, long-blooming and low-maintenance shrub, oleander (Nerium oleander) can be propagated from both cuttings and seeds. Growing outdoors year-round in U.S. Department of Agriculture plant hardiness zones 8 through 10, oleander also grows well as a container plant in all zones providing it's overwintered in a frost-free area. Oleander cultivars range from compact shrubs that grow 2 to 4 feet tall to 9- to 20-foot-tall varieties, and bear white, pink or purple single or double flowers. All oleander plant parts are extremely poisonous and oleander sap is an irritant for some people, so wear gloves when handling this evergreen shrub and don't grow it in areas accessible to children or pets.
Things You'll Need
Gloves
Rubbing alcohol
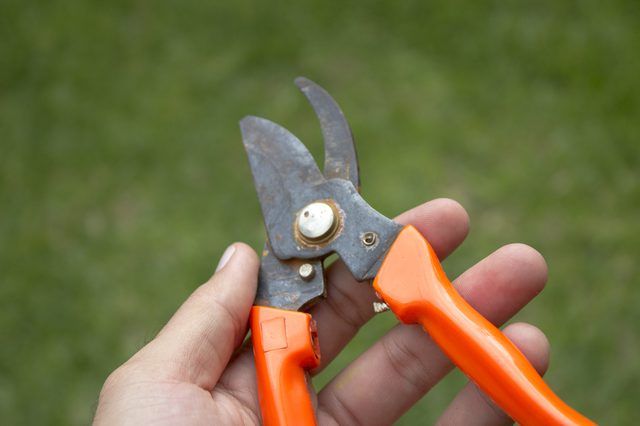
Pruning shears
3-inch plant pots with drainage holes
Plant pots ranging in size up to 1 gallon
Free-draining potting soil
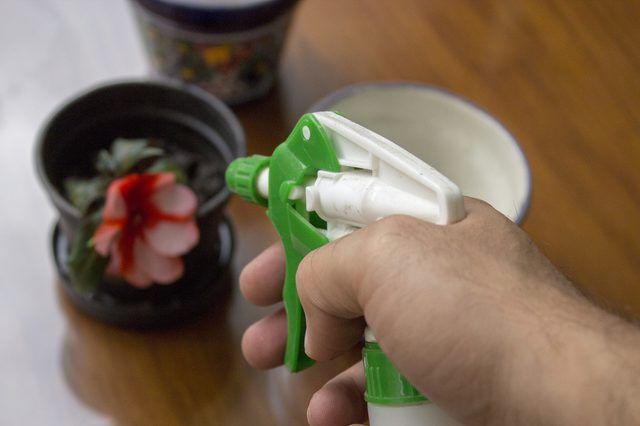
Fine mist hand sprayer
Step 1
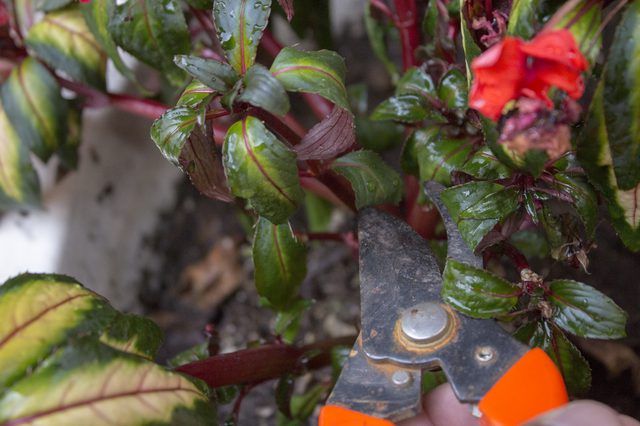
Disinfect pruning shears by wiping the blades with rubbing alcohol and put on gloves before taking cuttings from oleander in late summer. Prune 6 inches of thin hardwood stems or shoot tips, cutting just above a leaf node.
Step 2
Prune the leaves from the lower half of the oleander cuttings and prune the upper leaves to 1 inch long. Wash the pruning shears thoroughly after use to remove all traces of sap and plant debris.
Step 3
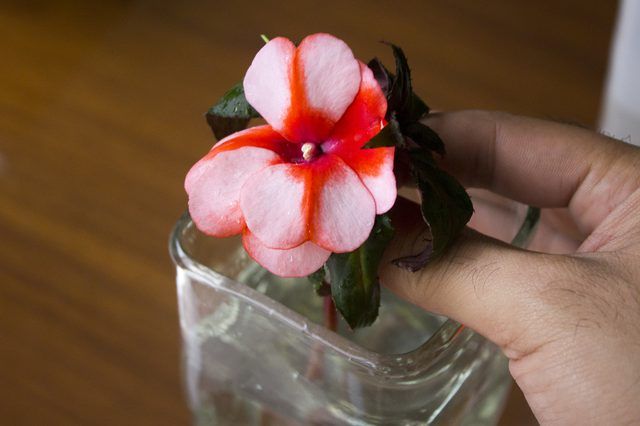
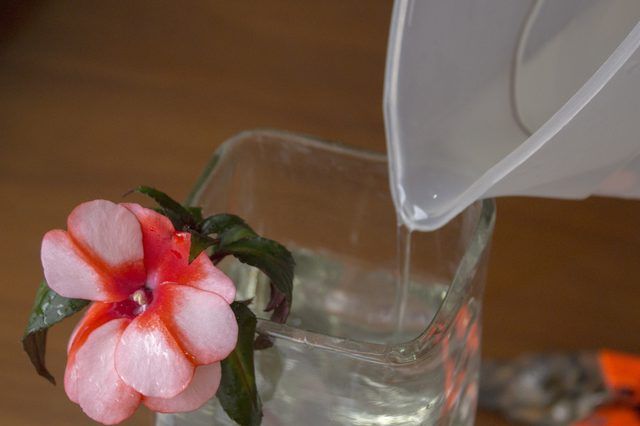
Place the oleander cuttings in a glass jar or similar container and add sufficient water to submerge the leafless portion.
Step 4
Add water as needed to maintain the original depth in the container and replace the water if it turns cloudy or smells offensive.
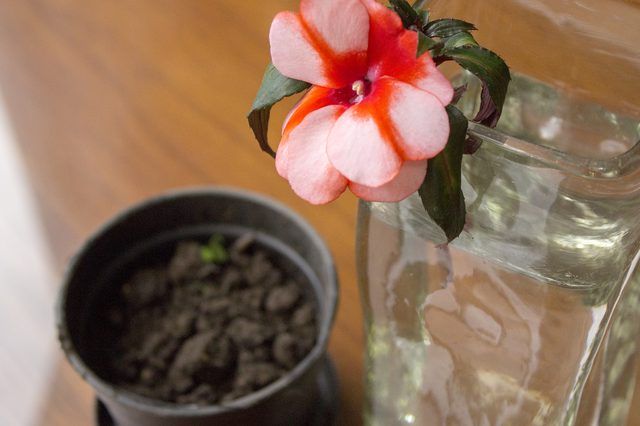
Step 5
Remove the oleander cuttings from the water when roots have formed and grown 1 to 2 inches long. Plant each cutting in a 3-inch plant pot with drainage holes in free-draining potting soil, such as a mix of equal parts peat and sand. Place the plant pots on a sunny windowsill or other bright, frost-free spot.

Step 6
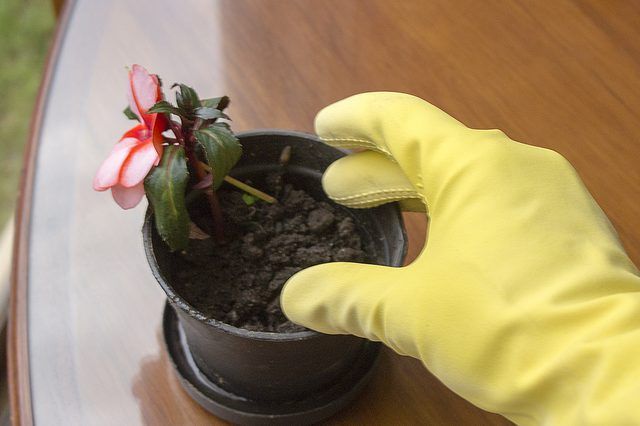
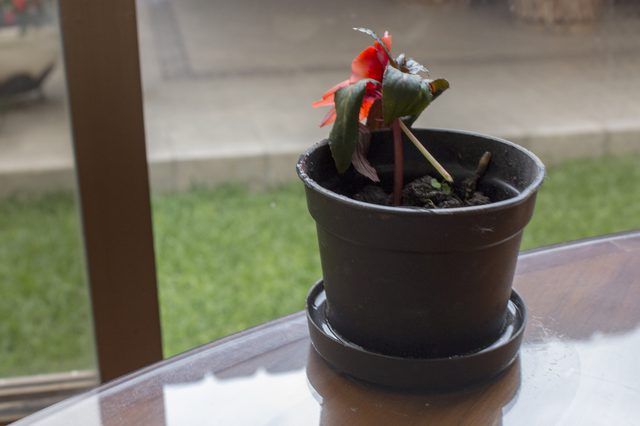
Water oleander cuttings regularly so that the potting soil remains constantly moist but never sodden. Transplant cuttings into plant pots that are 1 inch larger when their roots fill their pots. Oleander cuttings are ready for planting outside in frost-free areas when their roots fill 1-gallon pots.
Step 1
Put on gloves and fill 3-inch plant pots with a free-draining potting soil, such as an equal mixture of peat moss and sand, in spring. Spread oleander seeds evenly on the surface so that the seeds are about 1 inch apart. Firm the seeds lightly into the soil with your fingertips or sprinkle a fine layer of potting soil over them.
Step 2
Water the oleander seeds with tap water, using a fine-rose watering can until water appears through the drainage holes of the containers. Place the plant pots in a bright, sunny site, such as a frost-free home greenhouse or sunny windowsill.
Step 3
Mist the surface of the potting soil with a fine mist spray and tap water whenever the soil dries out.
Step 4
Put on gloves and transplant oleander seedlings when the second set of leaves appears. Remove seedlings gently from the plant pots and plant each seedling in a single 3-inch pot. Water the seedlings when the surface of the potting soil dries out.


