Bulbs
Flower Basics
Flower Beds & Specialty Gardens
Flower Garden
Garden Furniture
Garden Gnomes
Garden Seeds
Garden Sheds
Garden Statues
Garden Tools & Supplies
Gardening Basics
Green & Organic
Groundcovers & Vines
Growing Annuals
Growing Basil
Growing Beans
Growing Berries
Growing Blueberries
Growing Cactus
Growing Corn
Growing Cotton
Growing Edibles
Growing Flowers
Growing Garlic
Growing Grapes
Growing Grass
Growing Herbs
Growing Jasmine
Growing Mint
Growing Mushrooms
Orchids
Growing Peanuts
Growing Perennials
Growing Plants
Growing Rosemary
Growing Roses
Growing Strawberries
Growing Sunflowers
Growing Thyme
Growing Tomatoes
Growing Tulips
Growing Vegetables
Herb Basics
Herb Garden
Indoor Growing
Landscaping Basics
Landscaping Patios
Landscaping Plants
Landscaping Shrubs
Landscaping Trees
Landscaping Walks & Pathways
Lawn Basics
Lawn Maintenance
Lawn Mowers
Lawn Ornaments
Lawn Planting
Lawn Tools
Outdoor Growing
Overall Landscape Planning
Pests, Weeds & Problems
Plant Basics
Rock Garden
Rose Garden
Shrubs
Soil
Specialty Gardens
Trees
Vegetable Garden
Yard Maintenance
How to Grow Clivias from Seeds
How to Grow Clivias from Seeds. Clivias are extremely robust plants that boast bright orange and, more rarely, yellow flowers. These plants produce berries which, although inedible, contain seeds that can be harvested and planted. Usually it takes about four years for a Clivia plant to produce flowers from the time it was planted from seed. Below...
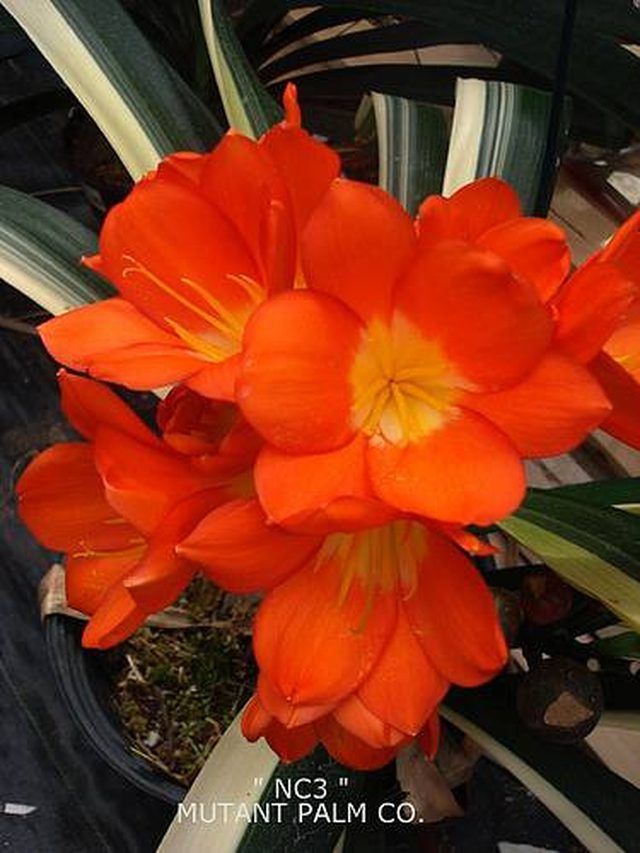
Clivias are extremely robust plants that boast bright orange and, more rarely, yellow flowers. These plants produce berries which, although inedible, contain seeds that can be harvested and planted. Usually it takes about four years for a Clivia plant to produce flowers from the time it was planted from seed. Below are the steps necessary for growing these strikingly beautiful plants.
Things You'll Need
Clivia seeds--harvested or commercially bought
Peat-based soil-less mix
Seed tray
Plant container
Liquid plant fertilizer
Growing Clivias from Seeds
Fill a seed tray full of peat-based soil-less mixture. This can be obtained at any local gardening center. Moisten the soil-less mixture by misting or spraying with water.
Plant seeds in the tray with half of the seed exposed. Do not push the seed completely down into the mixture. Use seeds that have been harvested (see the Harvesting Clivias Seeds section) or commercially bought.
Cover the seed tray with clear plastic wrap. Set the tray in a warm environment with the temperature around 70 to 75 degrees F. A greenhouse or sunroom is perfect for this. Roots will emerge within a month after planting the seeds. When the seedling is approximately 3 to 4 inches and there is at least 1 leaf it is time to transplant.
Transfer seedlings to another container filled about 3/4 full of well-drained soil-less mix. The peat-based mix used in the seed trays works well. Mist or spray lightly just to keep soil-less mixture damp; do not flood the seedlings. Continue growing the seedlings for about a year, at which time three to four leaves will appear. Keep soil-less mixture moistened daily. The containers can be set outside during warm weather or kept in a greenhouse or sunroom.
If planting outside, transplant in late spring or after the chance of frost has passed. Plant in a sunny, warm location. Prepare the garden area by mixing in the peat-based soil-less mixture, water well to moisten and put the plants in the ground with the top of the roots about 1/2 inch above ground level. Mound the soil-less mixture around the plants. Water to moisten. Keep watered daily so the ground doesn't get dry.
Use a liquid fertilizer every month to keep plants strong. Flowers will not appear for about 2 to 3 years after planting. Once the plant begins flowering it will flower every year. These plants make excellent indoor plants, but need lots of sunlight and warmth. If keeping indoors skip step 5.
Harvesting Clivias Seeds
Harvest berries when soft and colorful, usually in late fall. When the berries are squeezed there should be a crackle sound which indicates they are ready for harvest.
Open the berry to find the seeds inside. Pick the seeds out. Peel off the thin membrane that oftentimes covers the seeds. The membrane can be wiped up gently with your finger or you may soak the seeds in water to wash the membrane off.
Put the seeds in a container of water to soak overnight. Soaking the seeds can aid in the germination and keep the seeds from drying out. Remove seeds from the water.
Tips & Warnings
Use freshly harvested seeds within 24 hours of they will dry out and not germinate.


