Bulbs
Flower Basics
Flower Beds & Specialty Gardens
Flower Garden
Garden Furniture
Garden Gnomes
Garden Seeds
Garden Sheds
Garden Statues
Garden Tools & Supplies
Gardening Basics
Green & Organic
Groundcovers & Vines
Growing Annuals
Growing Basil
Growing Beans
Growing Berries
Growing Blueberries
Growing Cactus
Growing Corn
Growing Cotton
Growing Edibles
Growing Flowers
Growing Garlic
Growing Grapes
Growing Grass
Growing Herbs
Growing Jasmine
Growing Mint
Growing Mushrooms
Orchids
Growing Peanuts
Growing Perennials
Growing Plants
Growing Rosemary
Growing Roses
Growing Strawberries
Growing Sunflowers
Growing Thyme
Growing Tomatoes
Growing Tulips
Growing Vegetables
Herb Basics
Herb Garden
Indoor Growing
Landscaping Basics
Landscaping Patios
Landscaping Plants
Landscaping Shrubs
Landscaping Trees
Landscaping Walks & Pathways
Lawn Basics
Lawn Maintenance
Lawn Mowers
Lawn Ornaments
Lawn Planting
Lawn Tools
Outdoor Growing
Overall Landscape Planning
Pests, Weeds & Problems
Plant Basics
Rock Garden
Rose Garden
Shrubs
Soil
Specialty Gardens
Trees
Vegetable Garden
Yard Maintenance
How to Build an Easy Greenhouse for Under $25
How to Build an Easy Greenhouse for Under $25. Owning a glass greenhouse is not always an option for most homeowners. Greenhouses can be expensive or take up a lot of yard space. Greenhouse kits can be expensive as well. You can make your own 5-by-5-foot greenhouse for less than $25 using PVC piping and plastic sheeting. A plastic greenhouse can...

Owning a glass greenhouse is not always an option for most homeowners. Greenhouses can be expensive or take up a lot of yard space. Greenhouse kits can be expensive as well. You can make your own 5-by-5-foot greenhouse for less than $25 using PVC piping and plastic sheeting. A plastic greenhouse can protect your plants over the winter or help extend your growing season to earlier in the spring and later in the fall.
Things You'll Need
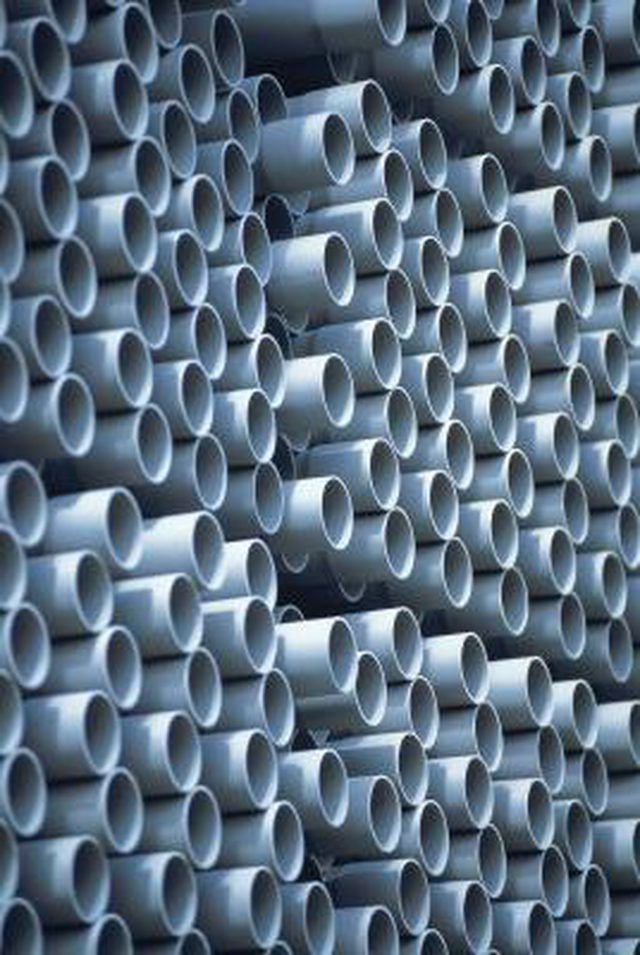
4 1/2-in., 10-ft. long PVC pipes
Tape measure
Permanent marker
Hacksaw
4 1/2-in., 3-hole PVC corner elbow connectors
PVC primer
PVC cement
Scissors
10-by-25-ft box of thick plastic sheeting
4 1/2-in. PVC threaded adapters
1 package long zip ties
Hammer
4 tent stakes
Measure the halfway point -- 5 feet -- of two of the PVC pipes using your tape measure. Mark the spot with a permanent marker.
Cut the two measured PVC pipes in half using a hack saw.
Brush the smooth insides of the elbow connectors -- not the threaded ends -- with PVC primer. Brush the outside ends of all the PVC pipes with the primer as well. Allow to dry per the container's instructions.
Brush PVC cement on the ends of the two 5-foot pieces of PVC pipe. Push a 3-way corner connector onto each end of both PVC pipes, aligning the corner connectors so they point the same way at both ends of each piece of pipe. Allow cement to dry thoroughly per package instructions.
Swab one end of a 10-foot piece of pipe with the PVC cement and push it into the unthreaded hole on one of the corner connectors that is attached to a 5-foot length of pipe. Once the cement is dry, brush the other end of the 10-foot pipe with cement. Bend the 10-foot piece of pipe so it reaches the unthreaded connector hole at the other end of the 5-foot piece of pipe, making a "D" shape. Push into the connector and allow to dry.
Repeat with the other 10-foot pipe and 5-foot pipe with connectors attached. You will have two D-shape greenhouse ends.
Roll out at least 8 feet of the plastic sheeting. Lay one PVC "D" shape atop the sheeting . Cut the plastic around the D so there is at least 6 inches of sheeting to spare around all sides of the D. Cut a few slits around the curve of the D to create flaps for securing the plastic in place. Wrap the plastic around the D, securing in place with zip ties starting with the straight edge. Poke small holes in the plastic with your scissors to poke the zip ties through. Secure tightly.
Repeat with the other D shape.
Attach threaded adapters onto the threaded ends of the connector pipes. Glue the remaining 5-foot sections of pipe into the adapters, creating a 5-by-5-foot-square bottom of the greenhouse structure with the curved part of the D on top.
Cover the sides of the greenhouse with plastic sheeting, leaving 6 inches around all sides. Wrap the plastic around the pipes and secure in place with zip ties, as before. Cut small tabs if you find it helpful for securing the plastic in place. Leave a bottom corner on one side open as a flap for access to your plants.
Place the structure where you would like it to stay. Secure in place by hammering tent stakes to the four corners.
Tips & Warnings
Thicker plastic sheeting will hold up better in the weather than thinner sheeting. 6-mil thickness works well.
Monitor your greenhouse from time to time to ensure it's holding up well, especially after high winds or stormy weather.
A plastic-sheet greenhouse isn't designed for areas that get heavy snowfall.