Bulbs
Flower Basics
Flower Beds & Specialty Gardens
Flower Garden
Garden Furniture
Garden Gnomes
Garden Seeds
Garden Sheds
Garden Statues
Garden Tools & Supplies
Gardening Basics
Green & Organic
Groundcovers & Vines
Growing Annuals
Growing Basil
Growing Beans
Growing Berries
Growing Blueberries
Growing Cactus
Growing Corn
Growing Cotton
Growing Edibles
Growing Flowers
Growing Garlic
Growing Grapes
Growing Grass
Growing Herbs
Growing Jasmine
Growing Mint
Growing Mushrooms
Orchids
Growing Peanuts
Growing Perennials
Growing Plants
Growing Rosemary
Growing Roses
Growing Strawberries
Growing Sunflowers
Growing Thyme
Growing Tomatoes
Growing Tulips
Growing Vegetables
Herb Basics
Herb Garden
Indoor Growing
Landscaping Basics
Landscaping Patios
Landscaping Plants
Landscaping Shrubs
Landscaping Trees
Landscaping Walks & Pathways
Lawn Basics
Lawn Maintenance
Lawn Mowers
Lawn Ornaments
Lawn Planting
Lawn Tools
Outdoor Growing
Overall Landscape Planning
Pests, Weeds & Problems
Plant Basics
Rock Garden
Rose Garden
Shrubs
Soil
Specialty Gardens
Trees
Vegetable Garden
Yard Maintenance
How to Repair a Concrete Planter
How to Repair a Concrete Planter. Few things are as enjoyable as flowers. They add beauty to any yard or porch as well as enjoyable aromas. Planting flowers in concrete planters adds to the beauty that you enjoy. But what can you do when the planter becomes compromised by cracks and damages? Do you need to get rid of it and transplant the...

Few things are as enjoyable as flowers. They add beauty to any yard or porch as well as enjoyable aromas. Planting flowers in concrete planters adds to the beauty that you enjoy. But what can you do when the planter becomes compromised by cracks and damages? Do you need to get rid of it and transplant the flowers to something else? Not at all. There is a way to repair the concrete planter and continue to enjoy its beauty.
Things You'll Need
Pot to temporarily transplant flowers into
Small head stainless steel brush
Mortar repair in caulking tube (for small cracks)
Bag of concrete patch (for large cracks)
Bowl for mixing
Flat edge plaster trowel
If the planter is currently home to plants or flowers, gently transplant them to a temporary pot while the planter is being repaired.
Hose down the planter and remove all dirt. Using the steel brush, scrub along the edge and inside the crack to remove any loose debris. Allow the planter to completely dry before continuing.
If the crack you are repairing is a small one, take the mortar repair caulking tube and completely fill the crack. If the crack runs along the inside and outside of the planter, be sure that you inject enough into the crack to completely fill it. Smooth the edges of the filled crack with your finger.
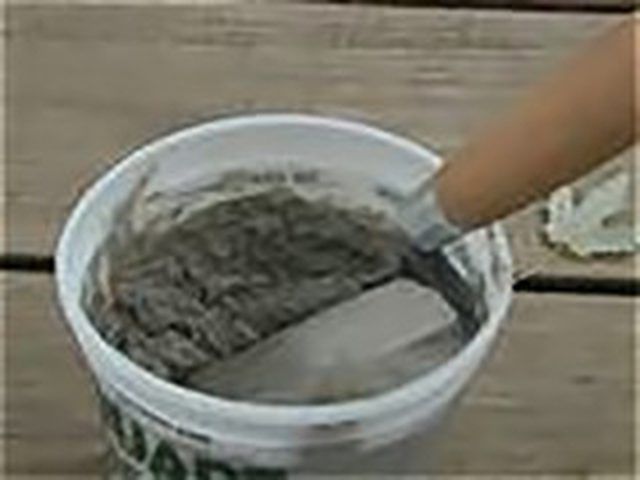
If you are filling a large crack, mix up the bag of concrete patch according to package directions. Using the trowel, completely fill the crack with the concrete patch. Use the pointed edge of the trowel to get the patch into all the nooks and crannies of the crack. If it is a sizeable hole you are repairing, fill it completely. After it has dried, come back and fill the spaces to be sure there are no hidden cracks remaining. Use the edge of the trowel to smooth the lines where you have filled the crack.
Before transplanting the flowers back to the concrete planter, allow it to dry for several days.
Tips & Warnings
Before putting flowers back into planter, add a plastic liner. This will help protect the planter from the wear and tear of soil and water.
Test the seal of your concrete repair by filling the planter with water only before transplanting flowers back in. This will also allow you to see if any other cracks are starting to form.


