Bulbs
Flower Basics
Flower Beds & Specialty Gardens
Flower Garden
Garden Furniture
Garden Gnomes
Garden Seeds
Garden Sheds
Garden Statues
Garden Tools & Supplies
Gardening Basics
Green & Organic
Groundcovers & Vines
Growing Annuals
Growing Basil
Growing Beans
Growing Berries
Growing Blueberries
Growing Cactus
Growing Corn
Growing Cotton
Growing Edibles
Growing Flowers
Growing Garlic
Growing Grapes
Growing Grass
Growing Herbs
Growing Jasmine
Growing Mint
Growing Mushrooms
Orchids
Growing Peanuts
Growing Perennials
Growing Plants
Growing Rosemary
Growing Roses
Growing Strawberries
Growing Sunflowers
Growing Thyme
Growing Tomatoes
Growing Tulips
Growing Vegetables
Herb Basics
Herb Garden
Indoor Growing
Landscaping Basics
Landscaping Patios
Landscaping Plants
Landscaping Shrubs
Landscaping Trees
Landscaping Walks & Pathways
Lawn Basics
Lawn Maintenance
Lawn Mowers
Lawn Ornaments
Lawn Planting
Lawn Tools
Outdoor Growing
Overall Landscape Planning
Pests, Weeds & Problems
Plant Basics
Rock Garden
Rose Garden
Shrubs
Soil
Specialty Gardens
Trees
Vegetable Garden
Yard Maintenance
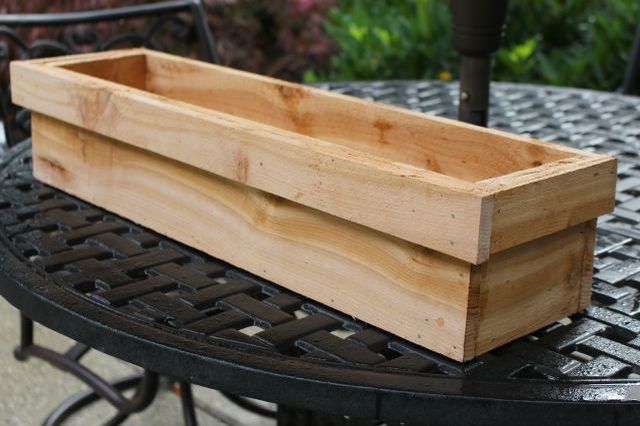
How to Build a Window Box Planter
For less than $20 in supplies and minimal tools you can build a window box planter in just under 1 hour.
Building a window box planter is easier than you think. With the right tools, it can be made in less than an hour for under $20 in supplies. It's the perfect afternoon project for any time of the year.
Things You'll Need
(1) 5/8" x 6"x 8' cedar fence panel
(1) 1"x 2"x 6' cedar board
Tape measure
Pencil
Power saw
Wood glue
Hammer
1 1/2" galvanized finish nails
(2) L brackets
(4) 1" galvanized screws
(4) 5/8" galvanized screws
1" spade drill bit
Drill
Sandpaper
Paint or stain (optional)
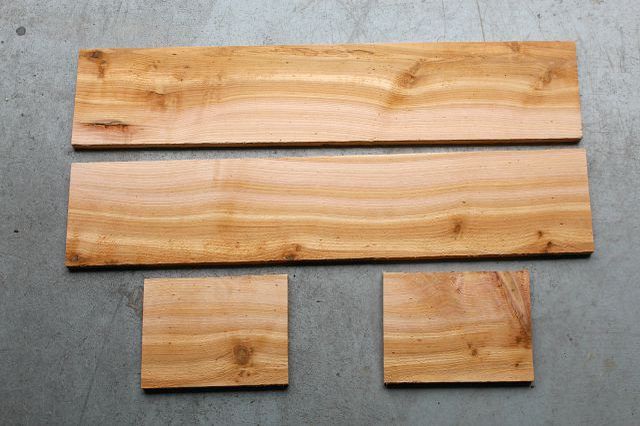
Step 1: Cut Your Boards
This project is for a 30" window box. If you want to make one that's shorter or longer, simply cut two pieces of wood the same length for the front and back of the the desired box length. Cut two 5/8"x 6"x 30" pieces of wood and set aside. Next, cut two 5 1/2" x 5 1/2" end pieces.
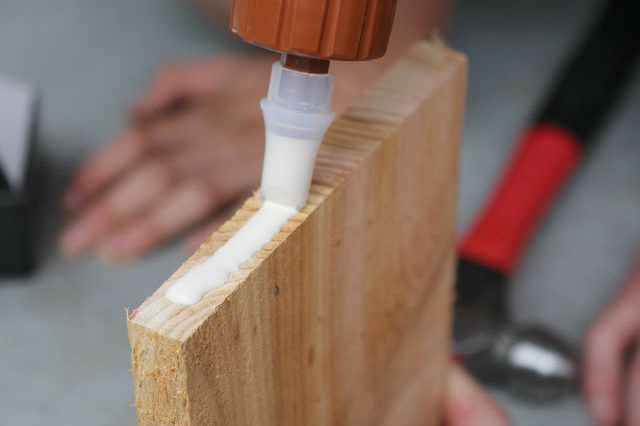
Step 2: Apply Wood Glue to End Pieces
Apply wood glue to the ends of the 5 1/2" x 5"1/2 end pieces.
Step 3: Attach Sides to End Pieces With Finish Nails
Using finish nails, attach the end pieces to the front and back boards.
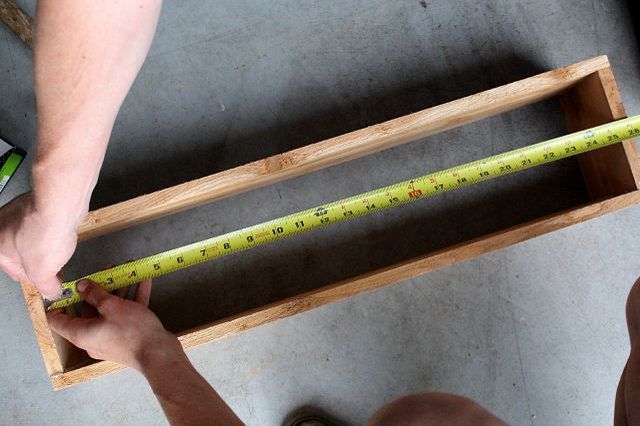
Step 4: Measure the Inside of Window Box
Measure the inside of your window box to get the exact measurement you need to cut for the bottom of the window box. For a 30" window box you will need a 5/8"x 6" x 27 3/8" piece.
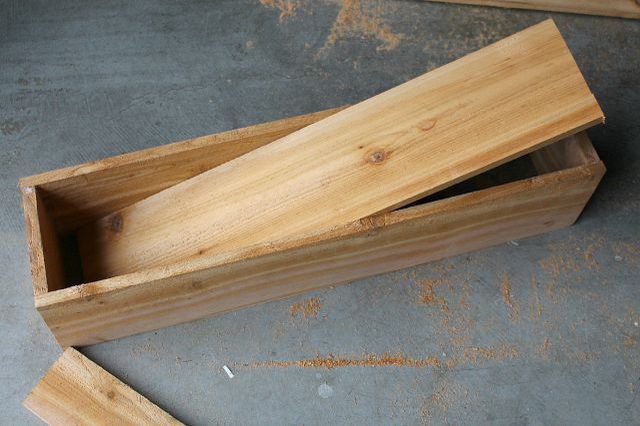
Step 5: Insert Bottom of Window Box
Using a hammer, tap the bottom piece of wood into your window box.
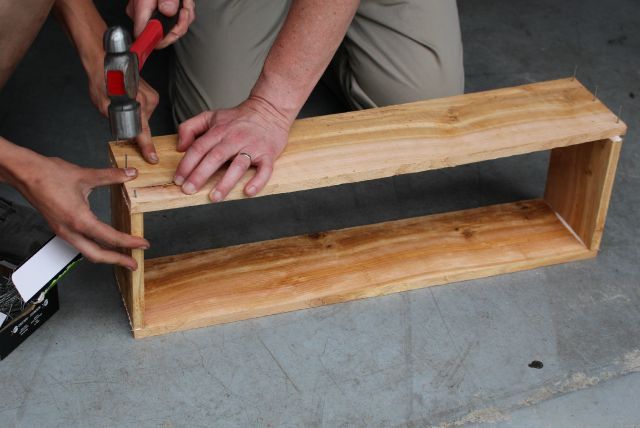
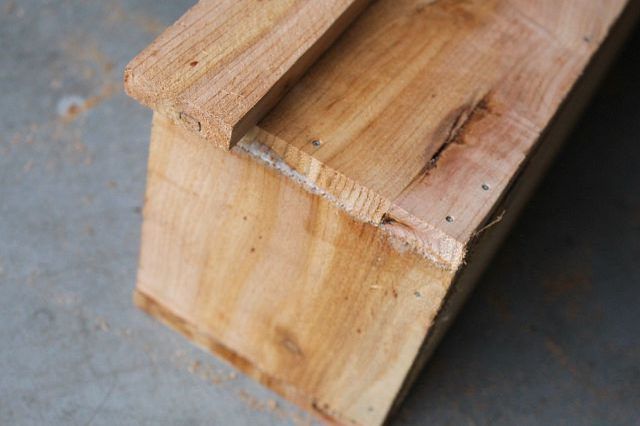
Step 6: Finish Nails
Pound finish nails every four inches around the bottom of the window box to secure the bottom to the side and end panels.

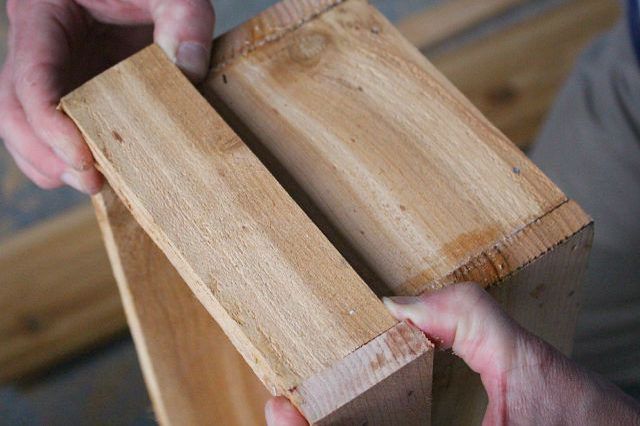
Step 7: Cut Trim Pieces
Once your box is constructed, it's time to cut your trim pieces. Cut (2) 1"x 2" x 6 1/2" and (1) 1"x 2" x 30" pieces for the sides and front of your window box.
Step 8: Apply Trim
Apply wood glue to the bottom of the trim pieces. Then, using your finish nails and hammer, attach the sides first and then the front.
Step 9: Sand Rough Edges
Using a medium grit sandpaper, sand the window box down a bit so the edges are not rough. Paint or stain the window box (if you want), and let it sit overnight to dry.
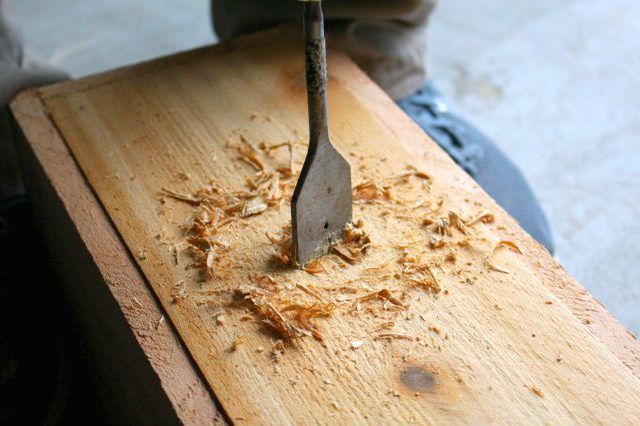
Step 10: Drill Drainage Holes
Using a drill and a 1" spade drill bit, drill two holes into the bottom of the planter box.
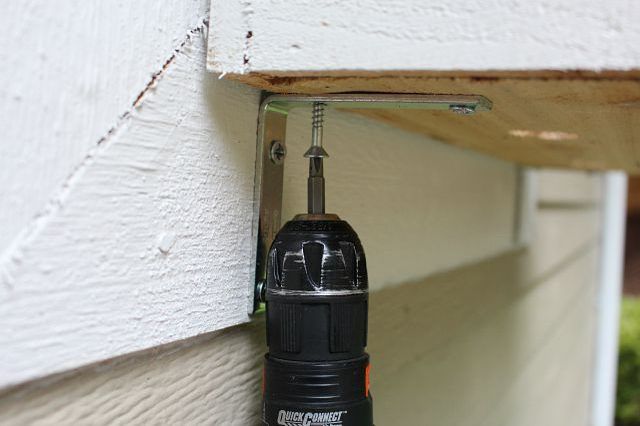
Step 11: Mount the Window Box Using L Brackets
Attach the window planter box to your house just below the window using L brackets and 1 1/2" galvanized screws to hold your window box securely in place. Drill 5/8" screws into the bottom of your planter box to hold the L brackets into place.
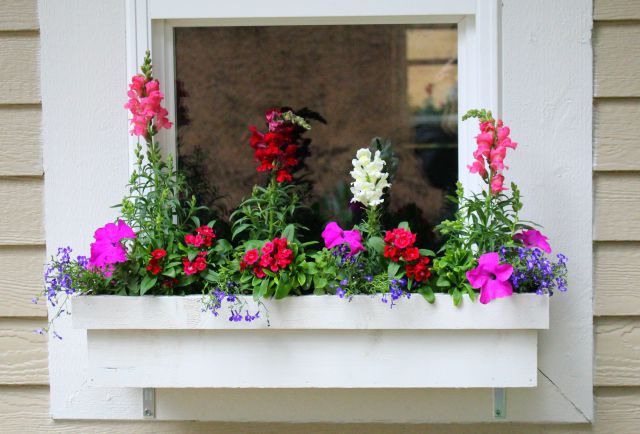
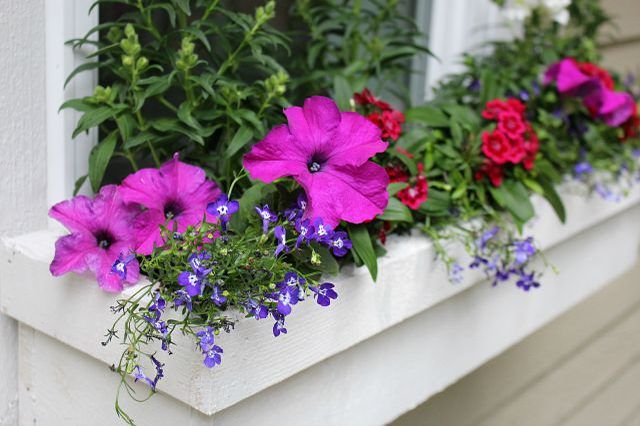
Step 12: Plant With Flowers
Plant with your favorite sun-worshiping or shade-tolerant flowers, as appropriate; then step back and marvel at the amazing window box you just created.


