Bulbs
Flower Basics
Flower Beds & Specialty Gardens
Flower Garden
Garden Furniture
Garden Gnomes
Garden Seeds
Garden Sheds
Garden Statues
Garden Tools & Supplies
Gardening Basics
Green & Organic
Groundcovers & Vines
Growing Annuals
Growing Basil
Growing Beans
Growing Berries
Growing Blueberries
Growing Cactus
Growing Corn
Growing Cotton
Growing Edibles
Growing Flowers
Growing Garlic
Growing Grapes
Growing Grass
Growing Herbs
Growing Jasmine
Growing Mint
Growing Mushrooms
Orchids
Growing Peanuts
Growing Perennials
Growing Plants
Growing Rosemary
Growing Roses
Growing Strawberries
Growing Sunflowers
Growing Thyme
Growing Tomatoes
Growing Tulips
Growing Vegetables
Herb Basics
Herb Garden
Indoor Growing
Landscaping Basics
Landscaping Patios
Landscaping Plants
Landscaping Shrubs
Landscaping Trees
Landscaping Walks & Pathways
Lawn Basics
Lawn Maintenance
Lawn Mowers
Lawn Ornaments
Lawn Planting
Lawn Tools
Outdoor Growing
Overall Landscape Planning
Pests, Weeds & Problems
Plant Basics
Rock Garden
Rose Garden
Shrubs
Soil
Specialty Gardens
Trees
Vegetable Garden
Yard Maintenance
How to Prune a Mulberry Tree
How to Prune a Mulberry Tree. Once established, mulberry trees (Morus spp.) need little special pruning beyond general maintenance. Young trees may need training -- removal of certain branches to allow for proper branch spacing and growth. Because they are deciduous, mulberry trees, which grow in U.S. Department of Agriculture plant hardiness zones...
Once established, mulberry trees (Morus spp.) need little special pruning beyond general maintenance. Young trees may need training -- removal of certain branches to allow for proper branch spacing and growth. Because they are deciduous, mulberry trees, which grow in U.S. Department of Agriculture plant hardiness zones 4 through 8, are pruned during the dormant winter months. During dormancy, the branches are free of leaves and buds have not yet begun to form.
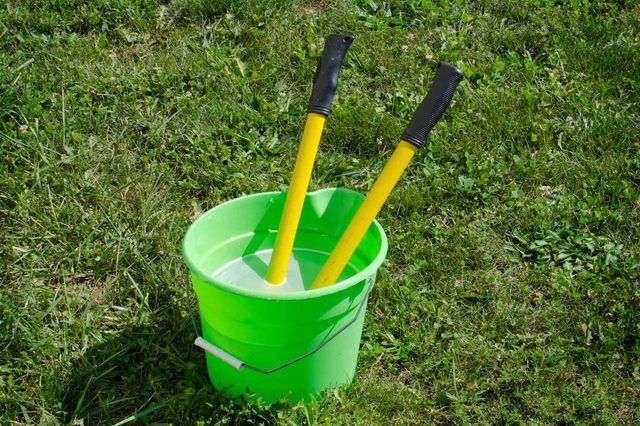
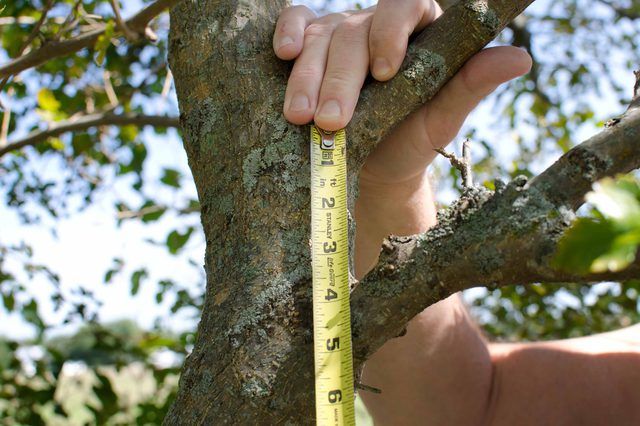
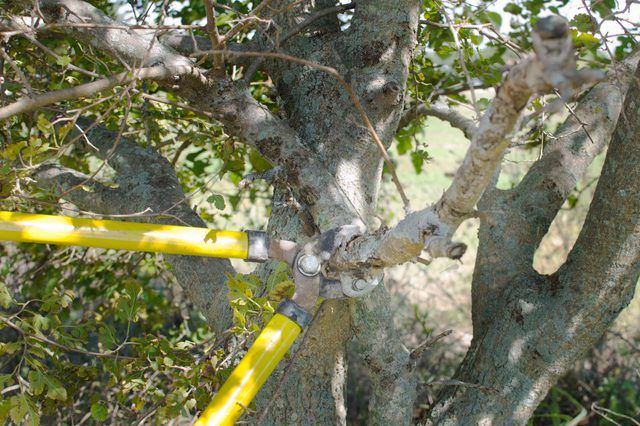
Before using tools, disinfect the blades by soaking them in household disinfectant for at least five minutes. Rinse the disinfectant from the tool with water and let it dry. The pruning tools you use will depend on the size of the branch that needs cutting. Use hand-pruning shears on branches under 1 inch in diameter, loppers on branches from 1 to 2 inches in diameter and a pruning saw for branches up to 4 inches in diameter. You should not have much reason to use a pruning saw; cuts over 2 inches in diameter bleed heavily and should be avoided on mulberry trees.
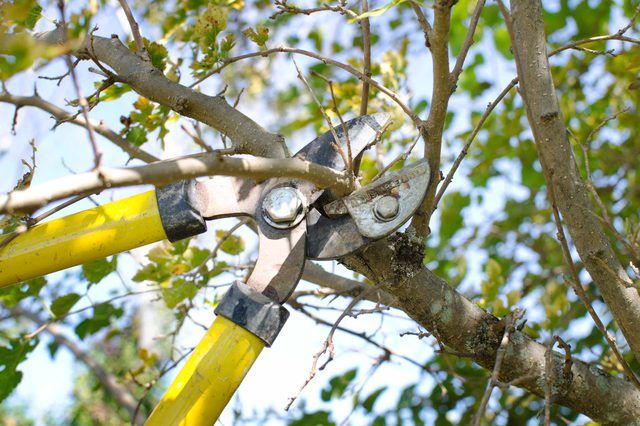
When training your mulberry, only remove as much wood as necessary and do not remove more than one-third of new growth in a year on young or established trees. When choosing between a set of close or crossing branches, remove the smaller branch. To create space under the tree, remove branches growing on the bottom one-third of the trunk. Remove branches that cross other branches or grow vertically. Ensure branches are not too close together on the trunk by creating about 2 inches of space between branches. Make cuts just outside the branch collar, the point where the branch joins with the trunk, rather than flush with the trunk.
Lengthy branches may become problematic on newly mature trees as leaves and fruit emerge on the branch end, causing the branch to droop. Cut long branches back to the desired length, making the cut just outside a lateral branch to encourage new growth to form. In July, you can also encourage the growth of new, smaller branches along the main branch by cutting lateral branches back to six leave sets.
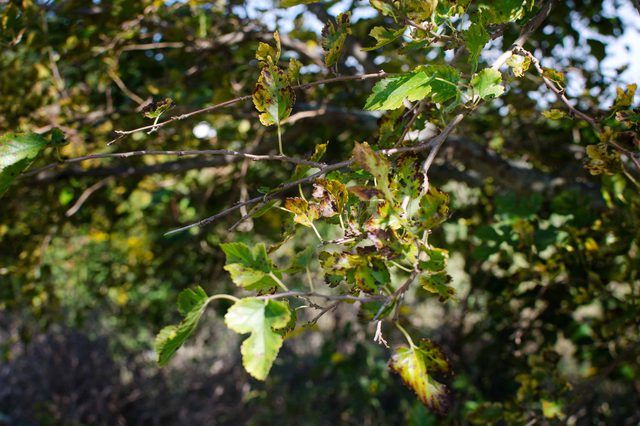
Dead or diseased branches may be removed at any time throughout the year to preserve the health of the mulberry tree. While mulberries aren't prone to pest or disease infestation, the dead wood can still attract insects or fungus. Remove dead branches back to the trunk, making the cut just outside the branch collar. Cut damaged or diseased wood from the tree, making the cut at least 6 inches into healthy wood just outside a lateral branch. Disinfect the cutting tool between each cut to avoid spreading the disease to uninfected wood.


