Bulbs
Flower Basics
Flower Beds & Specialty Gardens
Flower Garden
Garden Furniture
Garden Gnomes
Garden Seeds
Garden Sheds
Garden Statues
Garden Tools & Supplies
Gardening Basics
Green & Organic
Groundcovers & Vines
Growing Annuals
Growing Basil
Growing Beans
Growing Berries
Growing Blueberries
Growing Cactus
Growing Corn
Growing Cotton
Growing Edibles
Growing Flowers
Growing Garlic
Growing Grapes
Growing Grass
Growing Herbs
Growing Jasmine
Growing Mint
Growing Mushrooms
Orchids
Growing Peanuts
Growing Perennials
Growing Plants
Growing Rosemary
Growing Roses
Growing Strawberries
Growing Sunflowers
Growing Thyme
Growing Tomatoes
Growing Tulips
Growing Vegetables
Herb Basics
Herb Garden
Indoor Growing
Landscaping Basics
Landscaping Patios
Landscaping Plants
Landscaping Shrubs
Landscaping Trees
Landscaping Walks & Pathways
Lawn Basics
Lawn Maintenance
Lawn Mowers
Lawn Ornaments
Lawn Planting
Lawn Tools
Outdoor Growing
Overall Landscape Planning
Pests, Weeds & Problems
Plant Basics
Rock Garden
Rose Garden
Shrubs
Soil
Specialty Gardens
Trees
Vegetable Garden
Yard Maintenance
Care of Tulips After Bloom
Care of Tulips After Bloom. Tulips (Tulipa spp.) poking their heads out of the soil is one of the first signs that spring has arrived, and the brightly colored blooms don't disappoint in the weeks that follow. Hardy in U.S. Department of Agriculture plant hardiness zones 4 through 10, most tulips are perennial, and they'll bloom again next spring...
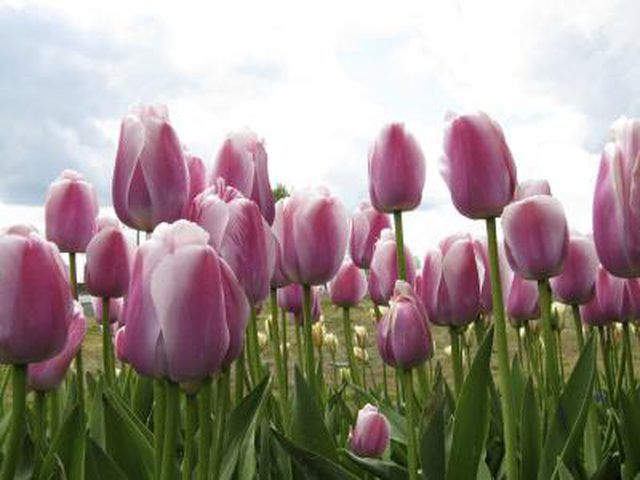
Tulips (Tulipa spp.) poking their heads out of the soil is one of the first signs that spring has arrived, and the brightly colored blooms don't disappoint in the weeks that follow. Hardy in U.S. Department of Agriculture plant hardiness zones 4 through 10, most tulips are perennial, and they'll bloom again next spring if you take proper care of them once they're done blooming this year.
As Blooms Fade
Once the tulip blooms have started to wilt and droop, gently pluck the remaining petals from the stem. If you prefer, cut off the dead flowers, as well as 1 to 2 inches of the stem. Don't, however, pull or snip off the plants' leaves. Allow the leaves to die back on their own, because even though the flower is gone for the year, the roots of the plant still rely on photosynthesis from the leaves to feed the plant. Deadheading the blooms prevents the plant from developing seeds and directs the plant's energy back into the bulb. To prevent disease, always use disinfected pruning tools when cutting any portion of the tulip.
After the Stems Turn Yellow
If you don't like the way the dying leaves and stems look, plant other flowers or foliage around the tulips to disguise the unsightliness. After the leaves have turned yellow and died back on their own, gently remove them from the stem. If the stems have wilted or turned yellow or brown, snip them off at ground level. Don't be tempted to do this too soon, however, or it could inhibit the tulips from returning next year. In cooler areas that experience frost and snow, cover the tulip bed with 2 to 4 inches of organic mulch like straw to protect the bulbs over winter. Use the same amount of mulch in warmer zones to preserve moisture in the soil.
Water Properly
As long as the stems of the tulips are green, you need to water them regularly. Until the stem dies, the bulb is storing up energy for the winter and water is necessary for this process. While there isn't a specific guideline regarding how much to water the tulips once they've bloomed, it's a good idea to give them a thorough watering every few days, especially if your area is experiencing a dry spell and make sure to continue watering during dry weather conditions throughout fall. Apply enough water to saturate the soil to a depth of approximately 6 inches to reach the tulip roots.
Divide and Fertilize
Older plants might need to be divided after they bloom to encourage them to return the next spring and to alleviate overcrowding that creates smaller bloom size. In warm areas of USDA zones 8 through 10, tulip bulbs require lifting and storing for six to eight weeks in the refrigerator inside a paper bag. Don't store the bulbs next to ripening fruit where the ethylene gas destroys the flower bud developing inside the bulb. When lifting and replanting, dig up the older bulbs and remove the largest "daughter" bulb. Replant each daughter 6 to 8 inches deep and spacing each bulb 5 inches apart, keeping in mind that tulips thrive in full sun. Fertilizing is usually recommended while the tulips are blooming, but you should also plan to fertilize if you divide the bulbs after they bloom. When blooming starts to occur, incorporate 2 pounds of 5-10-5 or 5-10-10 fertilizer per 100 square feet into the soil. Incorporate the fertilizer into the top inch of soil and wash it off any portion of the tulip it touches. The same type of balanced fertilizer can be applied right after you divide and replant the bulbs. When adding fertilizer to the planting hole, be sure to cover the fertilizer with approximately 1 inch of soil and do not allow the bulb to have direct contact with the fertilizer so the bulb isn't damaged or burned.


