Bulbs
Flower Basics
Flower Beds & Specialty Gardens
Flower Garden
Garden Furniture
Garden Gnomes
Garden Seeds
Garden Sheds
Garden Statues
Garden Tools & Supplies
Gardening Basics
Green & Organic
Groundcovers & Vines
Growing Annuals
Growing Basil
Growing Beans
Growing Berries
Growing Blueberries
Growing Cactus
Growing Corn
Growing Cotton
Growing Edibles
Growing Flowers
Growing Garlic
Growing Grapes
Growing Grass
Growing Herbs
Growing Jasmine
Growing Mint
Growing Mushrooms
Orchids
Growing Peanuts
Growing Perennials
Growing Plants
Growing Rosemary
Growing Roses
Growing Strawberries
Growing Sunflowers
Growing Thyme
Growing Tomatoes
Growing Tulips
Growing Vegetables
Herb Basics
Herb Garden
Indoor Growing
Landscaping Basics
Landscaping Patios
Landscaping Plants
Landscaping Shrubs
Landscaping Trees
Landscaping Walks & Pathways
Lawn Basics
Lawn Maintenance
Lawn Mowers
Lawn Ornaments
Lawn Planting
Lawn Tools
Outdoor Growing
Overall Landscape Planning
Pests, Weeds & Problems
Plant Basics
Rock Garden
Rose Garden
Shrubs
Soil
Specialty Gardens
Trees
Vegetable Garden
Yard Maintenance
How to Grow Vanda Orchids
How to Grow Vanda Orchids. Vanda orchids (Vanda spp.) are a diverse alliance of colorful tropical orchids native to Asia. Vandas are divided into three categories: strap-leaved, which have broad, flat leaves; terete, which have round, thin leaves; and semi-terete, a hybrid of the latter two varieties that showcases medium-wide leaves. Cultural...
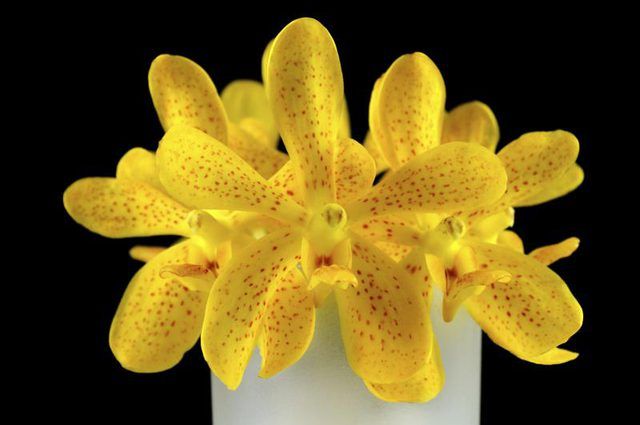
Vanda orchids (Vanda spp.) are a diverse alliance of colorful tropical orchids native to Asia. Vandas are divided into three categories: strap-leaved, which have broad, flat leaves; terete, which have round, thin leaves; and semi-terete, a hybrid of the latter two varieties that showcases medium-wide leaves. Cultural requirements are similar for most vanda orchids, which require moderate maintenance and care.
Choose a Sunny Window
Because vandas can not tolerate temperatures below 55 degrees Fahrenheit for long, they are generally grown indoors in the United States, though they are hardy outdoors in U.S. Department of Agriculture zone 12. Nighttime temperatures between 60 to 70 degrees Fahrenheit and daytime temperatures up to 95 degrees Fahrenheit are ideal for this warm weather-loving orchid. Place semi-terete and strap-leaved varieties in a window with bright, indirect sunlight, and terete varieties in front of a sunny, south-facing window. Where hardy, all varieties may be grown outdoors in partial shade.
Use a Coarse Medium
Pot your vanda orchid in a coarse, well-draining potting medium such as fir bark or charcoal. Use a plastic or clay container with a hole in the bottom for drainage. Though clay containers are generally considered superior to plastic because of their porosity, you may need to widen the hole in the bottom or add another hole.
Repot every 12 to 18 months, or whenever the pot is completely root bound or when many roots are hanging outside of the pot. Remove the orchid from the pot, and trim off dead or rotted roots using pruning shears or scissors. Disinfect your shears or scissors by soaking the blade for 5 minutes in a solution that's 1 part bleach to 3 parts water. Rinse off with water and allow to air dry.
Fertilize for Health and Blooms
Fertilize weekly throughout the entire year with a balanced fertilizer, such as a 20-20-20 fertilizer, mixing 1 teaspoon of fertilizer per gallon of water. Every third application, the American Orchid Society recommends switching to a 10-30-20 fertilizer to promote flowering, mixing 4 teaspoons per gallon of water. Store unused fertilizer in a secure place away from children and pets.
Water Frequently
Water vanda orchids every day or every other day by running water across the roots until they shift from white to light green, or by setting the pot in water for several minutes. If the leaves begin to fold in, forming a "V" shape," the plant is dehydrated and should be watered more often. Do not leave the plant to sit in water for more than a few minutes, as this encourages root rot.
High humidity is crucial to the well being of this plant. Place the container atop a shallow tray of pebbles that is partially filled with water. You may need to set up an oscillating fan, or crack the window for a summer breeze, to prevent the air from becoming stagnant.
Check for Pests
Check the upper and lower sides of leaves occasionally for common pests such as mealybugs, which are down-covered insects; cottony scale insects, which appear as soft, immobile lumps; spider mites, tiny reddish insects; and thrips, slender, winged insects. You may be able to control mild infestations by washing the leaves with a direct stream of water. For heavier infestations, spray the plant every 7 to 14 days with neem oil. Mix 2 to 4 tablespoons of oil per 1 gallon of water and spray all parts of the plant, including the undersides of leaves, with a hand held sprayer, agitating the sprayer to keep the mixture combined. Store unused oil in a secure location away from direct sunlight and food products.


