Bulbs
Flower Basics
Flower Beds & Specialty Gardens
Flower Garden
Garden Furniture
Garden Gnomes
Garden Seeds
Garden Sheds
Garden Statues
Garden Tools & Supplies
Gardening Basics
Green & Organic
Groundcovers & Vines
Growing Annuals
Growing Basil
Growing Beans
Growing Berries
Growing Blueberries
Growing Cactus
Growing Corn
Growing Cotton
Growing Edibles
Growing Flowers
Growing Garlic
Growing Grapes
Growing Grass
Growing Herbs
Growing Jasmine
Growing Mint
Growing Mushrooms
Orchids
Growing Peanuts
Growing Perennials
Growing Plants
Growing Rosemary
Growing Roses
Growing Strawberries
Growing Sunflowers
Growing Thyme
Growing Tomatoes
Growing Tulips
Growing Vegetables
Herb Basics
Herb Garden
Indoor Growing
Landscaping Basics
Landscaping Patios
Landscaping Plants
Landscaping Shrubs
Landscaping Trees
Landscaping Walks & Pathways
Lawn Basics
Lawn Maintenance
Lawn Mowers
Lawn Ornaments
Lawn Planting
Lawn Tools
Outdoor Growing
Overall Landscape Planning
Pests, Weeds & Problems
Plant Basics
Rock Garden
Rose Garden
Shrubs
Soil
Specialty Gardens
Trees
Vegetable Garden
Yard Maintenance
How to start a Compost Pile
How to start a Compost Pile. Do your part to help Mother Earth. Composting is easy and adds valuable nutrients back into the soil.
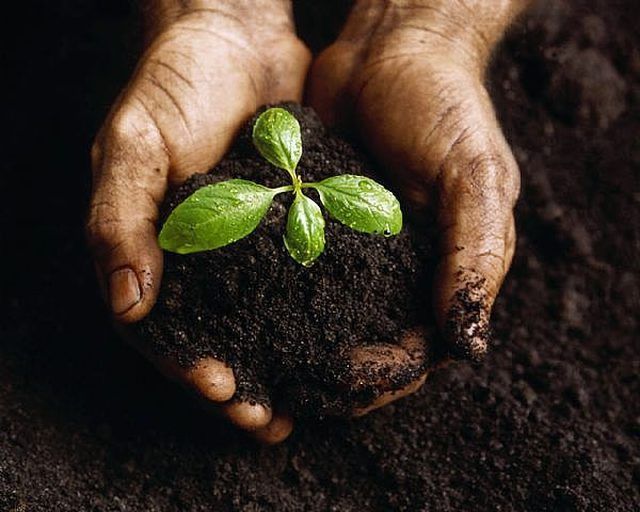
Do your part to help Mother Earth. Composting is easy and adds valuable nutrients back into the soil.
Things You'll Need
Shovel
Pitchfork
Compost bin or chicken wire
garden hose
garden gloves
Chicken wire may be used instead of purchasing a compost bin. This is an ecomonical option that works well. Make a chicken wire ring that is at least 3 feet high and 2 feet in diameter. Set it upright in the spot where you are planning to compost.
The best results for compost are 75% brown materials and 25% green materials. The pile should be damp, but not soggy. Layer the materials in the following order: brown, green, then a thin layer of soil. Continue layering until the pile is 3 feet high.
BROWNS: These are carbon sources.
Leaves (mulched if possible), shredded paper towels or paper napkins (only if dye-free), chipped brush, sawdust.
GREENS: These are the nitrogen sources.
Chopped household vegetable and fruit scraps, egg shells, coffee grounds, tea bags. grass clippings (only in very thin layers)
DO NOT add any of the following to your compost: meat, fish, bones, dairy products, fats, pet waste, diseased plants, weeds.
After you have layered brown, green, soil and repeat until your compost reaches 3 feet, let it sit for 2 weeks. Keep it damp, but not soaking wet.
When the initial two week time period has passed, turn the compost with your pitchfork to aerate your pile. You should turn the pile every two weeks.
Harvest the compost from the bottom of your pile every few months. Use this wonderful compost to enrich the soil in your garden, around new or established shrubs and trees, anuals and perennials. The earth and your plants will thank you!


