Bulbs
Flower Basics
Flower Beds & Specialty Gardens
Flower Garden
Garden Furniture
Garden Gnomes
Garden Seeds
Garden Sheds
Garden Statues
Garden Tools & Supplies
Gardening Basics
Green & Organic
Groundcovers & Vines
Growing Annuals
Growing Basil
Growing Beans
Growing Berries
Growing Blueberries
Growing Cactus
Growing Corn
Growing Cotton
Growing Edibles
Growing Flowers
Growing Garlic
Growing Grapes
Growing Grass
Growing Herbs
Growing Jasmine
Growing Mint
Growing Mushrooms
Orchids
Growing Peanuts
Growing Perennials
Growing Plants
Growing Rosemary
Growing Roses
Growing Strawberries
Growing Sunflowers
Growing Thyme
Growing Tomatoes
Growing Tulips
Growing Vegetables
Herb Basics
Herb Garden
Indoor Growing
Landscaping Basics
Landscaping Patios
Landscaping Plants
Landscaping Shrubs
Landscaping Trees
Landscaping Walks & Pathways
Lawn Basics
Lawn Maintenance
Lawn Mowers
Lawn Ornaments
Lawn Planting
Lawn Tools
Outdoor Growing
Overall Landscape Planning
Pests, Weeds & Problems
Plant Basics
Rock Garden
Rose Garden
Shrubs
Soil
Specialty Gardens
Trees
Vegetable Garden
Yard Maintenance
How to Farm Worms at Home
How to Farm Worms at Home. Farm your own worms on kitchen scraps and waste paper, and reap castings for your garden and worms for fishing bait! Earthworm castings add active microbial life to soil while slowly releasing valuable trace minerals. A rich source of organic matter, with valuable nutrients and great moisture-holding ability, worm...
Farm your own worms on kitchen scraps and waste paper, and reap castings for your garden and worms for fishing bait! Earthworm castings add active microbial life to soil while slowly releasing valuable trace minerals. A rich source of organic matter, with valuable nutrients and great moisture-holding ability, worm castings are the best soil conditioner you can find. Best of all, a worm farm is cheap and easy to build, and requires only occaisional tending and feeding. They're not as smelly as other composting methods can be, either.
Things You'll Need
Two large plastic tubs of the same size, with lids. 14 gallon Rubbermaid Roughneck storage boxes are perfect.
A drill and a 1/4 or 3/8 inch bit.
A piece of scrap wood to protect the bit.
4 bricks or blocks
A brown cardboard box or two
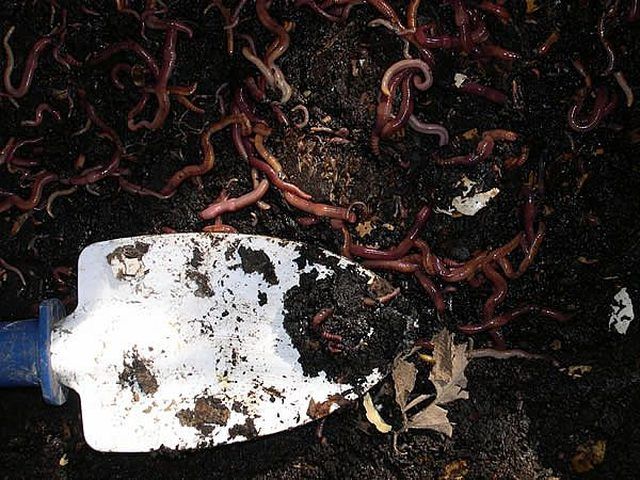
Red wriggler worms from a bait shop
Some shredded paper or wadded newspaper, wetted.
Kitchen scraps
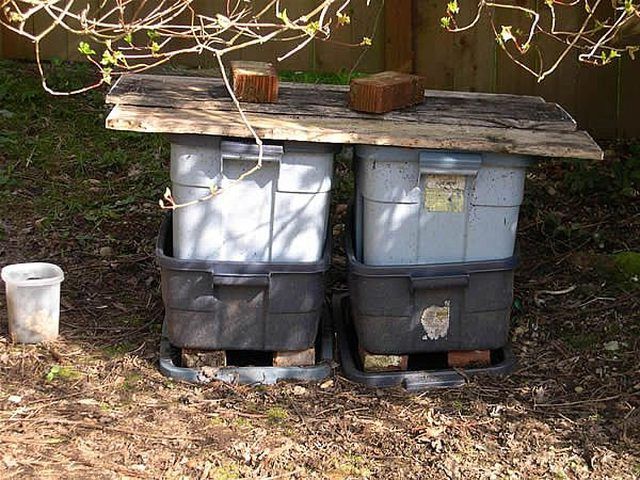
You'll grow your worms in a worm farm made of two plastic bins, one stacked in the other. The worms start in the bottom bin, and move up through holes to get to the food in the top bin as food in the bottom bin is depleted. When all the food is used up in the bottom bin, the castings there will be ready to use in your garden, and you'll empty that bin and rotate it to the top. The old top bin will become the new bottom bin for finishing, and the cycle will continue.
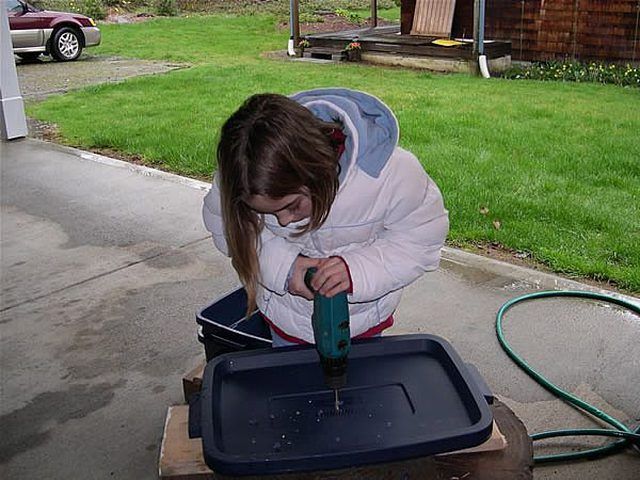
Drill 1/4 inch to 3/8 inch diameter drainage holes in the bottoms of the plastic tubs, and air holes in one of the lids. Space the holes about 2 inches apart in a random or grid pattern. Also drill air holes around the sides of the tubs about an inch below rim. Use the piece of scrap wood to back the tub and protect the drill bit.
Find a shady spot in the garden to locate your worm farm. It should also be convenient for feeding the worms.
Place the lid with no holes on the ground, then place four bricks on it, one in each corner to support the farm. This is to keep the worms from getting out. No one likes having to round up escaped worms in the middle of the night! Place one of the two tubs on the bricks.
Add about two or three inches of soil as starter, then add your worms and cover them with soil. Place the second tub on the soil inside the first tub, so that the bottom is firmly in contact with the soil.
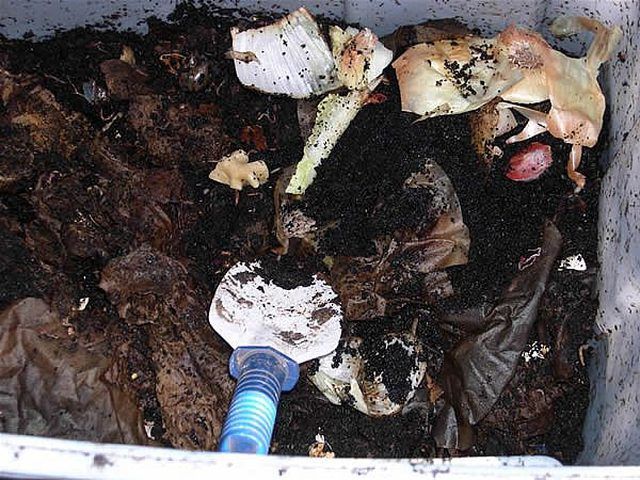
Add some wet wadded newspaper or paper from your office shredder to the top bin. Stir in kitchen scraps such as coffee grounds, tea bags, and vegetable trimmings. Stay away from fatty meat, but small pieces of meat are OK. Bread is OK too, if torn into small pieces.
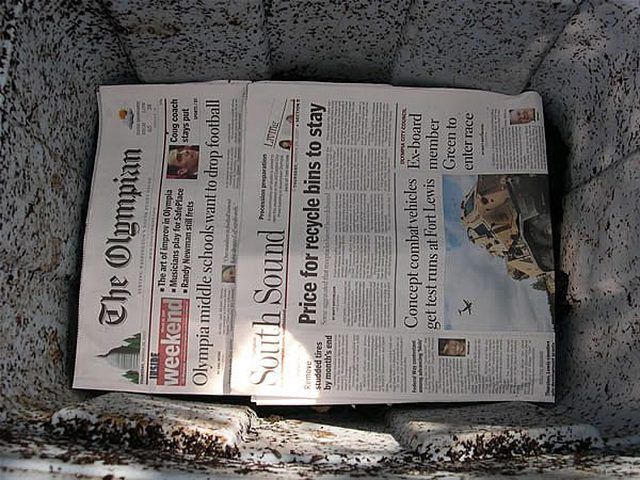
Worms like the dark, so cut some cardboard to cover the top of the compost, or add a layer of folded newspaper. The worms will eat the newspaper, and they love cardboard.
Close the top bin with the lid that has air holes. Weight it with bricks if you have dogs or scavengers in your area, and roof it with boards if you live in a rainy area.
Feed your worms by adding kitchen scraps and wet paper to the top bin once or twice a week, or as often as you like. Lift the cardboard and stir the scraps into the paper with a trowel or stick. Add more paper periodically. Make sure the contents are always moist, but not so wet the worms drown.
Rotate the bins when the top worm bin is about half full and well populated by worms, and the bottom bin is depleted of food - about every 3 months. Remove the top bin, and place some of the castings from the bottom bin into it. Use the rest of the castings in your garden immediately or place in a storage container for later. Place the former top bin on the bottom, and place the now empty former bottom bin on the top. Continue from step 6, repeating whenever the bottom bin is entirely castings, with no identifiable kitchen scraps.
Make worm farms for school projects, or to give to your friends! Now you can go fishing.
Tips & Warnings
Red wigglers, sold as bait in many stores, are the best type of earthworms for composting purposes. They are very prolific, thrive at high population densities and have voracious appetites.
You can also add sawdust (from untreated wood), grass clippings, leaves or garden trimmings. Worms love it all!
Worm farming is also known as vermicomposting or vermiculture (vermi is latin for wormy). You can tell people you're a vermiculturist.


