Bulbs
Flower Basics
Flower Beds & Specialty Gardens
Flower Garden
Garden Furniture
Garden Gnomes
Garden Seeds
Garden Sheds
Garden Statues
Garden Tools & Supplies
Gardening Basics
Green & Organic
Groundcovers & Vines
Growing Annuals
Growing Basil
Growing Beans
Growing Berries
Growing Blueberries
Growing Cactus
Growing Corn
Growing Cotton
Growing Edibles
Growing Flowers
Growing Garlic
Growing Grapes
Growing Grass
Growing Herbs
Growing Jasmine
Growing Mint
Growing Mushrooms
Orchids
Growing Peanuts
Growing Perennials
Growing Plants
Growing Rosemary
Growing Roses
Growing Strawberries
Growing Sunflowers
Growing Thyme
Growing Tomatoes
Growing Tulips
Growing Vegetables
Herb Basics
Herb Garden
Indoor Growing
Landscaping Basics
Landscaping Patios
Landscaping Plants
Landscaping Shrubs
Landscaping Trees
Landscaping Walks & Pathways
Lawn Basics
Lawn Maintenance
Lawn Mowers
Lawn Ornaments
Lawn Planting
Lawn Tools
Outdoor Growing
Overall Landscape Planning
Pests, Weeds & Problems
Plant Basics
Rock Garden
Rose Garden
Shrubs
Soil
Specialty Gardens
Trees
Vegetable Garden
Yard Maintenance
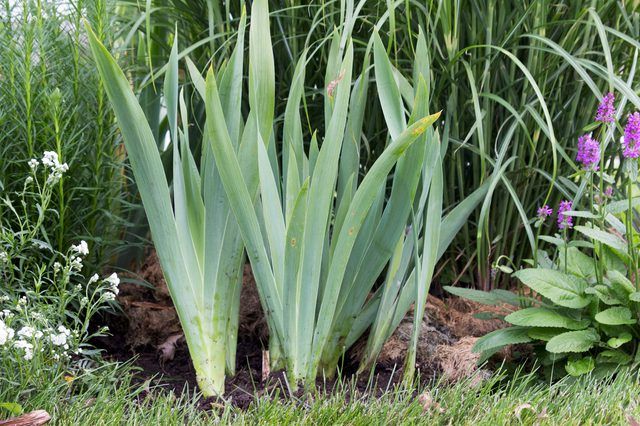
How to Divide and Transplant Bearded Irises
For irises to bloom every year, they need to be transplanted every few years. This is an easy process that will ensure beautiful blooms each season.
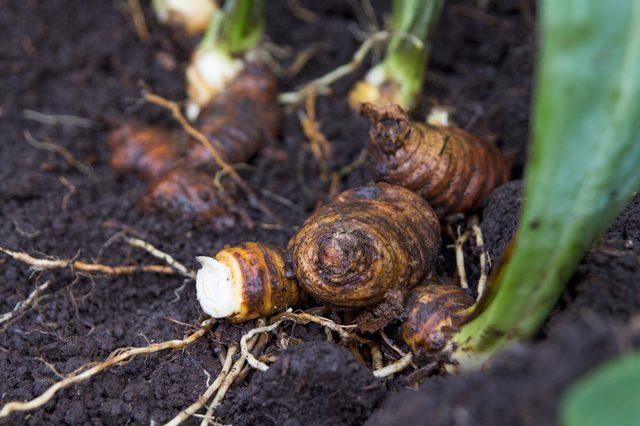
Irises are a beautiful spring flower. Full of different colors and an amazing fragrance, they are the envy of every gardener. Unlike Dutch irises that grow from bulbs, bearded irises grow from tuberous roots. The roots multiply quickly, which means they need to be thinned and divided every so often.
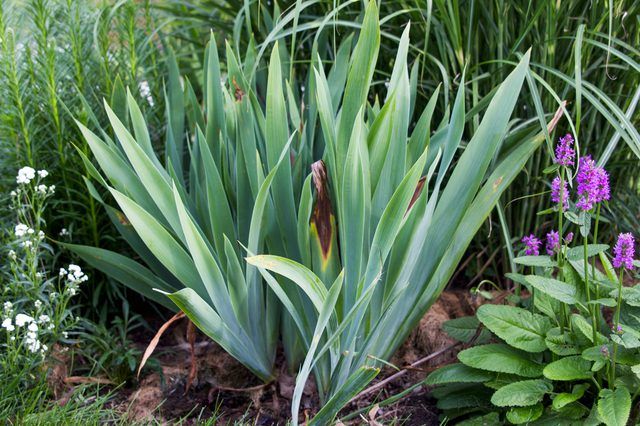
If you do not have any irises, you can buy a plant from your local nursery and plant it. Soon it will be an established blooming plant. However, when you have established irises or know someone who does, they need to be transplanted and split every three to five years for optimal blooms.
After the flowers are done blooming for the season, they can easily be divided and transplanted so you can enjoy them throughout your yard. These simple steps will help you split your irises and create beautiful new flowers for seasons to come.
Things You'll Need
Established irises
Shovel
Water
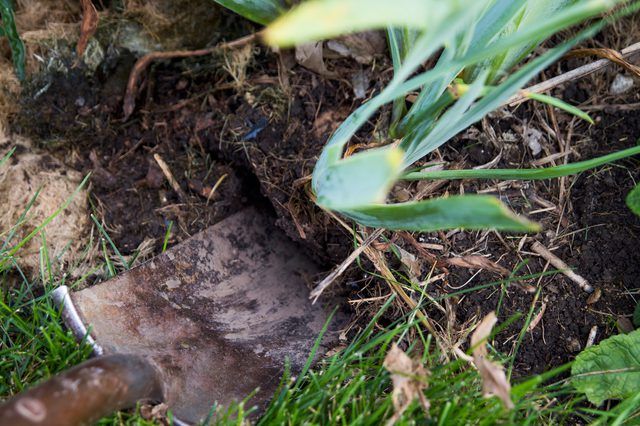
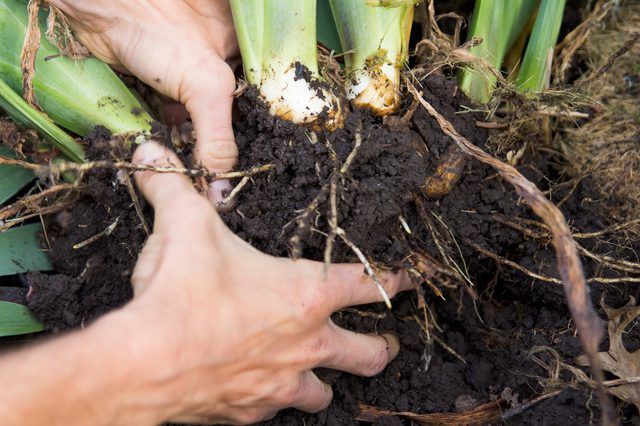
Step 1
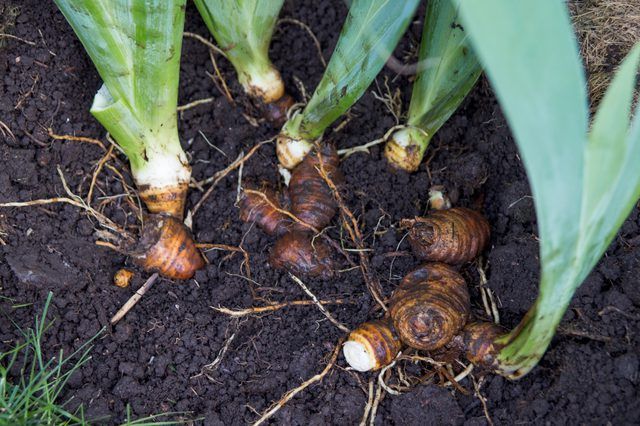
Dig up the established irises, making sure to dig out the entire root.
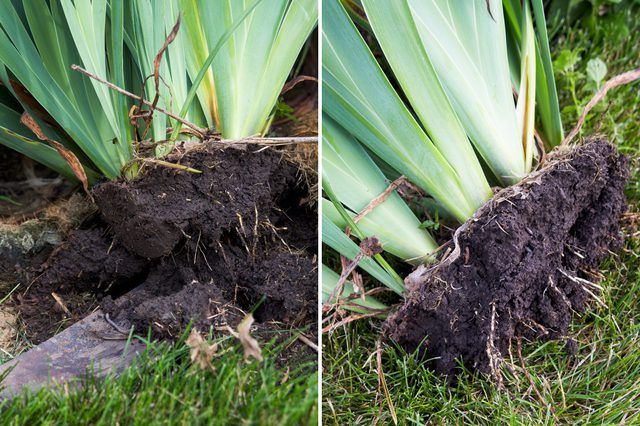
Tip
Established irises create a network of tuberous-like roots, so you'll need to separate them into individual plants.
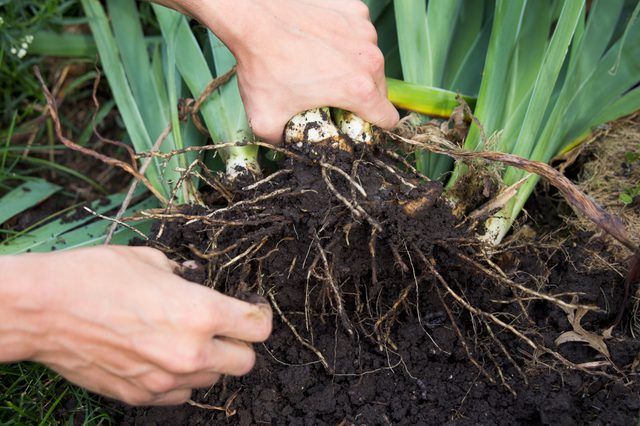
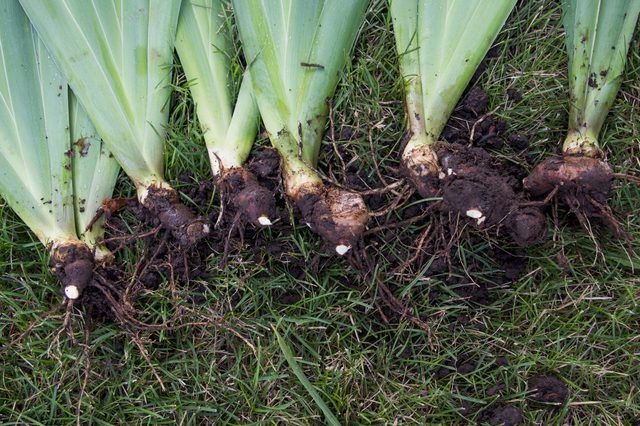
Step 2
Separate the roots into individual plants. The roots may have grown together while in the soil, so it's important to divide each iris into a separate unit.
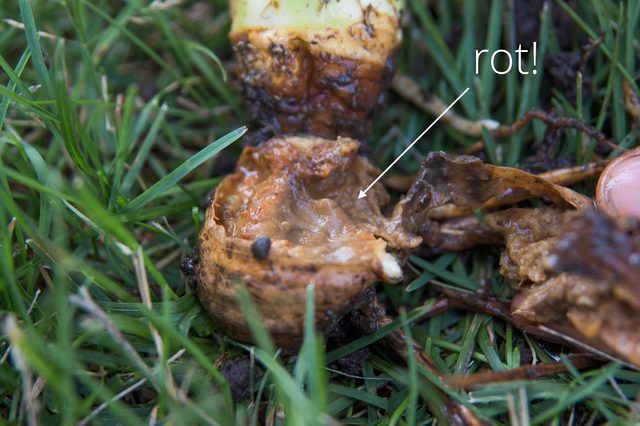
Step 3
Remove any rotten roots and dead leaves. Getting rid of dead leaves ensures the roots have healthy leaves on which to thrive.
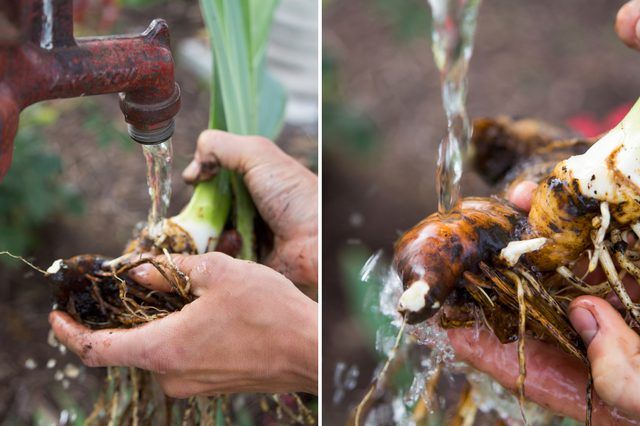
Step 4
Wash off the roots and check for blemishes or additional rotten spots. Sometimes it's easiest to spot any rot in the roots once they've been washed.
Step 5
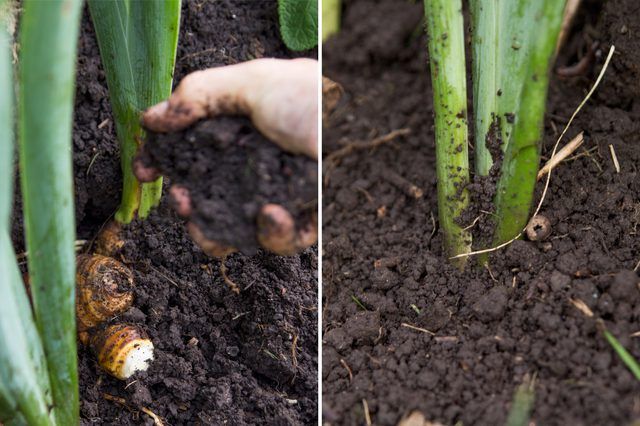
Dig a shallow hole for the transplants. Place the tuberous roots in the hole, making sure to space them a few inches apart so the roots have plenty of room to expand.
Step 6
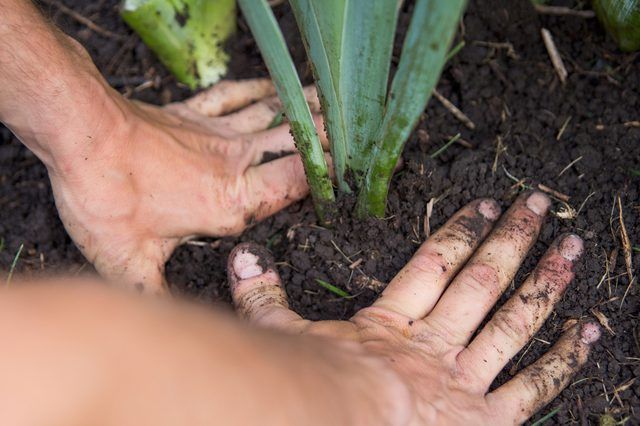
Cover with soil and lightly pack the soil over the roots.
Step 7
Water as needed until the plants are established and new leaves begin to grow.
Next year, you will enjoy a garden full of blooming irises!


