Bulbs
Flower Basics
Flower Beds & Specialty Gardens
Flower Garden
Garden Furniture
Garden Gnomes
Garden Seeds
Garden Sheds
Garden Statues
Garden Tools & Supplies
Gardening Basics
Green & Organic
Groundcovers & Vines
Growing Annuals
Growing Basil
Growing Beans
Growing Berries
Growing Blueberries
Growing Cactus
Growing Corn
Growing Cotton
Growing Edibles
Growing Flowers
Growing Garlic
Growing Grapes
Growing Grass
Growing Herbs
Growing Jasmine
Growing Mint
Growing Mushrooms
Orchids
Growing Peanuts
Growing Perennials
Growing Plants
Growing Rosemary
Growing Roses
Growing Strawberries
Growing Sunflowers
Growing Thyme
Growing Tomatoes
Growing Tulips
Growing Vegetables
Herb Basics
Herb Garden
Indoor Growing
Landscaping Basics
Landscaping Patios
Landscaping Plants
Landscaping Shrubs
Landscaping Trees
Landscaping Walks & Pathways
Lawn Basics
Lawn Maintenance
Lawn Mowers
Lawn Ornaments
Lawn Planting
Lawn Tools
Outdoor Growing
Overall Landscape Planning
Pests, Weeds & Problems
Plant Basics
Rock Garden
Rose Garden
Shrubs
Soil
Specialty Gardens
Trees
Vegetable Garden
Yard Maintenance
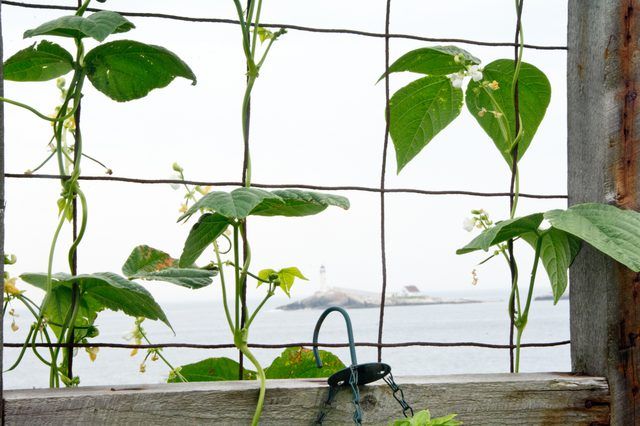
How to Support Bean Plants
Learn how to build a temporary support or a permanent trellis for bean plants, using bamboo poles and twine, or posts and wire fencing.
The vines of the common bean (Phaseolus vulgaris) can spread up to 15 feet across the garden bed. To support the rapidly growing vines and maximize limited space, many gardeners install a trellis. While a simple teepee made of bamboo stakes and twine supports bean vines for a season or two, a sturdy trellis of four-by-four posts and welded wire fencing allows you to rotate your bean patch with other climbing vegetables or vines with heavy fruits, such as peas (Pisum sativum) and melons (Cucumis melo).
Build a Temporary Support
A temporary support is as simple as three to five 6- to 8-foot tall bamboo poles pushed 12 inches into the ground and tied together with twine at the top to make a teepee-shaped support. Use more twine to connect the poles, spiraling upward while wrapping it around each pole in turn. Plant three or four beans at the base of each pole. The beans will climb up the poles and twine, covering them with vines.
Tip
If you have children or grandchildren, leave a space open between two poles so the children can play inside the bean teepee while you work in the garden.
Make a Permanent Support
Build a permanent trellis with four-by-four posts and welded wire fencing. While it requires more work, you can use it for many years for a variety of crops.
Things You'll Need
Tape measure
Shovel
2 pressure-treated 4-by-4 posts, 8 feet long
Crushed gravel
Spirit level
4 stakes
4 scrap 2-by-4 boards, 2 1/2 to 3 feet long
Deck screws, 3-inch
Electric drill with a screwdriver bit
4 bags quick-setting concrete
2 pressure-treated 2-by-4 boards, 8 feet long
Welded wire fencing, 6 feet tall
U-shaped fencing staples
Hammer
Wire cutters
Step 1
Dig two 30-inch-deep holes, 10 1/2 inches in diameter, for the 8-foot-tall pressure-treated posts. Space the posts 89 inches apart, from inner edge to inner edge.
Warning
When digging and working with concrete mix, wear long sleeves, long pants, shoes, work gloves, safety goggles and a dust mask to protect yourself from dirt, debris and cement dust.
Step 2
Add 6 inches of crushed gravel to the hole, and tamp it firmly with the end of the post. Fill the hole with water and allow it to soak into the soil.
Step 3
Place the first post in its hole. Pound two stakes into the ground, 2 feet from the post hole, parallel with two adjacent sides of the post. Screw a scrap two-by-four to the side of the post, 2 feet above the ground. Use a spirit level to ensure that the post is vertical before screwing the other end of the two-by-four to the stake. Repeat with the second two-by-four and stake. Install the second post in the same manner.
Step 4
Pour quick-setting concrete into the hole to within 3 inches of the ground level, and add 1 gallon of water per bag. Double-check with the level to ensure that the post is still vertical and adjust it quickly, as the concrete sets in 20 minutes. Allow the concrete to dry for at least four hours.
Tip
Skip the concrete and pack the post hole with soil or crushed gravel, tamping it firmly, to make the trellis a semipermanent installation.
Step 5
Place an 8-foot-long two-by-four on top of the two posts. Screw the board down securely, using three screws per post. Measure 4 inches up from the ground on the inner edges of the posts. Mark that spot on each post, and then measure the distance from post to post. Cut a two-by-four to that measurement. Drill two screws down at an angle, through the end of the two-by-four and into the post. Repeat on the other end of the board, attaching it to the post.
Step 6
Roll out the welded wire fencing, and lay it on the ground in front of the trellis. Lift it up and align the end of the fencing with the end of the post. Using U-shaped fencing staples, attach the fencing to the post, beginning approximately 5 inches above the ground. Place a staple every 6 inches, attaching the fencing to the post. Next, staple the fencing to the top board, placing one staple every 3 inches. Attach the fencing to the second post, again, placing a fencing staple every 6 inches.
Step 7
Cut off the excess fencing with wire cutters. Finally, attach the fencing to the bottom board with fencing staples.


