Bulbs
Flower Basics
Flower Beds & Specialty Gardens
Flower Garden
Garden Furniture
Garden Gnomes
Garden Seeds
Garden Sheds
Garden Statues
Garden Tools & Supplies
Gardening Basics
Green & Organic
Groundcovers & Vines
Growing Annuals
Growing Basil
Growing Beans
Growing Berries
Growing Blueberries
Growing Cactus
Growing Corn
Growing Cotton
Growing Edibles
Growing Flowers
Growing Garlic
Growing Grapes
Growing Grass
Growing Herbs
Growing Jasmine
Growing Mint
Growing Mushrooms
Orchids
Growing Peanuts
Growing Perennials
Growing Plants
Growing Rosemary
Growing Roses
Growing Strawberries
Growing Sunflowers
Growing Thyme
Growing Tomatoes
Growing Tulips
Growing Vegetables
Herb Basics
Herb Garden
Indoor Growing
Landscaping Basics
Landscaping Patios
Landscaping Plants
Landscaping Shrubs
Landscaping Trees
Landscaping Walks & Pathways
Lawn Basics
Lawn Maintenance
Lawn Mowers
Lawn Ornaments
Lawn Planting
Lawn Tools
Outdoor Growing
Overall Landscape Planning
Pests, Weeds & Problems
Plant Basics
Rock Garden
Rose Garden
Shrubs
Soil
Specialty Gardens
Trees
Vegetable Garden
Yard Maintenance
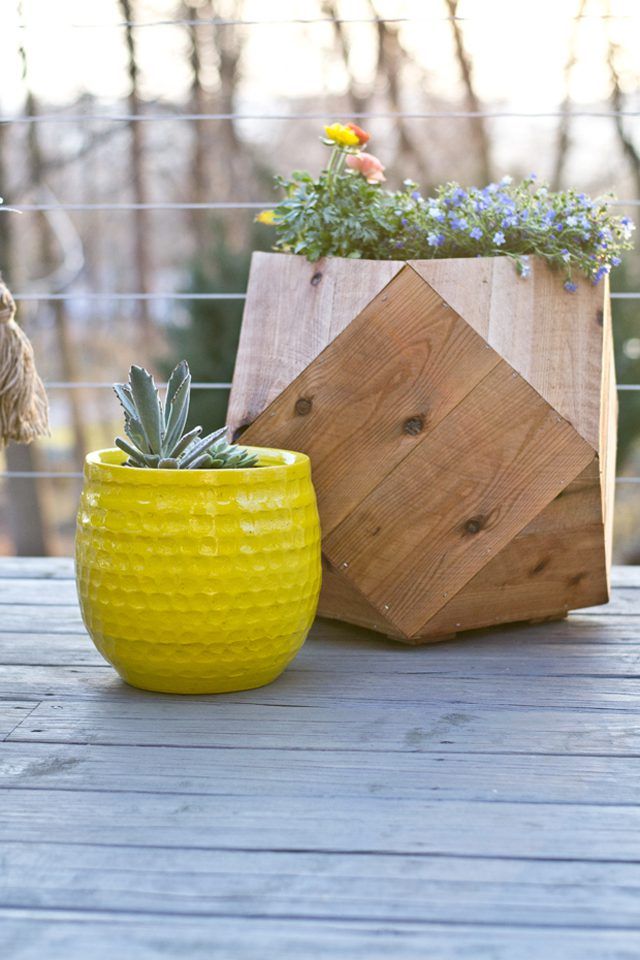
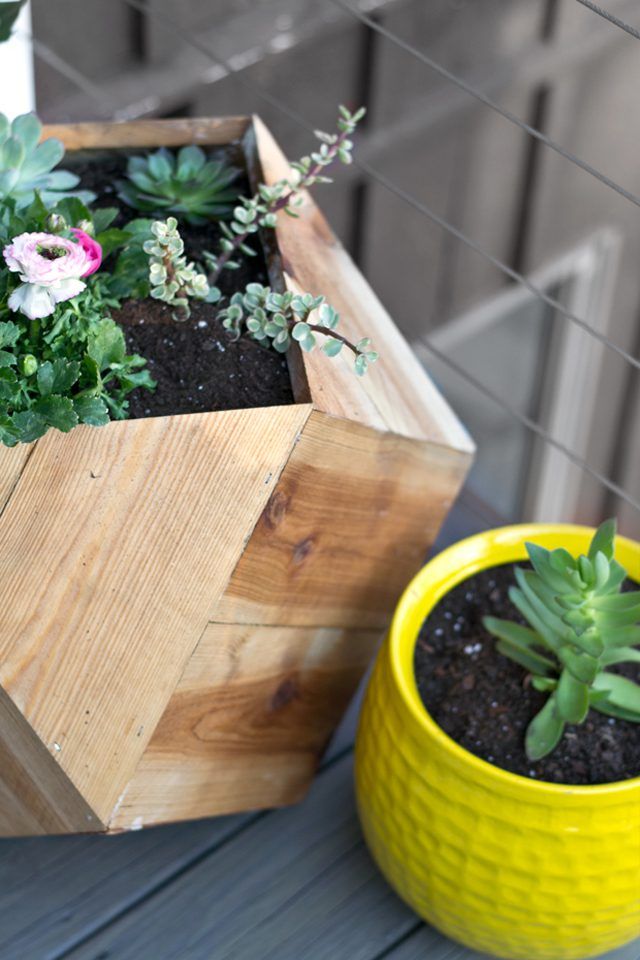
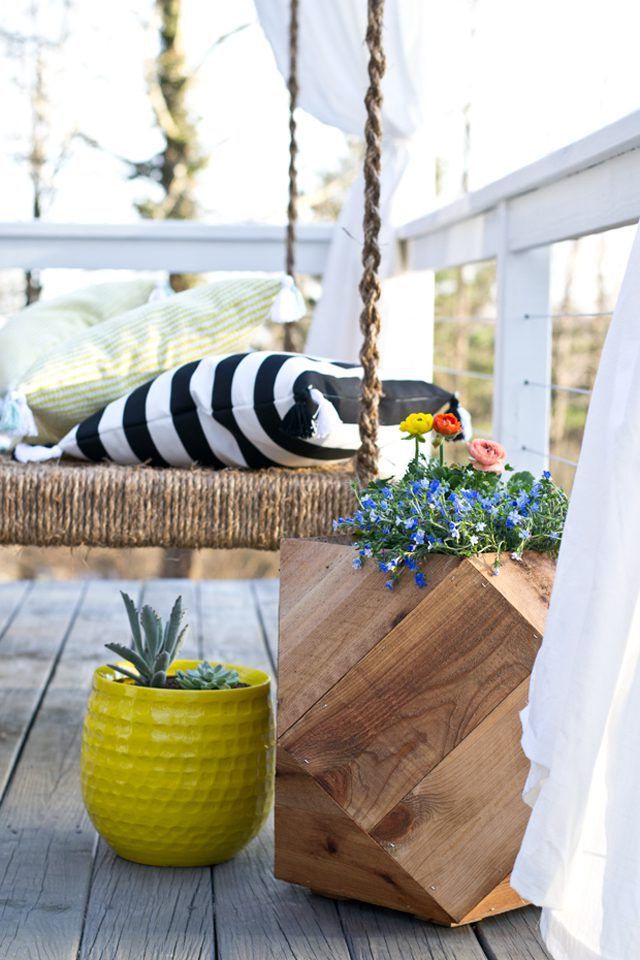
How to Make Geometric Planter Boxes for Your Patio
A step by step guide to build a geometric cedar planter - perfect for container gardening for your patio or deck.
Adding planters to a plain patio or deck adds interest and life and makes your outdoor space an extension of your home. Cedar fence pickets from the home improvement store can be transformed into a 15-inch-square geometric planter, perfect next to a seating area and layering with other planters. You will need a good understanding of woodworking, but if you're comfortable using a miter saw, this project can easily be done in a weekend.
Things You'll Need
6-foot�cedar fence picket (three and a half per planter)�
Miter saw�
Pocket hole tool
�1-inch screws�
Clamp�
Drill
Air stapler
Tape measure�
Orbital sander�
Waterproofing sealant�
Safety goggles
Hearing protection
Dust mask

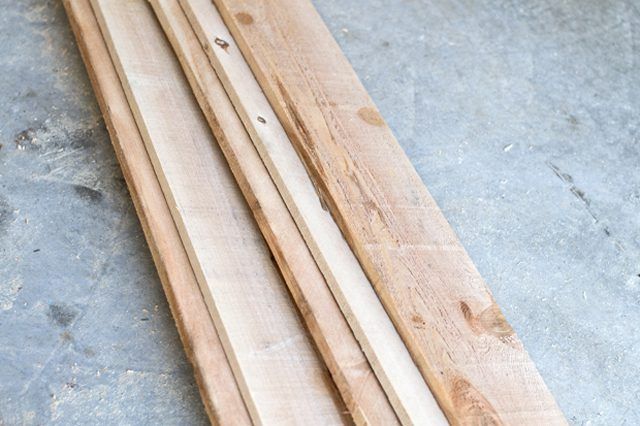
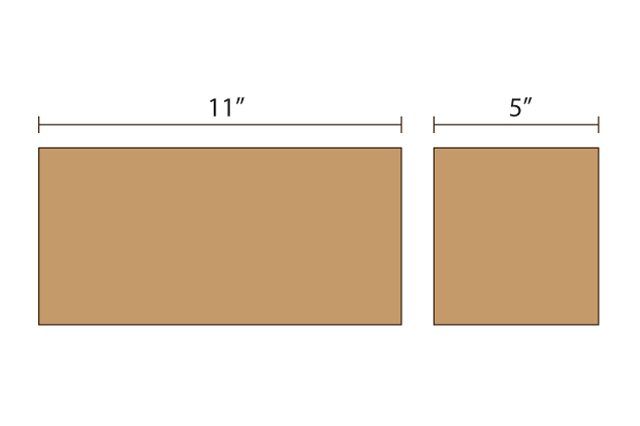
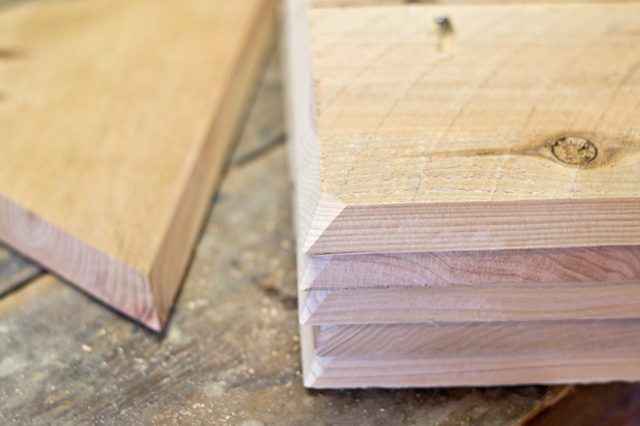
Step 1: Cut the Cedar Pickets
Using a chop saw, cut 11 inch sections (qty 18 per planter) and 5 inch section (qty eight per planter).

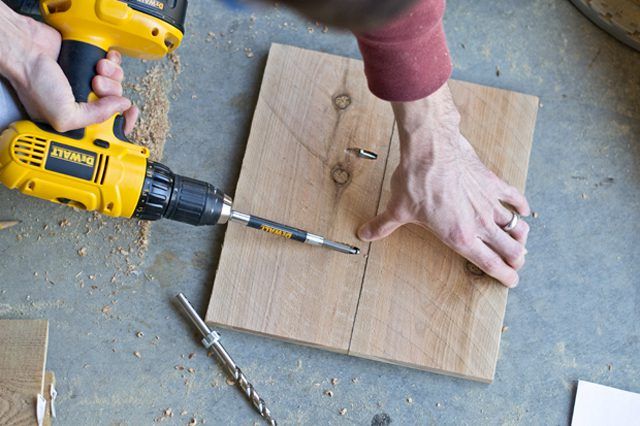
Step 2: Drill Pocket Holes

Pocket holes are drilled at an angle and allow you to join the wood from the interior so that the screw is hidden.
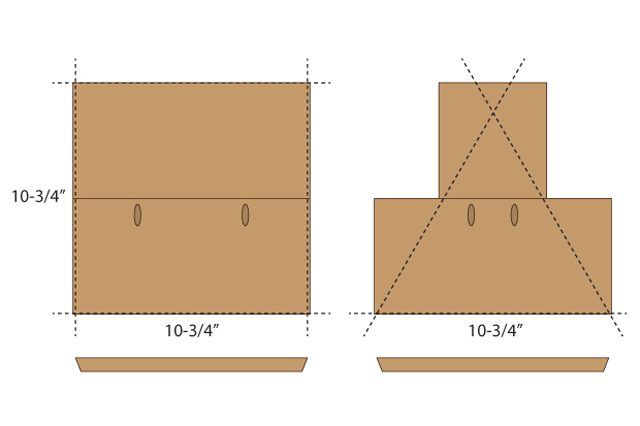
Below are the measurements for the pocket hole placement for the square and the "T" shape, which will become the triangle.
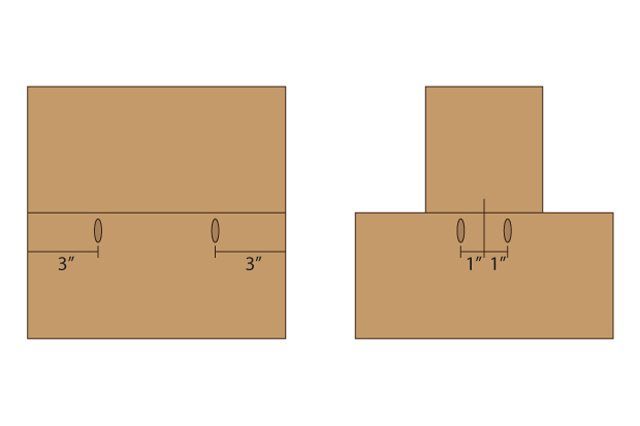
Drill the pocket holes for the square 3 inches from the sides on five of the 11-inch sections.
Drill the pocket holes for the "T" shape. Mark the center of eight of the 11-inch sections and all of the 5-inch sections and 1 inch from the center of the 11-inch sections. Center the 5-inch section on the 11-inch section.
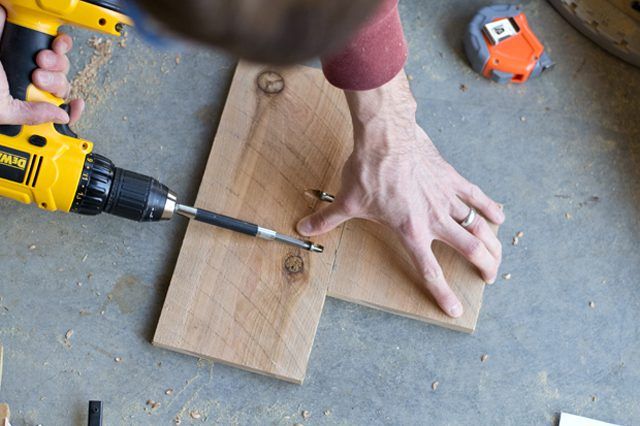
Step 3: Join the Cedar Pickets
Insert screws to connect the cedar fence pickets.
Step 4: Cut the Angles
For the square, set the bevel of the chop saw to 27.5 degrees and the miter angle to 0 degrees. Cut all four edges to create 10 3/4-inch squares.

Step 5: Cut the Angles on the "T" Pieces
For the triangle, leave the bevel of the chop saw at 27.5 degrees and the miter angle at 0 degrees. Cut the 11-inch edge (the top of the "T" shape). Next, set the miter angle on the saw to 30 degrees. With the top of the "T" shape against the saw fence, make the first cut from the corner toward the bottom of the "T" shape. Rotate the triangle so the last cut edge is now against the fence, and cut the third side at 10 3/4 inches. This will leave you with an equilateral triangle with three 10 3/4-inch sides.
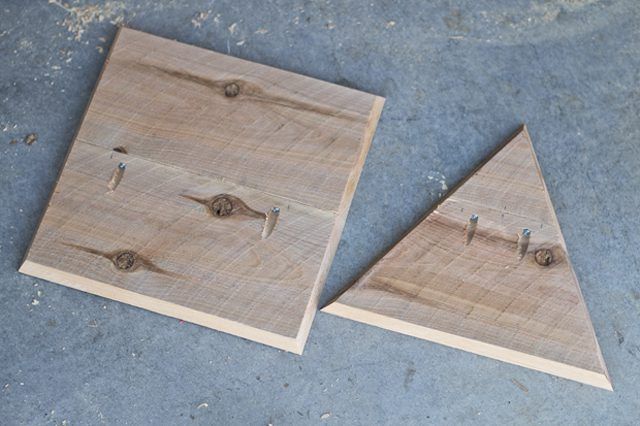
After the cuts are made, the pieces will look like this. You will need five squares and eight triangles per planter.
Step 6: Sand the Corners
Prepare the pieces to be assembled. Sand the four corners on the squares at approximately a 45-degree angle. Because the square panels meet at the corners to create a 90-degree angle, the angle on the cut edge needs to be sanded to at least a 45 degree angle (this doesn't need to be exact but at least a 45). The corners on the triangle do not need to sanded.
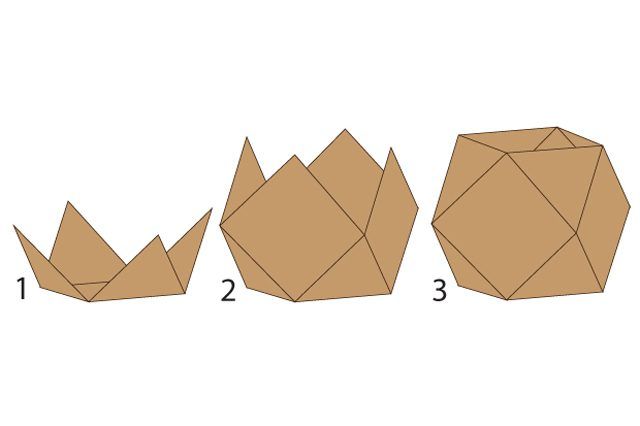
Step 7: Assemble the Planter
Assemble the planter with an air stapler using the following sequence. First, staple four triangle sections to the edges of a square to form the base. Second, staple four squares to the triangle sections from the base. Third, staple the top four triangles to complete the planter.

Step 8: Raise the Planter
If desired, flip the planter, and staple 2-inch squares (inset about 2 inches from edge) from the remaining cedar picket to serve as feet for the planter.

Step 9: Drill Drainage Holes
Drill four 1/2-inch holes (this size doesn't need to be exact) to allow water to drain from the planter.

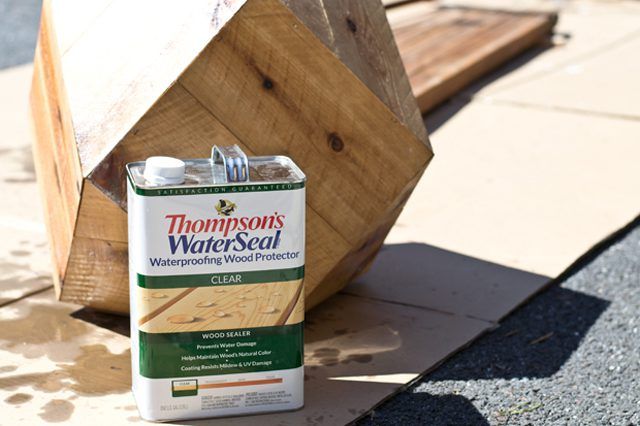
Step 10: Protect the cedar.
Cedar naturally weathers well, but for added protection, apply waterproofing sealer to protect the cedar.
Step 11: Fill It
Let the sealer dry per the product's directions, and then fill it with your favorite flowers. Each planter will take about 1/2 yard of potting soil.


